Crazy to get your hands on NSX-T? Want to browse through all of the Manager’s web console entries? Do you prefer learning by doing?
If you are like me I think so 🙂
However, experience has taught me that starting directly with the installation, skipping checks on requirements and proper sizing, sooner or later inevitably leads to having to reinstall everything 🙁
Don’t worry, the NSX-T Data Center guide provides Workflows for every type of installation, this one for vSphere:
- Review the NSX Manager installation requirements.
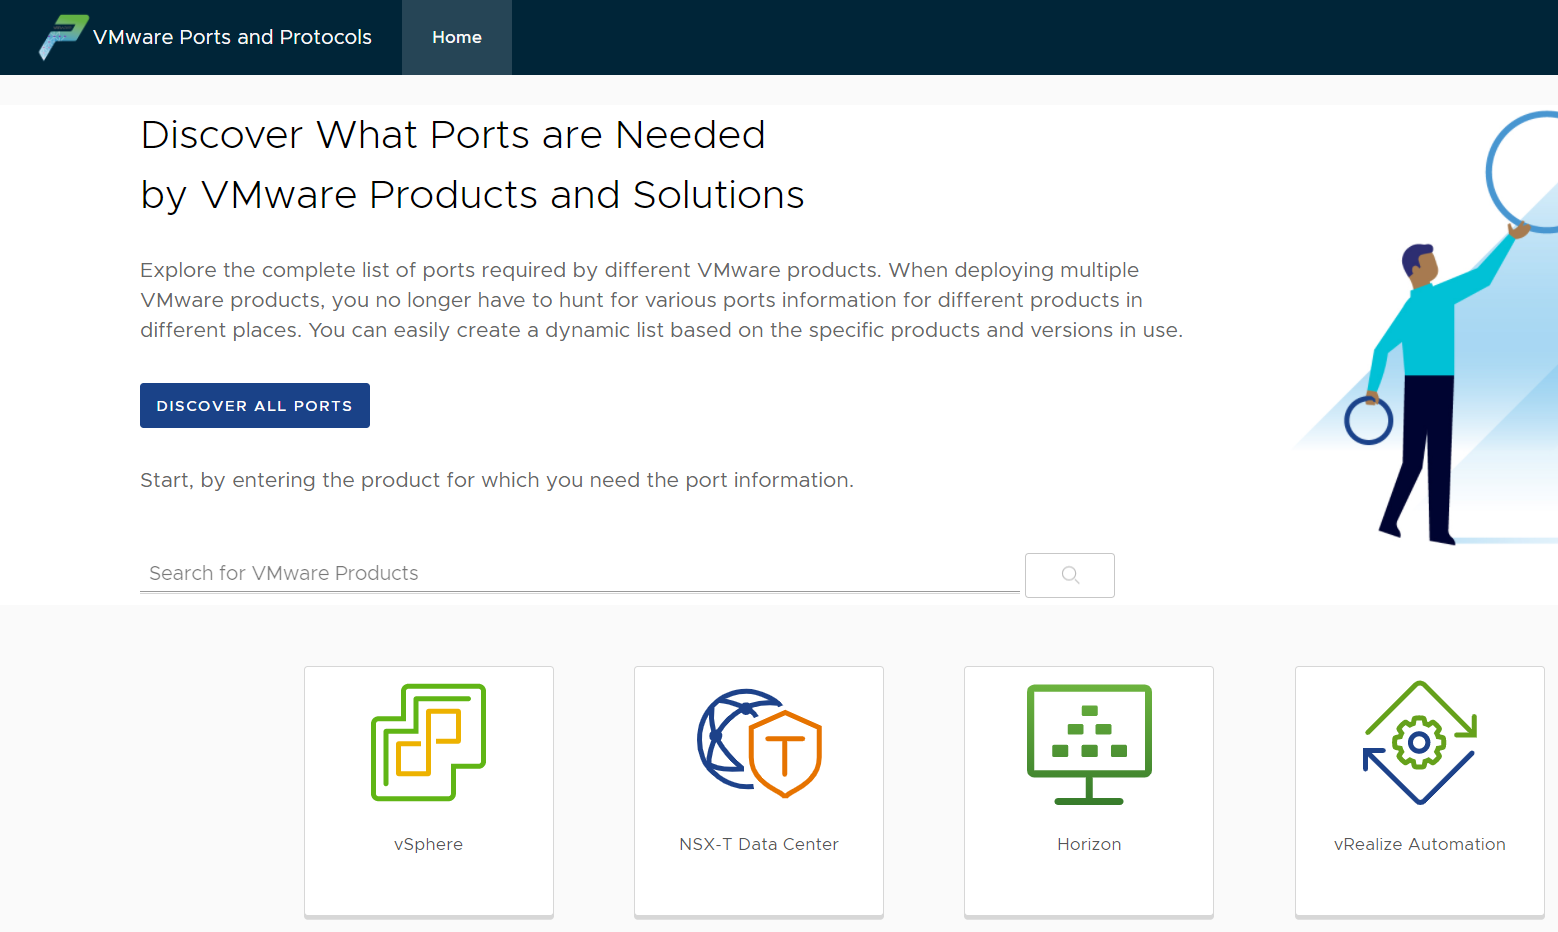
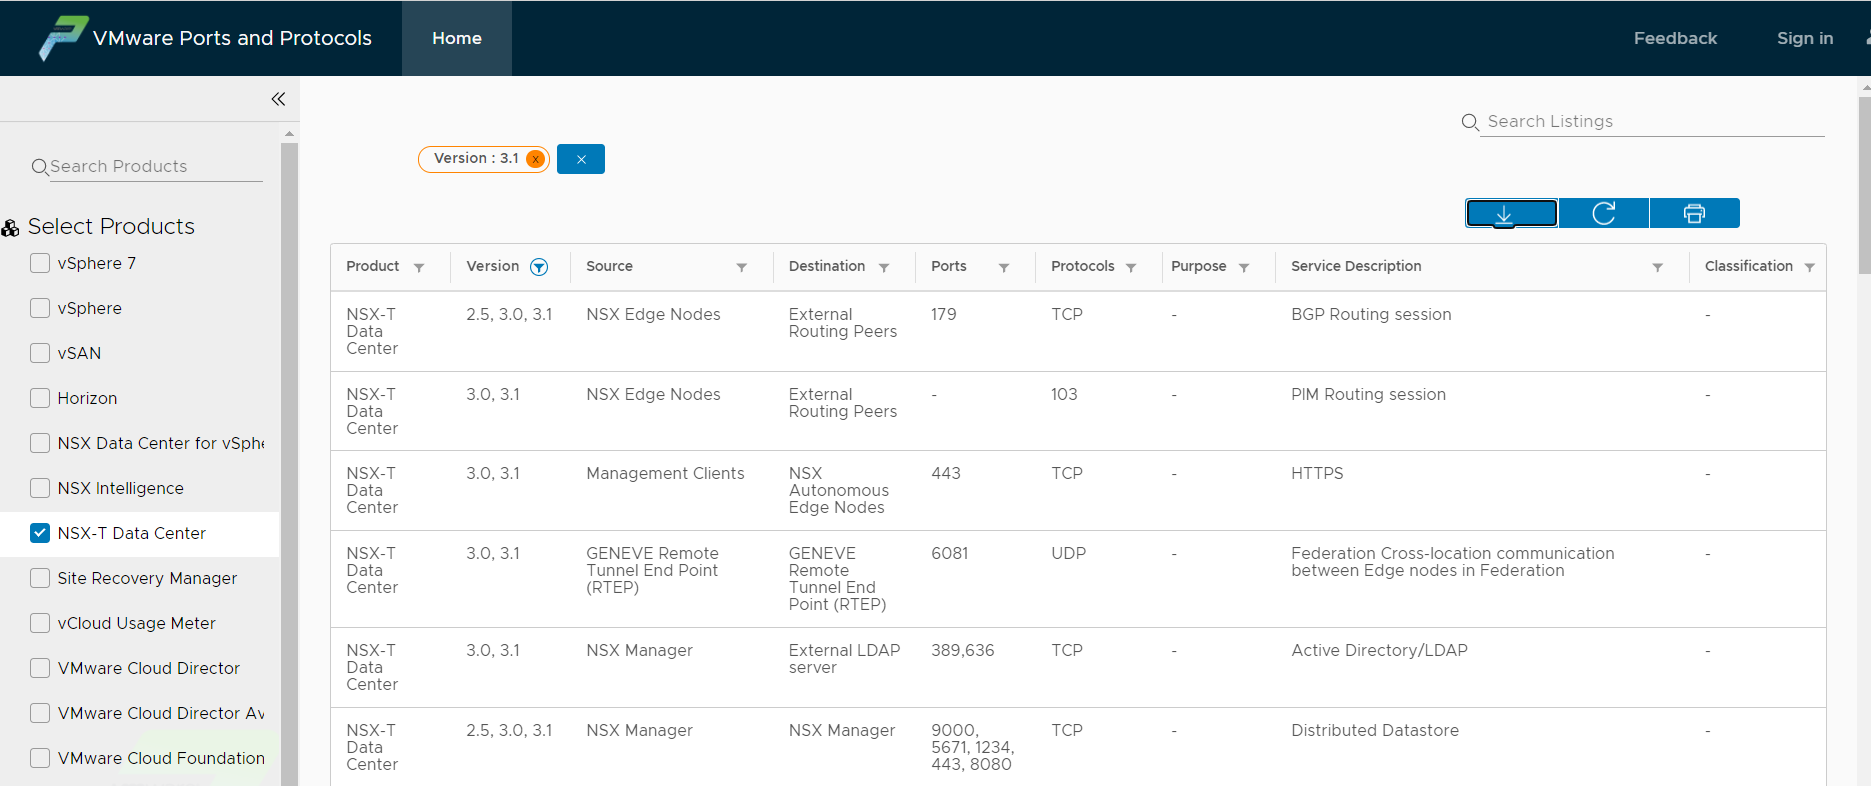
- Configure the necessary ports and protocols.
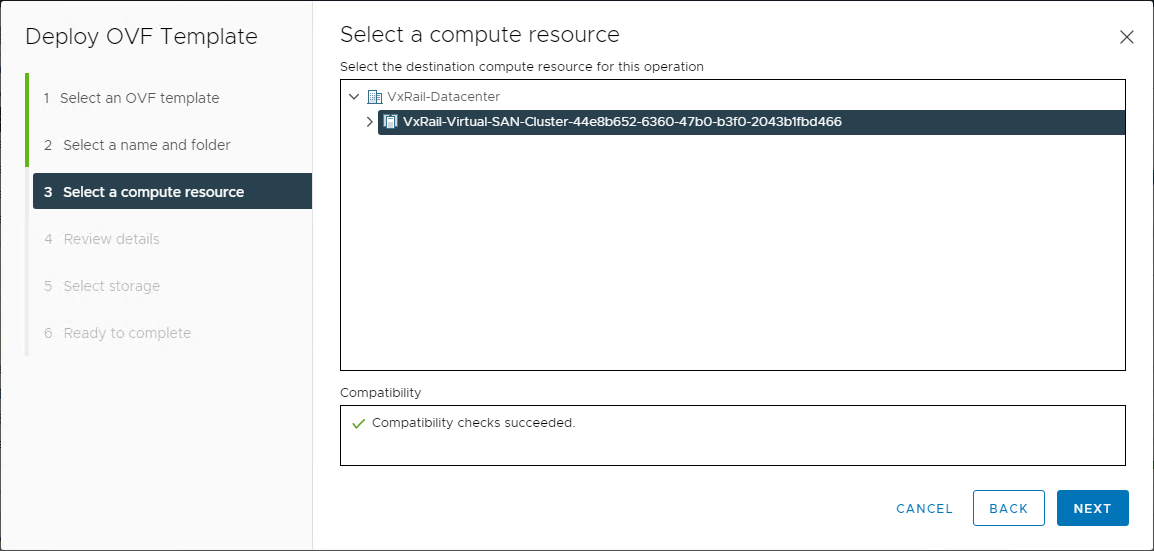
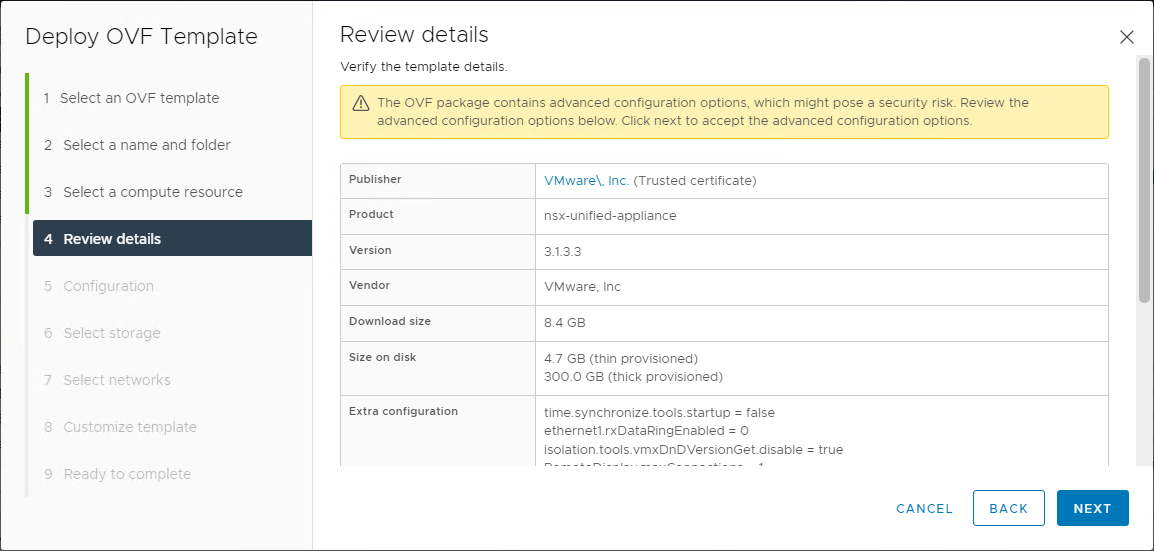
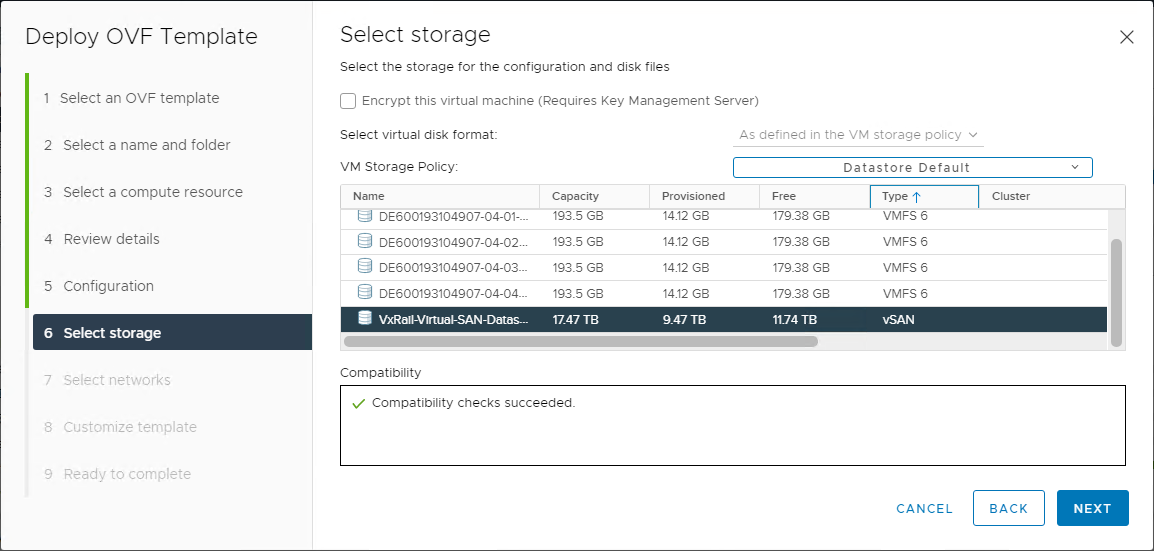
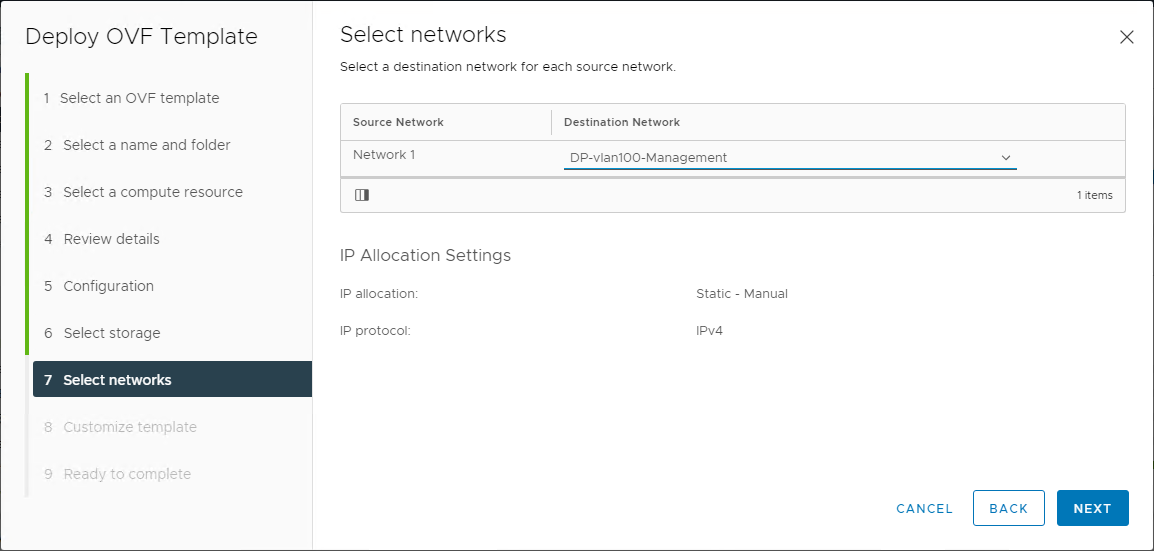
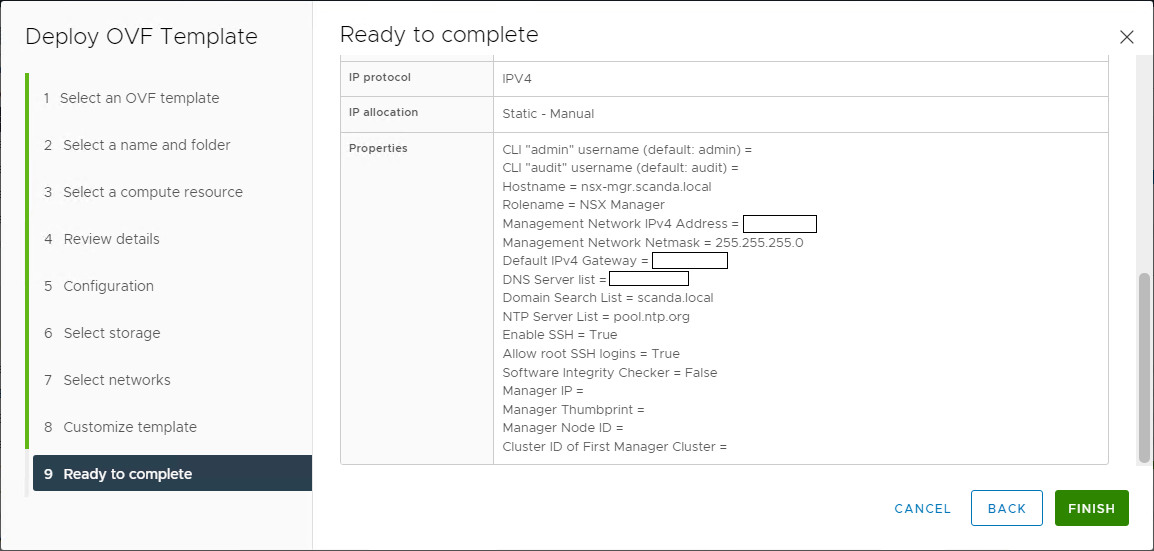
- Install the NSX Manager.
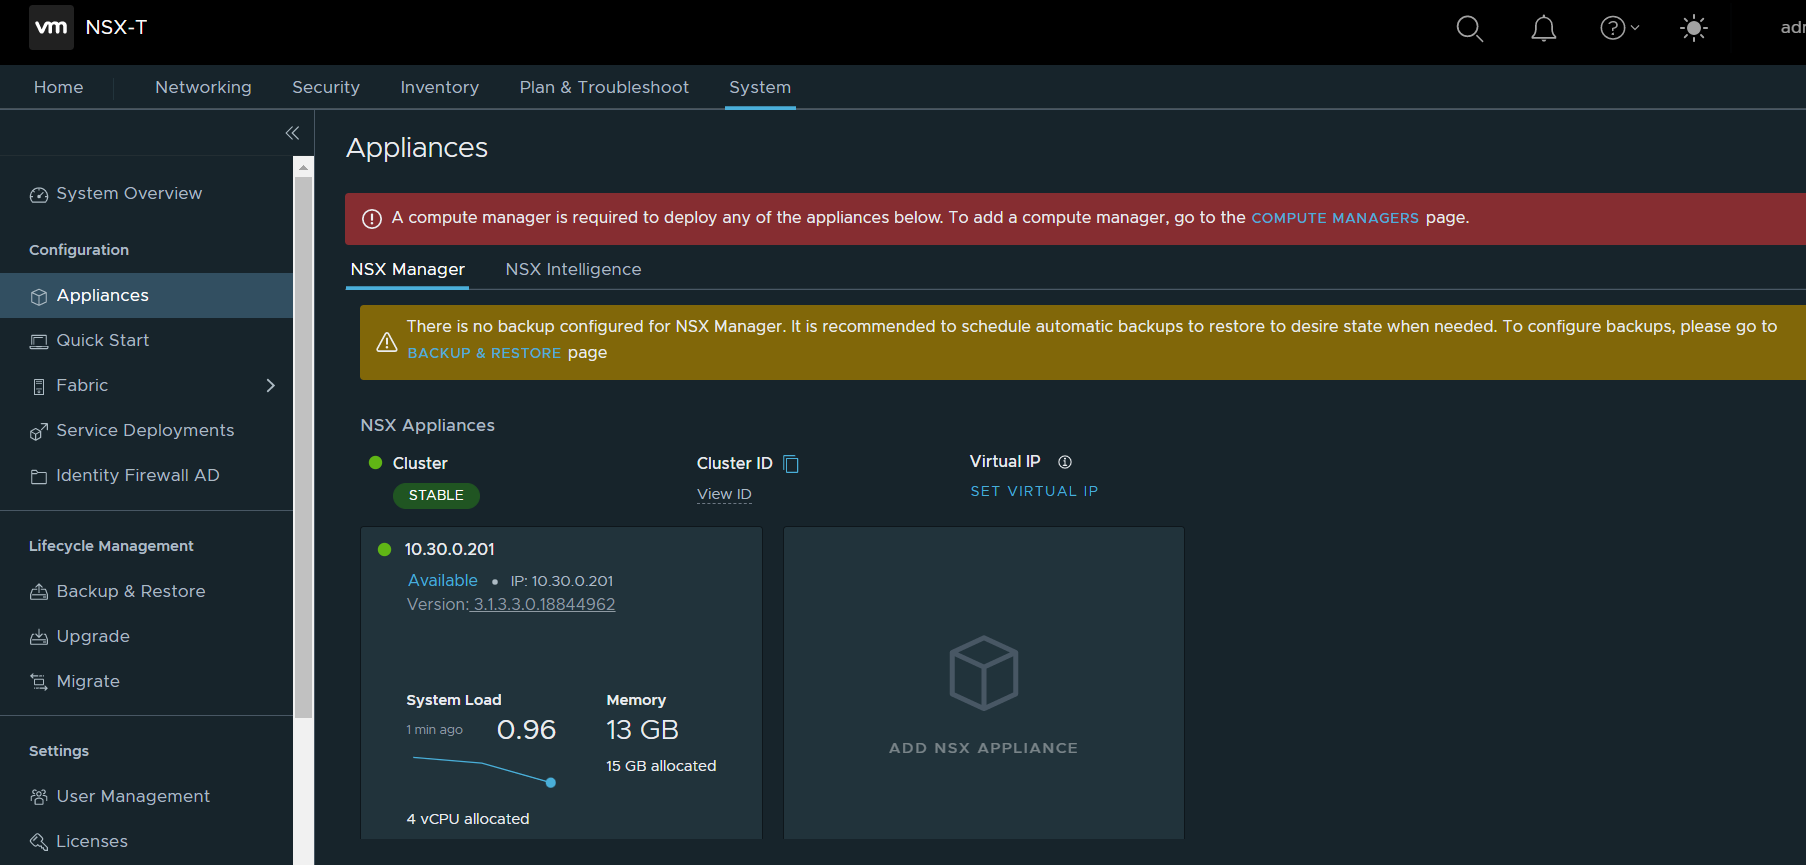
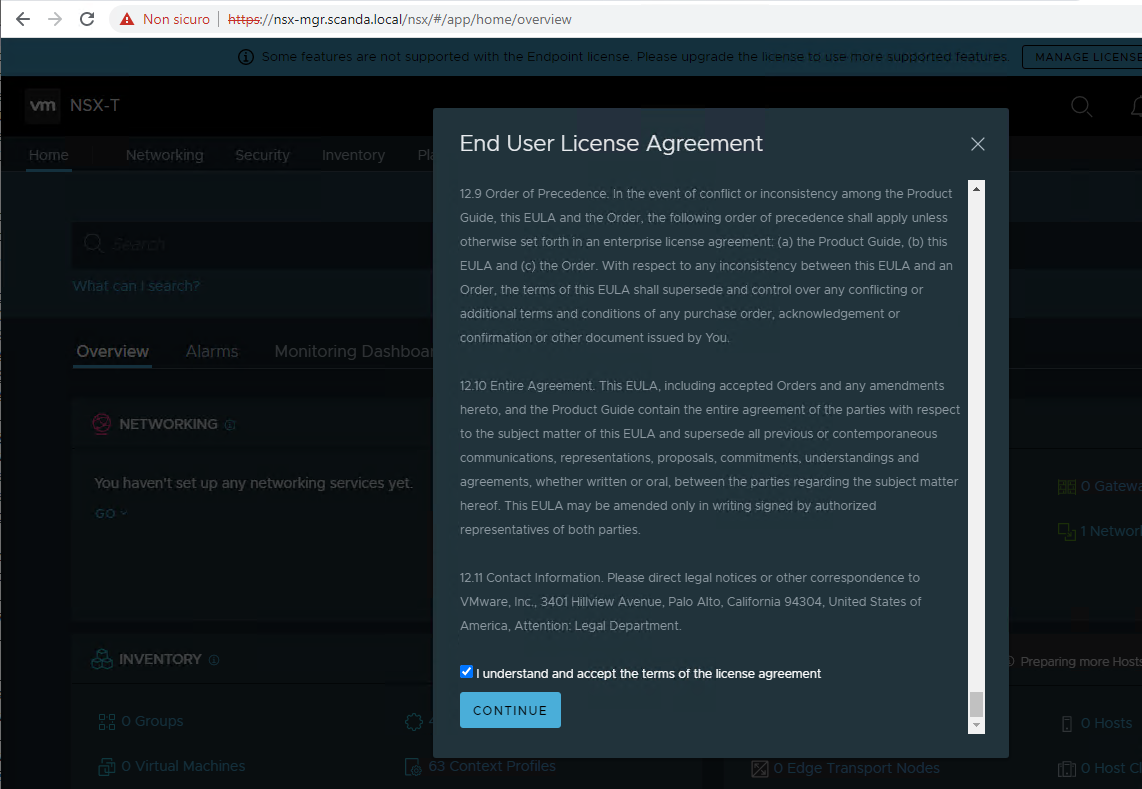
- Log in to the newly created NSX Manager.
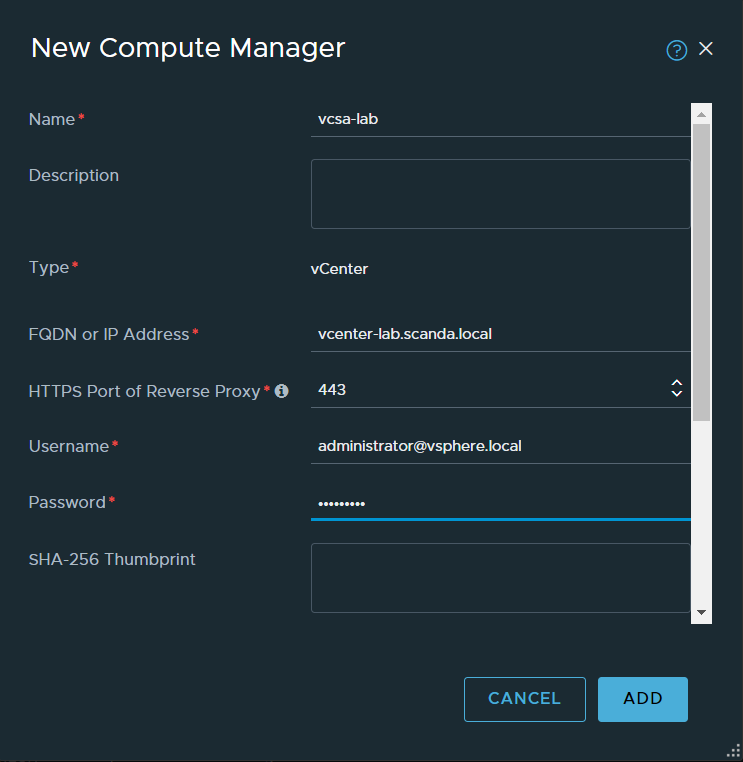
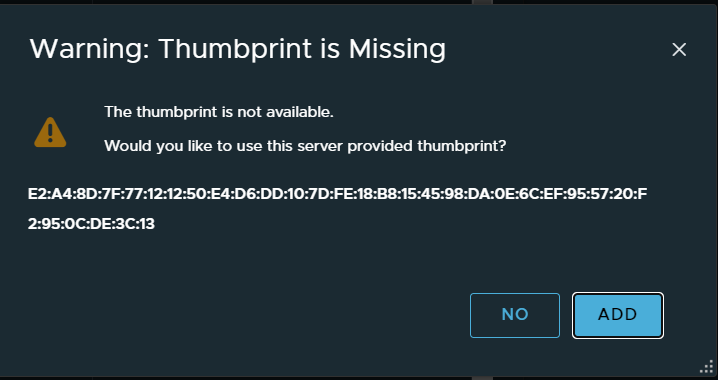
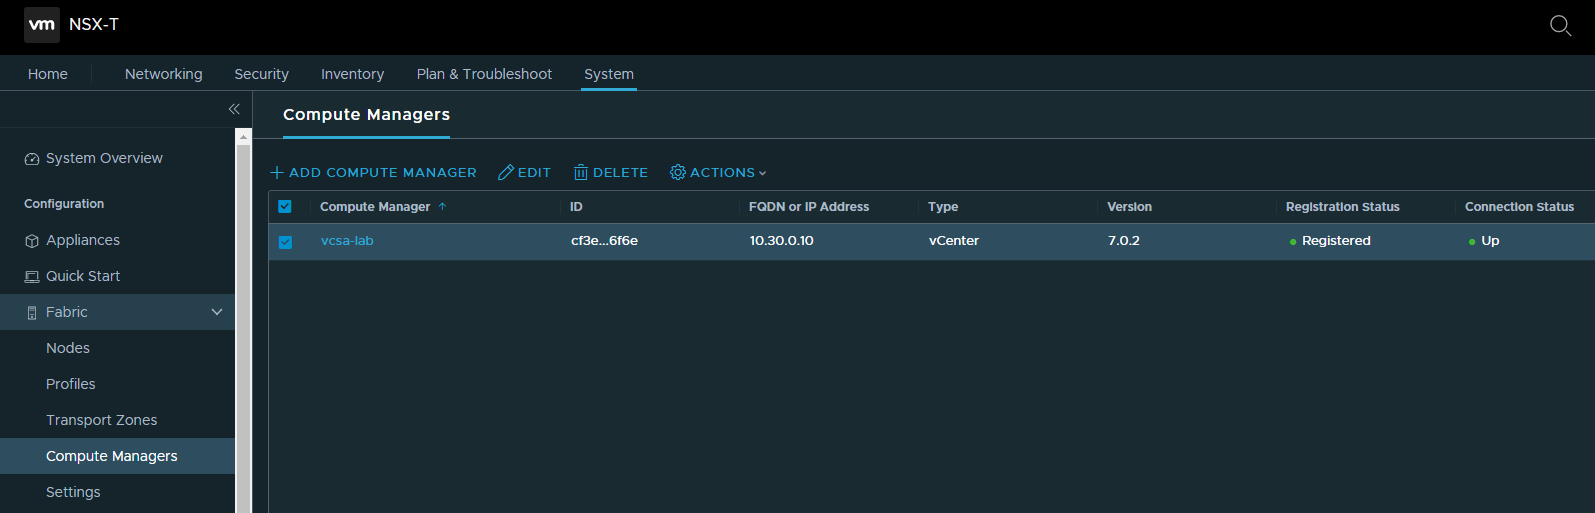
- Configure a compute manager.
- Deploy additional NSX Manager nodes to form a cluster.
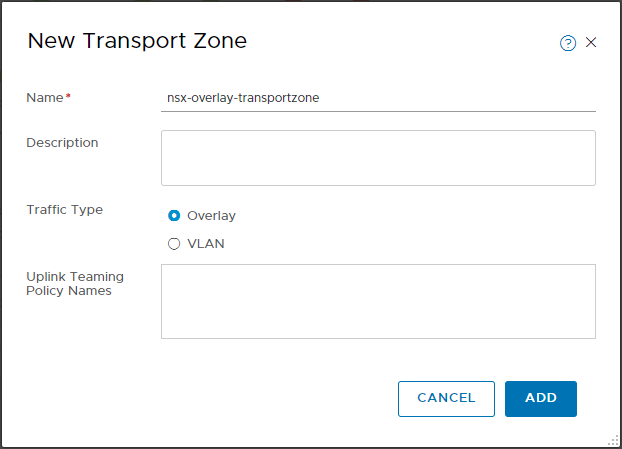
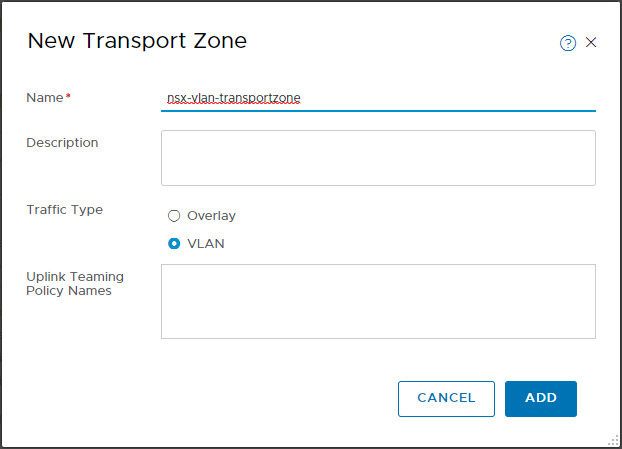
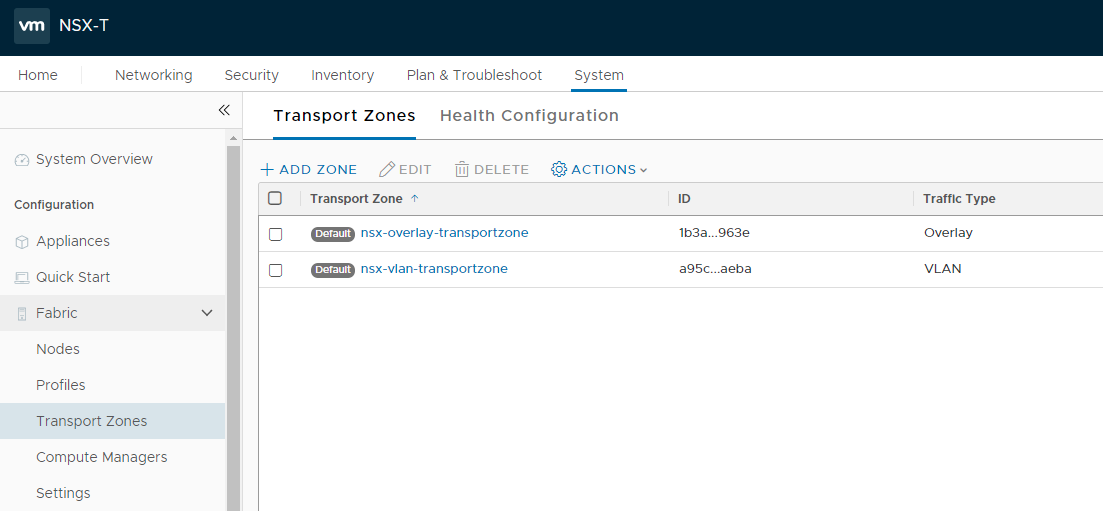
- Create transport zones.
- Review the NSX Edge installation requirements.
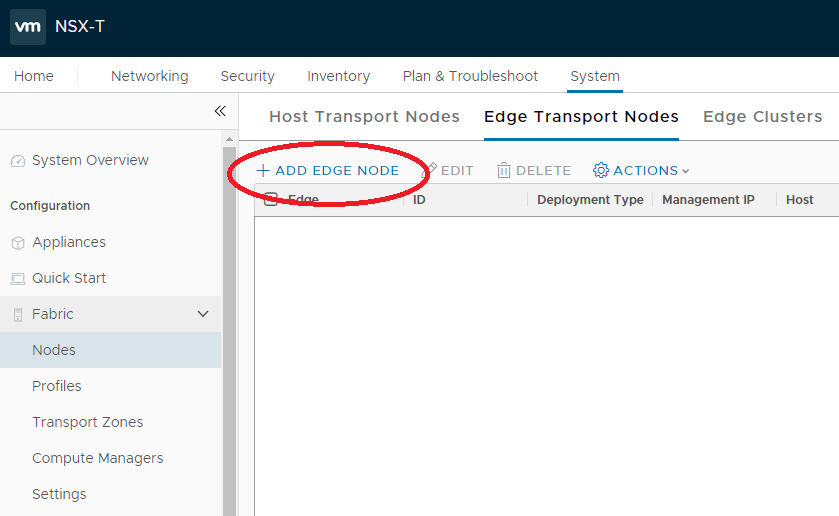
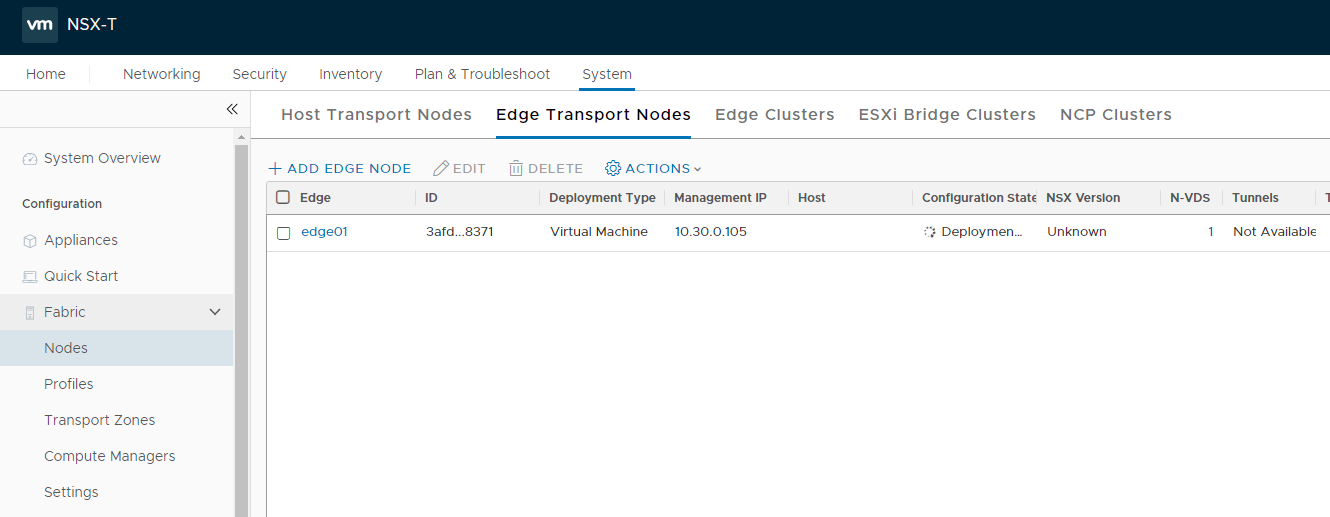
- Install NSX Edges.
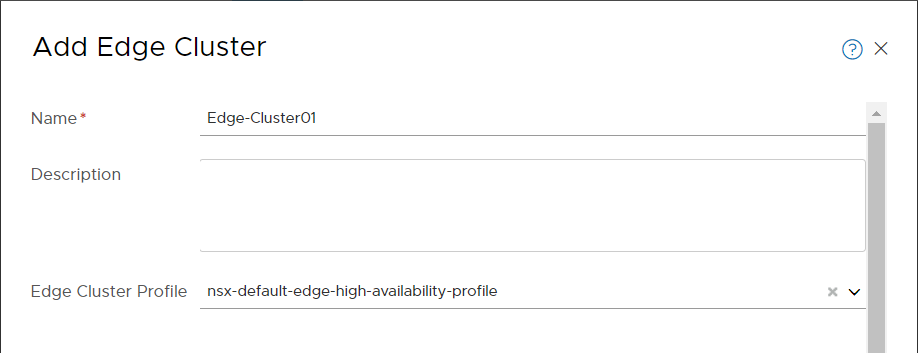
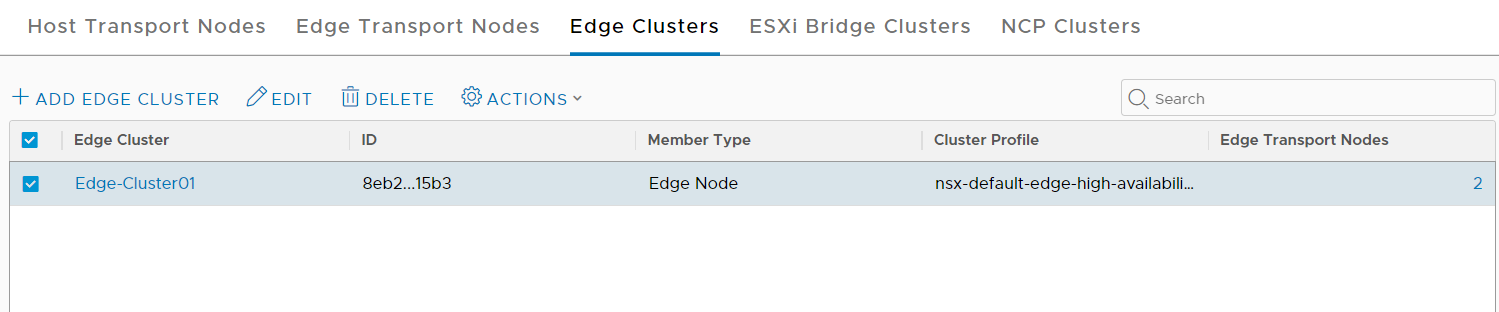
- Create an NSX Edge cluster.
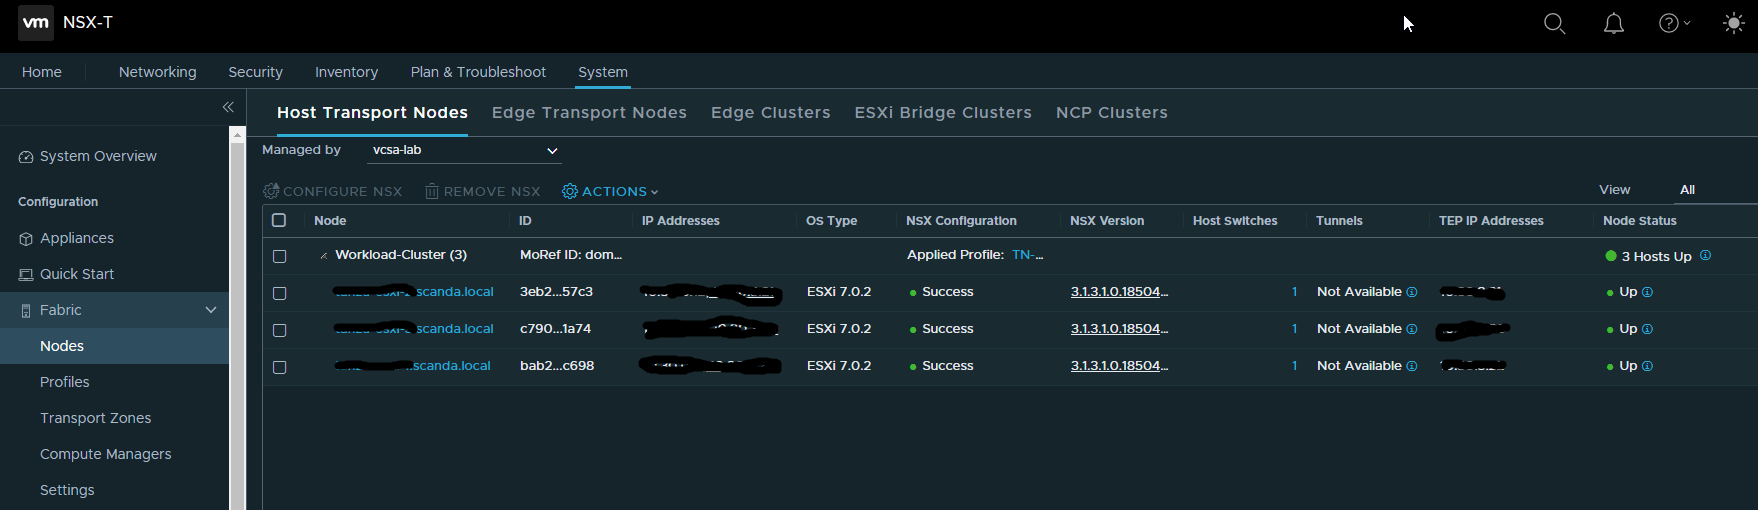
- Create host transport nodes.
This article goes into the first point, in succession I will publish the articles of all the other points 🙂 The version of NSX-T of reference is the 3.1.
The information reported is from NSX-T Data Center Installation Guide, paragraph System Requirements.
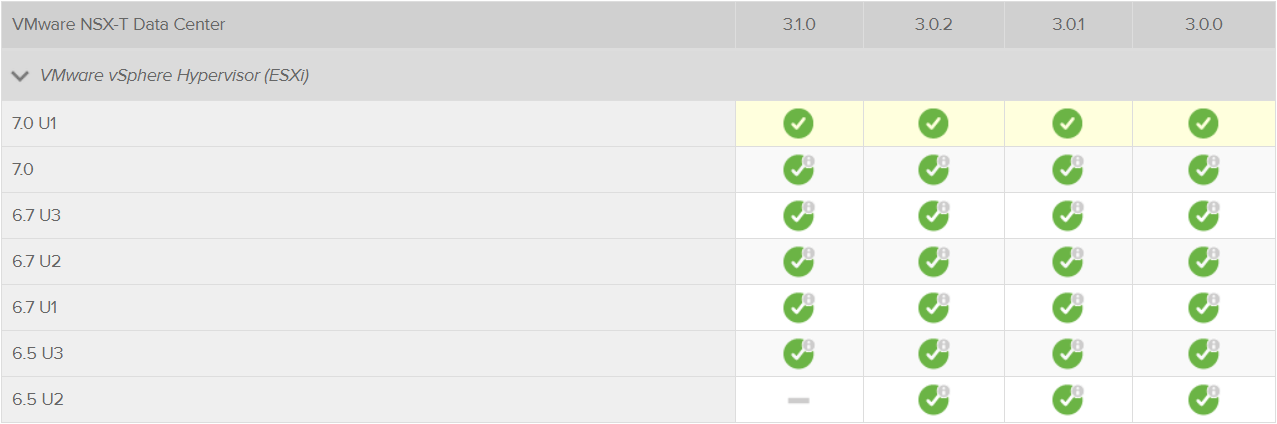
ESXi versions supported for the Host Transport Nodes role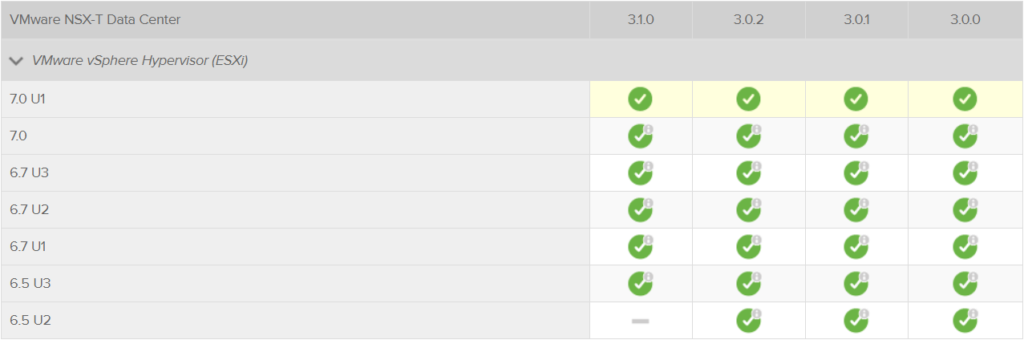
For more details see directly the Product Interoperability Matrices
Minimum CPU and RAM requirements for the Transport Node profile
| Hypervisor | CPU Cores | Memory |
| vSphere ESXi | 4 | 16GB |
Nota : HW requirements are the same also for KVM on Linux
Network Requirements
Each Host Transport Node must be equipped with NIC supported by the installed version of ESXi, there is no mention of minimum speed but it is good practice to use at least 2 10G NICs for performance and redundancy.
Note : 2 NICs are enough but 4 can facilitate the migration from VSS/VDS to the new NVDS. I will deepen this aspect in a next article.
Requirements for NSX Manager
The Manager is the heart of NSX, as well as allowing the management of all configurations also incorporates the role of controller, these are the requirements for the deployment.
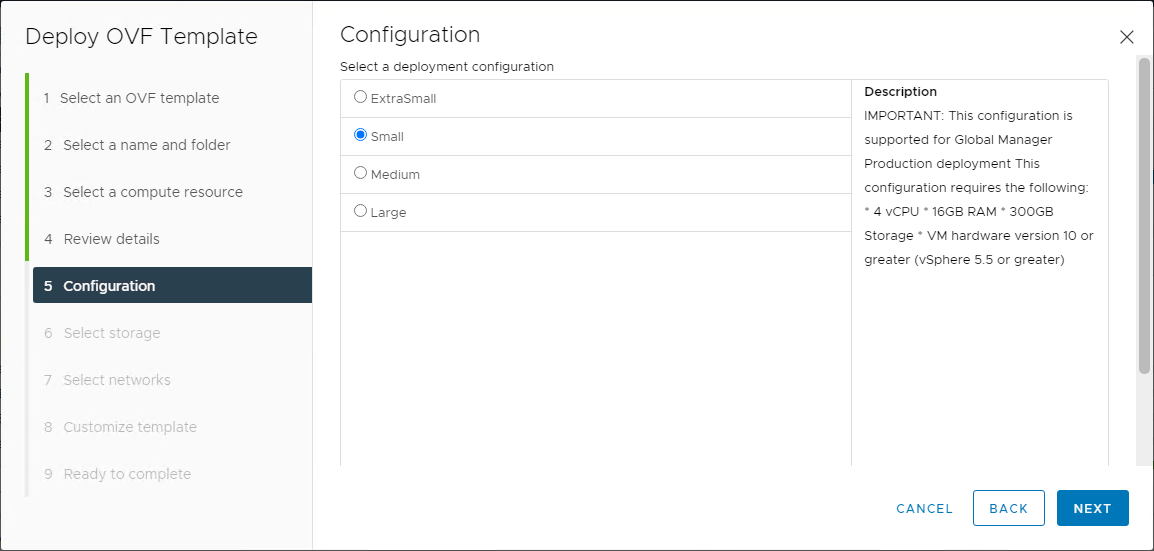
| Appliance Size | Memory | vCPU | Disk Space | Note |
| NSX Manager Extra Small | 8GB | 2 | 300GB | only for the Cloud Service Manager (da NSX-T 3.0) |
| NSX Manager Small VM | 16GB | 4 | 300GB | lab and proof-of-concept deployments (da NSX-T 2.5.1) |
| NSX Manager Medium VM | 24GB | 6 | 300GB | typical production environments - max 64 hypervisor |
| NSX Manager Large VM | 48GB | 12 | 300GB | large-scale deployments - more than 64 hypervisor |
Network latency requirements
Maximum latency between Managers of a cluster : 10ms.
Maximum latency between Managers and Transport Nodes: 150ms.
Perhaps obvious but often underestimated data, especially on geographically distributed installations.
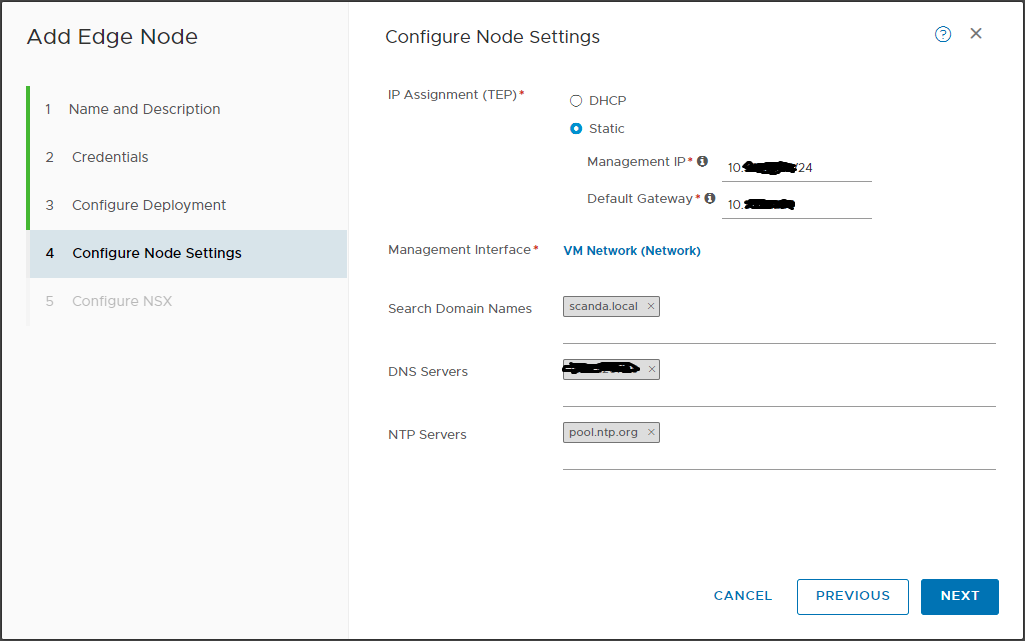
Addressing requirements and DNS configurations
An NSX installation comprises a cluster of 3 NSX Managers and an Edge cluster with at least 2 nodes. This for production environments, for PoCs or demos, the high reliability of the components can be overlooked.
IP addresses must be provided for each object and relative FQDNs on the relevant DNS zones.
Note : in addition to the A records, it is important to provide for reverse lookup zones, the lack of these records can introduce problems of reachability and communication between the various components.
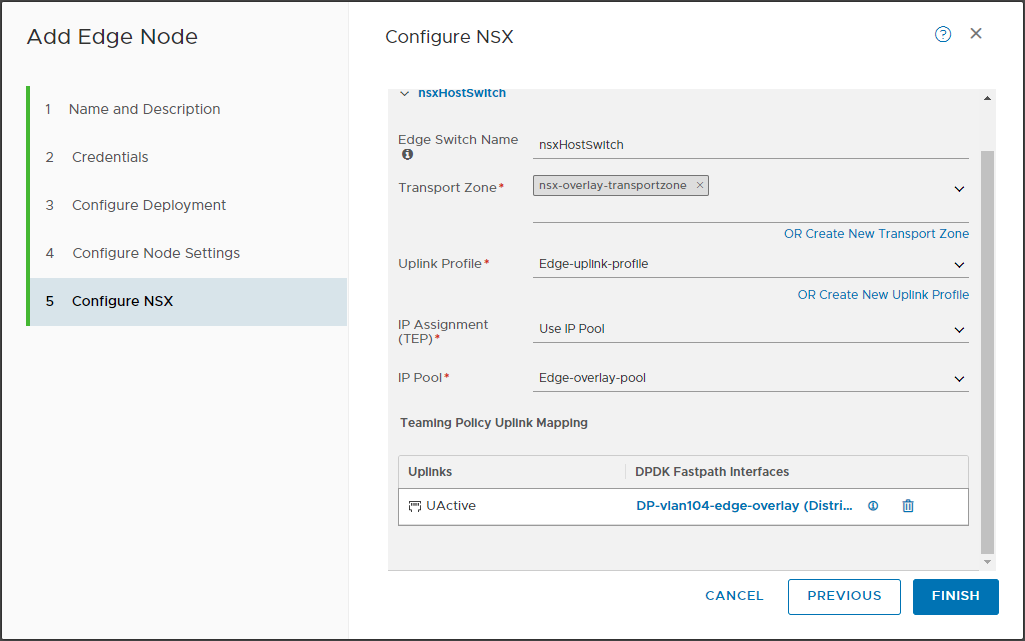
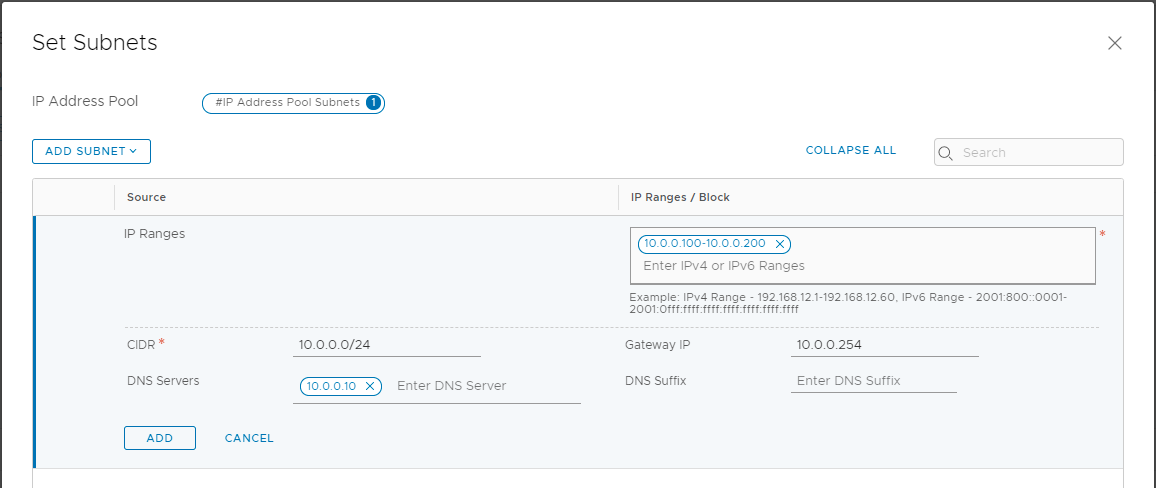
If the GENEVE overlay is also present, a subnet (IP pool) must be allocated for the TEPs to be assigned to the Transport Nodes. Also on this issue we will have the opportunity to deepen 🙂
Total Sizing
And finally, let’s sum it up! How many resources should be allocated for a typical NSX-T production installation?
| vCPU | Memory | Storage |
| NSX Manager Medium | 6 | 24GB | 300GB |
| Total x 3 Manager | 18 | 72GB | 900GB |
| | | |
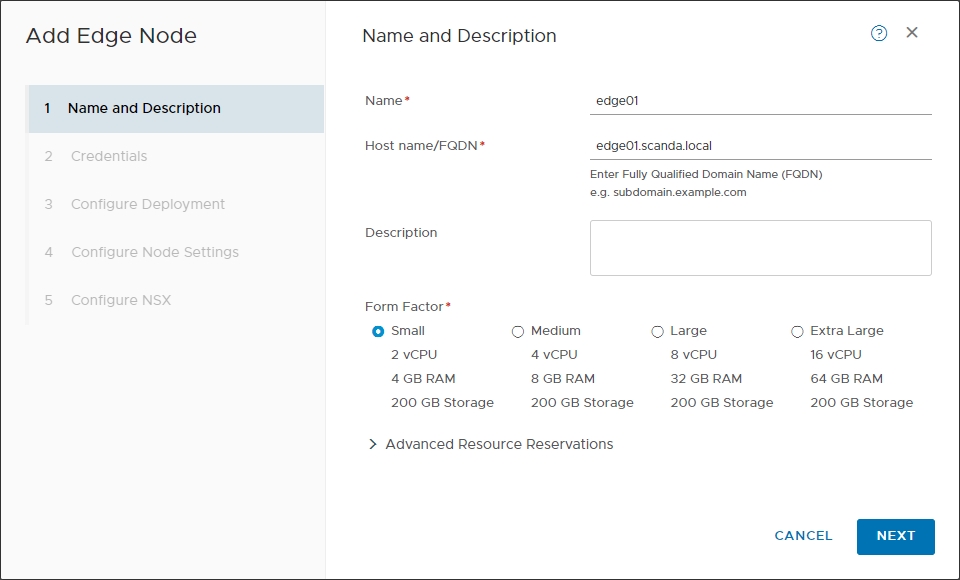
| NSX Edge Medium | 4 | 8GB | 200GB |
| Total x 2 Edge | 8 | 16GB | 400GB |
| | | |
| Total resources | 26 | 88GB | 1.3 TB |
The resources required by NSX-T are not negligible, on small infrastructures they can have a strong impact. On environments of a certain entity NSX Manager is installed on a dedicated Management cluster together with other objects such as vRealize Log Insight and vRealize Network Insight.
Knowing the NSX-T requirements and doing a correct sizing is certainly the first place to start for a correct installation.
I conclude the article leaving you with a small task, check if your infrastructure has the resources to install NSX! Don’t you have them? Then design a new Management cluster 🙂