This is the first article in a series on Aria Automation. Yes, the title talks about the installation of the 8.11.2 release, when the product was still called vRealize Automation. Why talk about such an old version? Because it often happens that you have to make updates on old infrastructures to bring them to the latest available release. For me it is essential to have old releases available to verify the upgrade path to be used by the customer and verify each phase to ensure that everything is updated correctly. Better to gain experience in a laboratory than directly on the customer’s production infrastructure 😉
I take this opportunity to create an installation guide to share with anyone who needs it.
vRealize Automation needs other components for its operation: Workspace ONE Access and vRealize Suite Lifecyle Manager, the first is the identity manager that manages access for all vRealize/Aria products and the second instead takes care of lifecyle management (configuration/upgrade).
The easiest way to install vRealize Automation is through Easy Installer, which is an ISO containing the software needed to install all the components mentioned. The ISO can be downloaded from the Broadcom website (you need an account that is entitled for downloading).
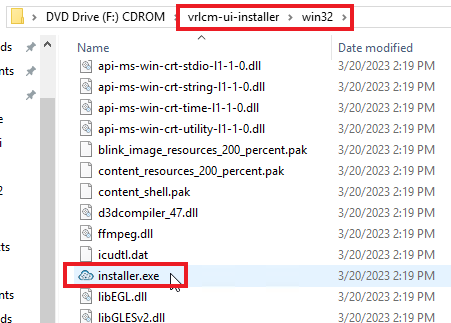
Once the ISO has been downloaded, all you need to do is mount it on your workstation and start the installation process.
Then run the installer for your environment
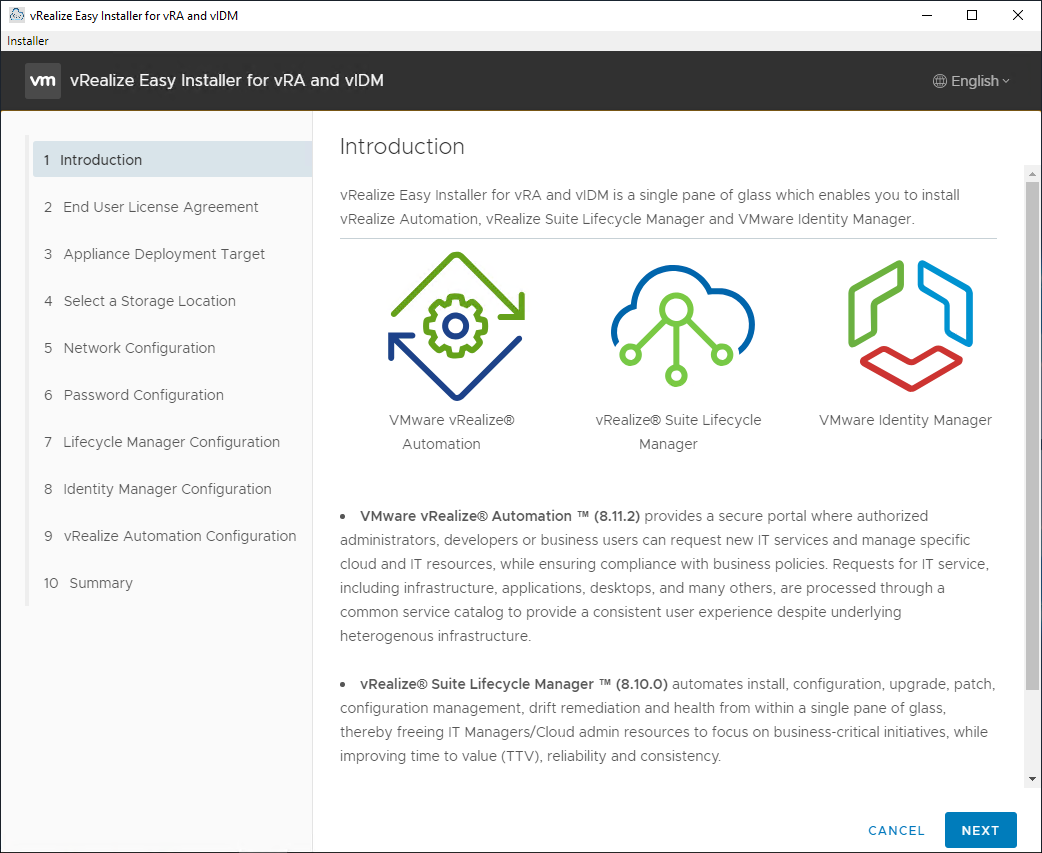
The installation screen opens, next to continue.
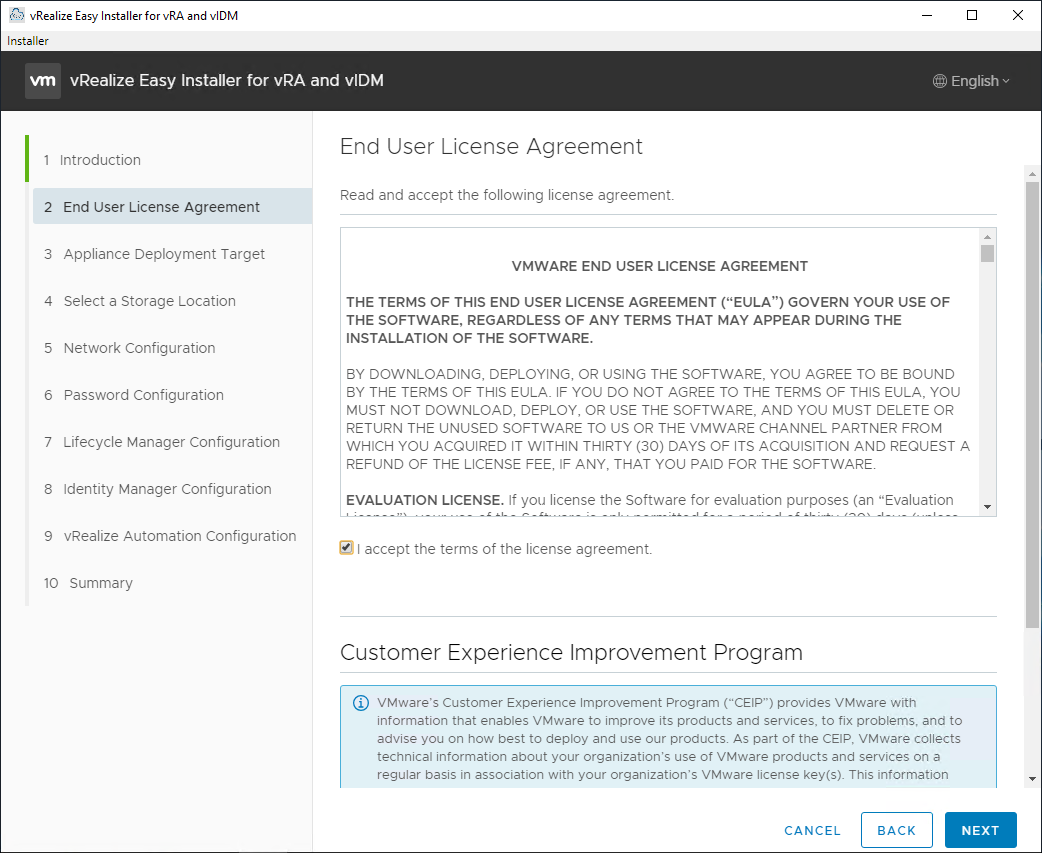
Accept EULA
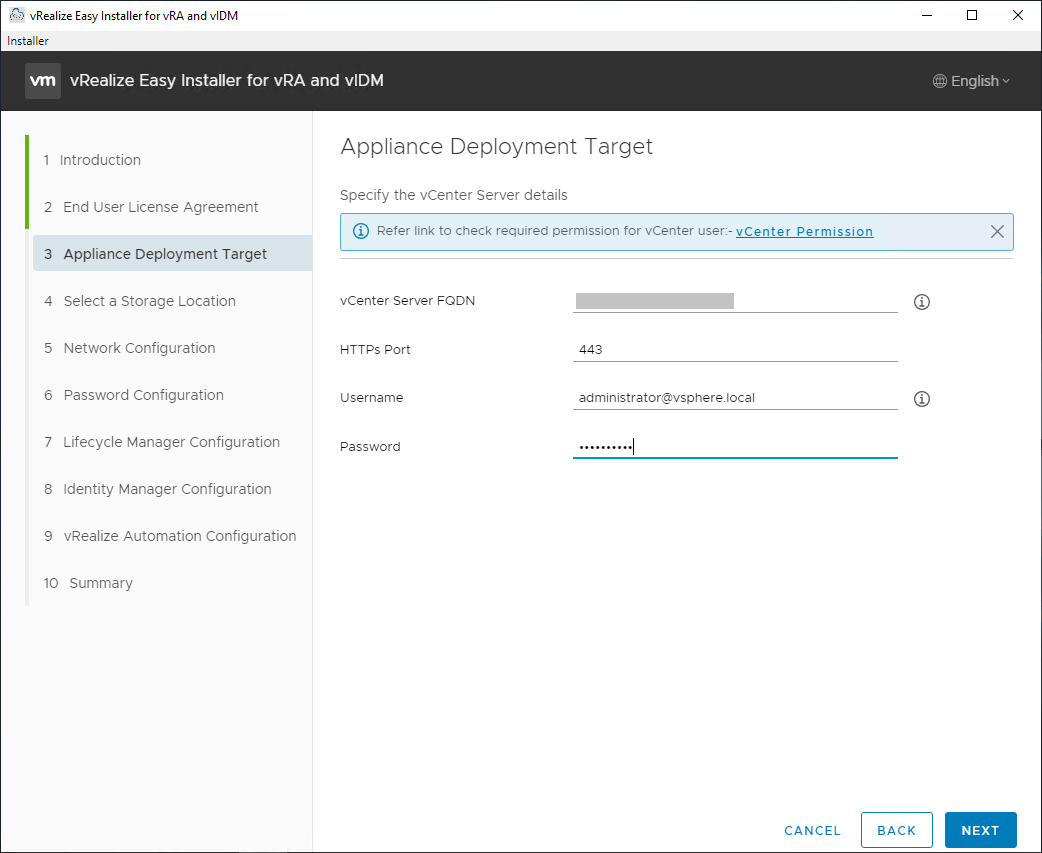
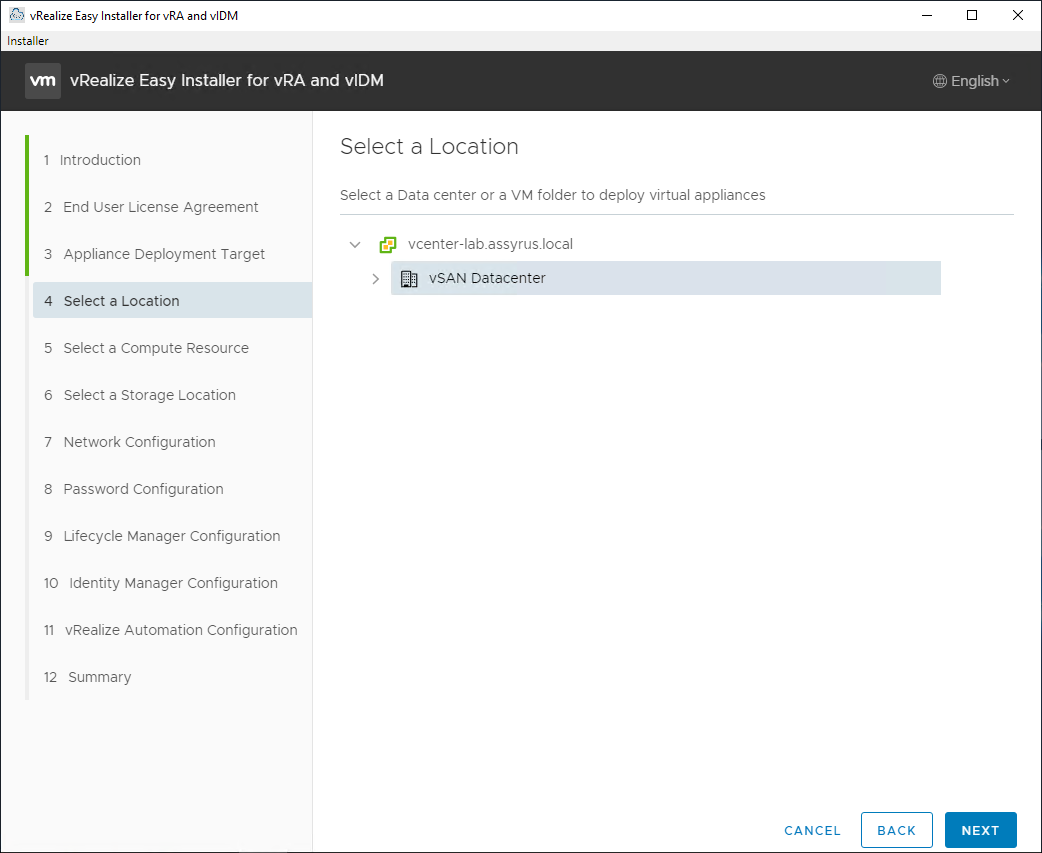
First of all, you need to enter the vcenter on which you will deploy Lifecycle Manager, the first appliance that will be installed.
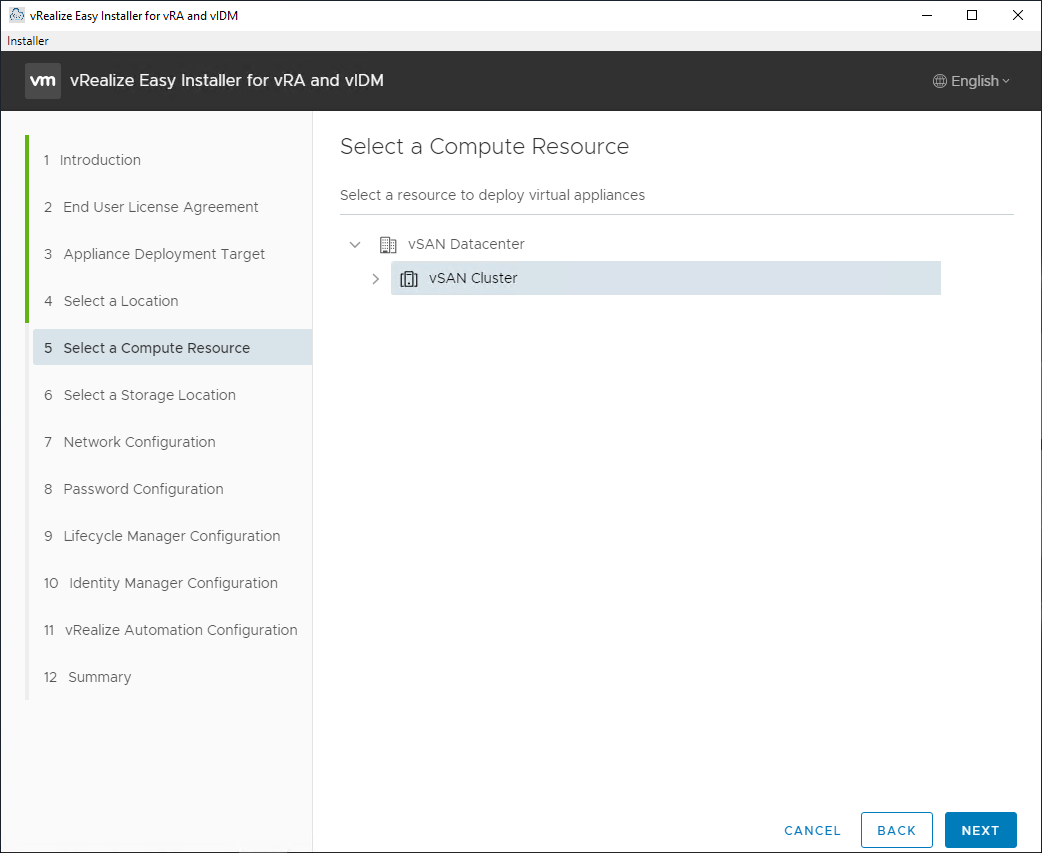
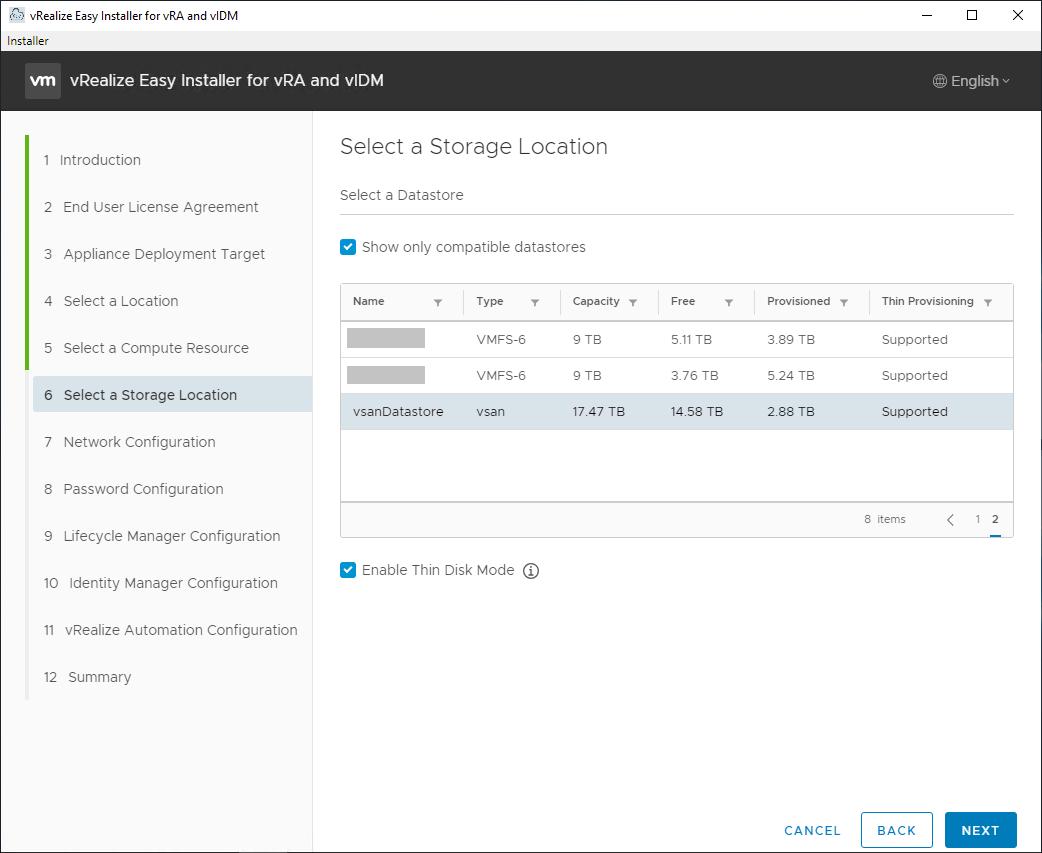
Select Datacenter, cluster and datastore
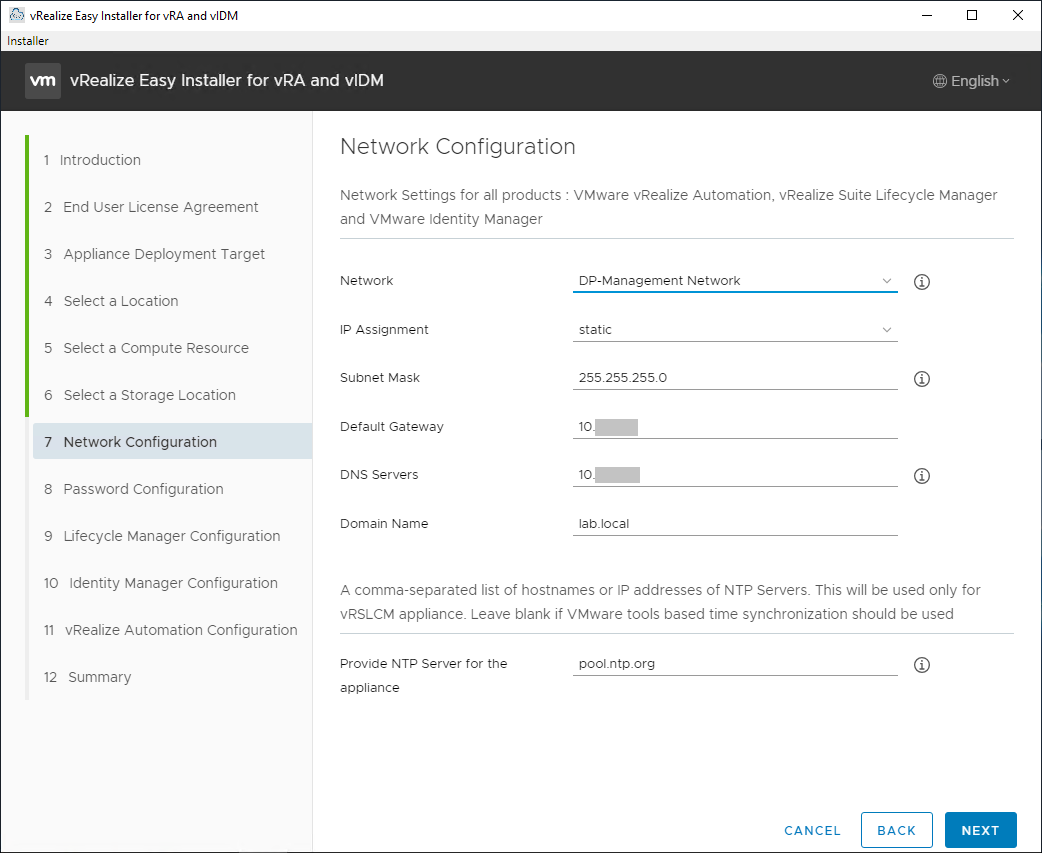
Enter the information about the network the appliance will be connected to, as well as DNS and NTP
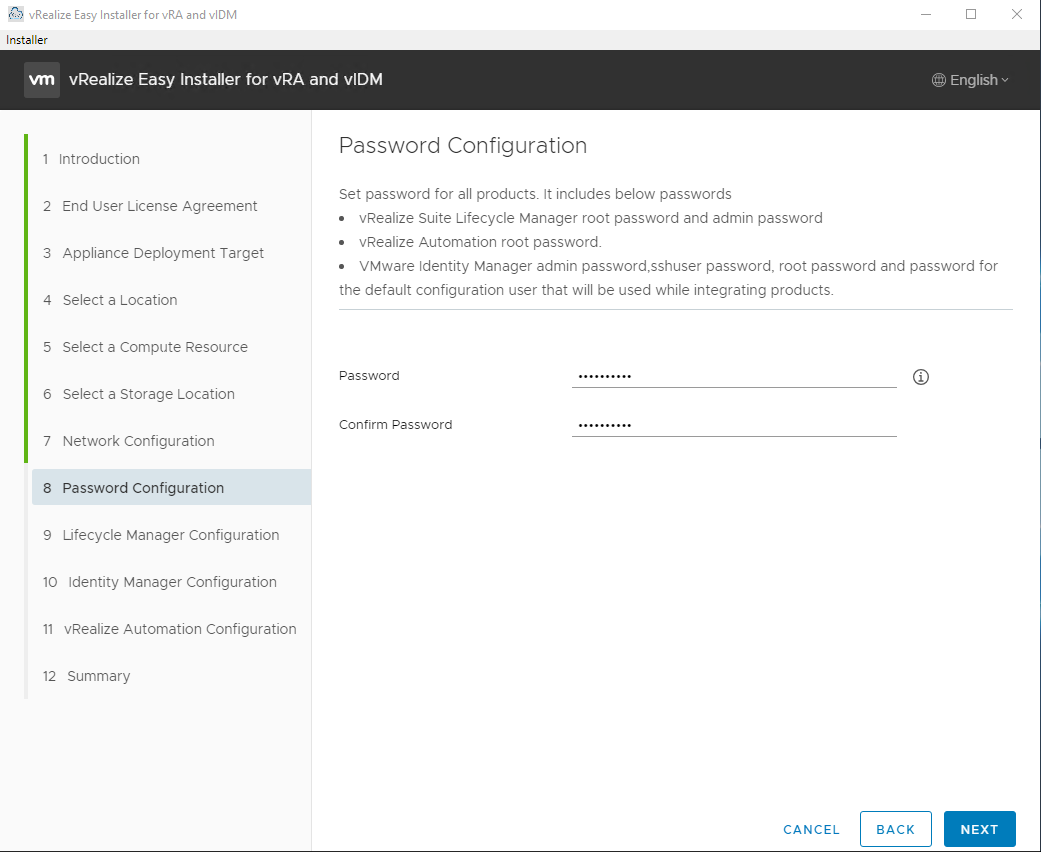
Enter the password that will be used for the root and configuration accounts (admin@local)
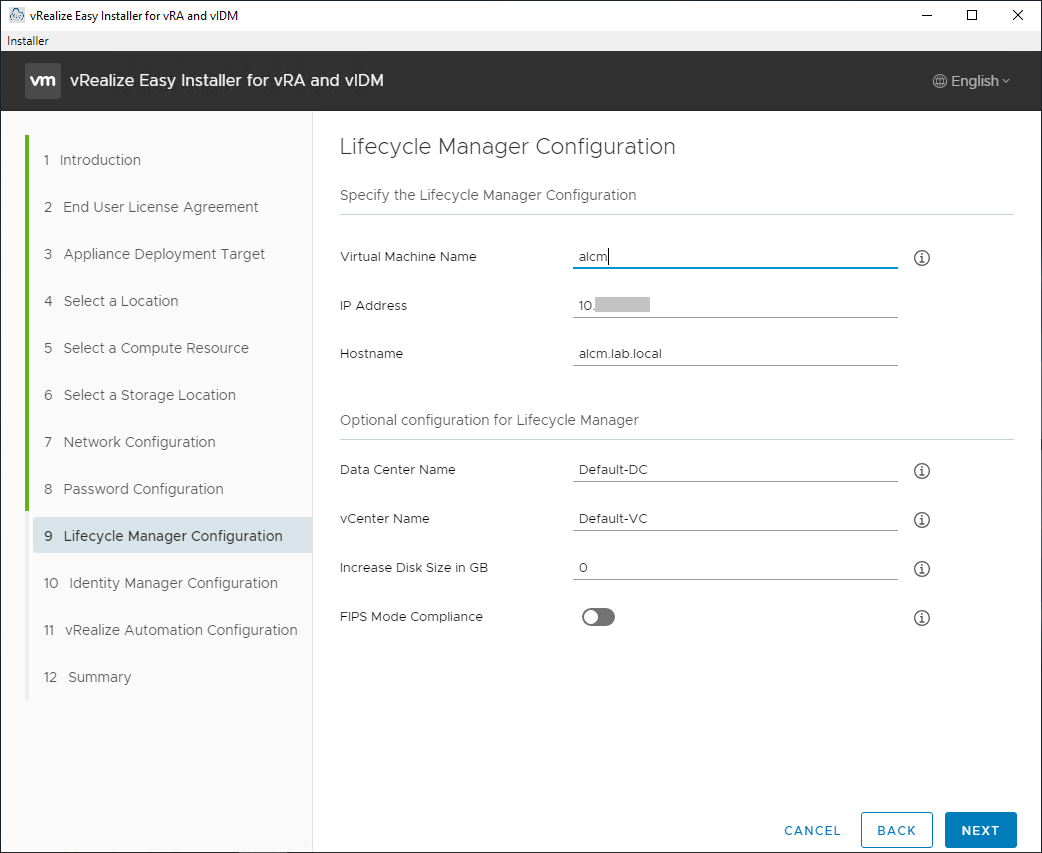
Specify the name to use for the VM, its IP address and its FQDN
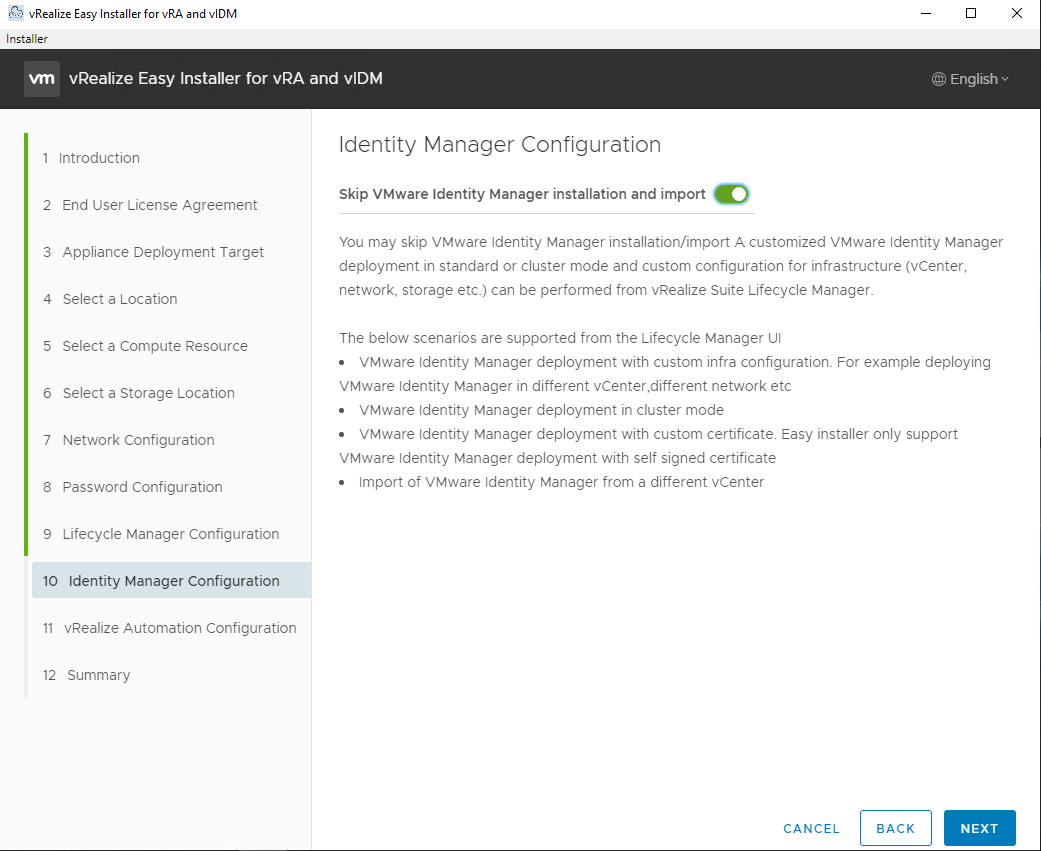
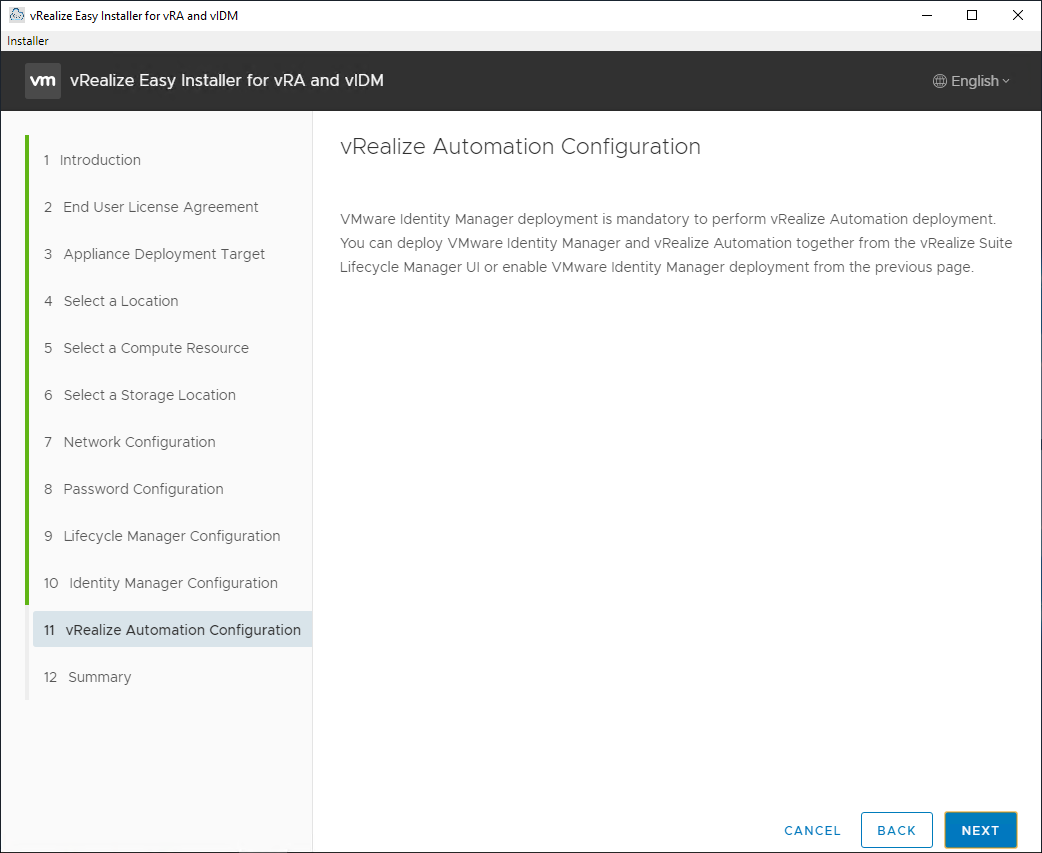
It is also possible to install Identity Manager and vRealize Automation in one step, I prefer to do it later directly from Lifecycle Manager.
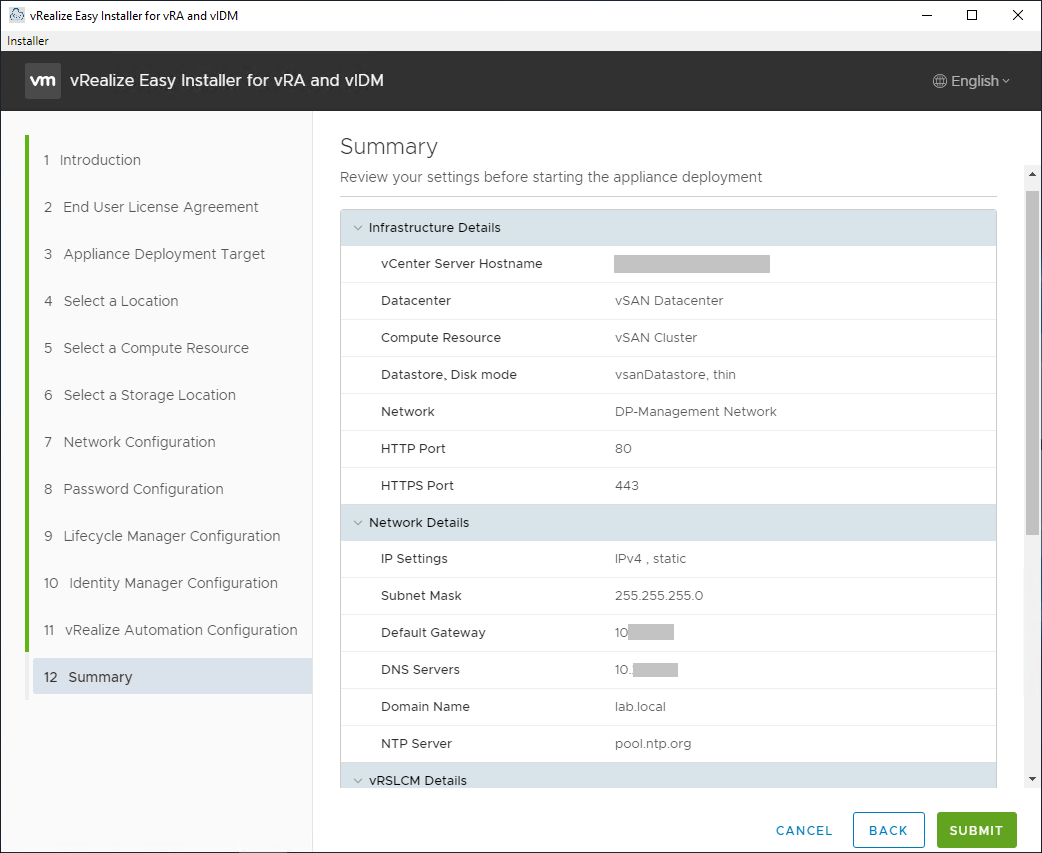
Let’s go to the summary of what has been selected and confirm the installation
Wait for the process to finish
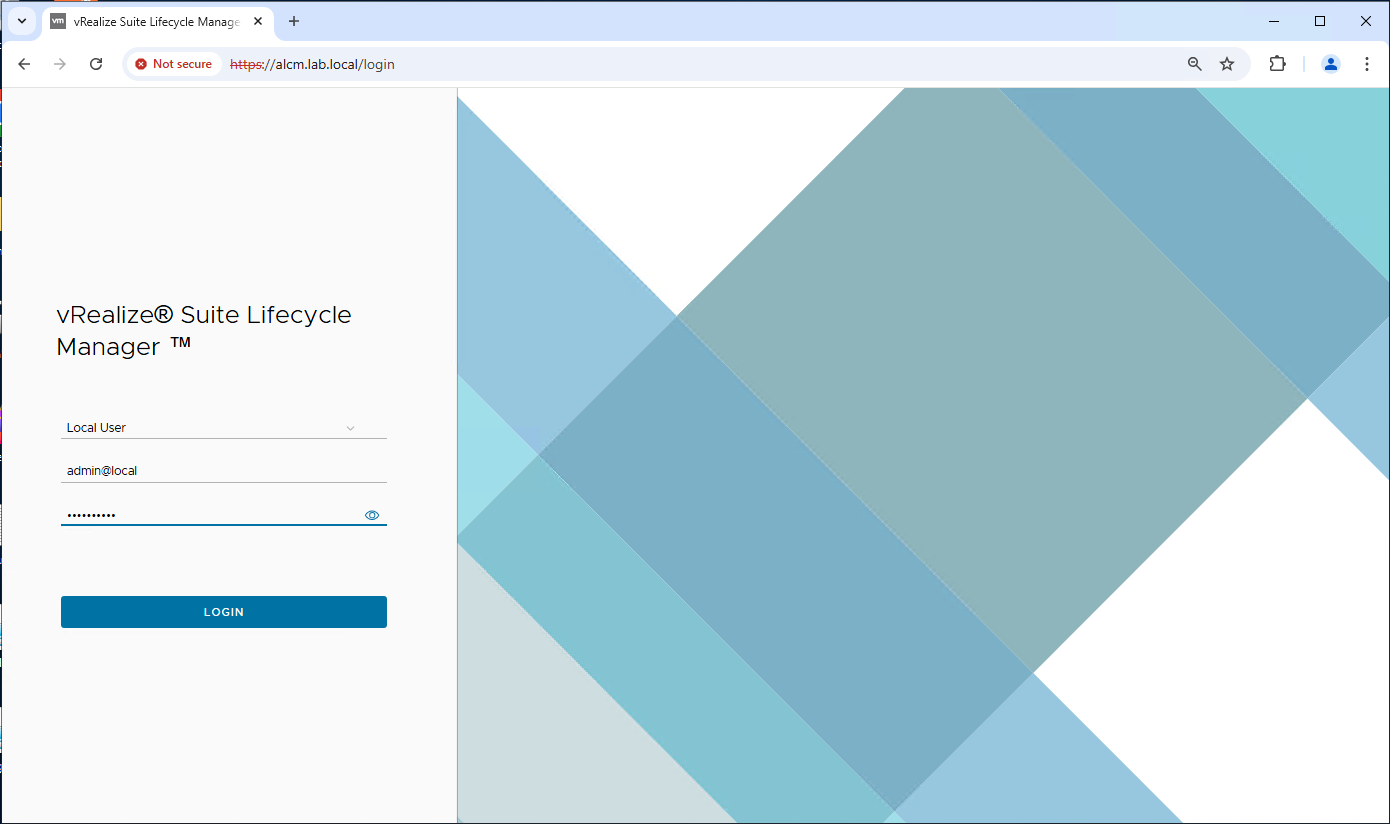
Installation completed successfully! Now we can connect to Lifecycle manager
To log in use the admin@local user with the password specified in the wizard
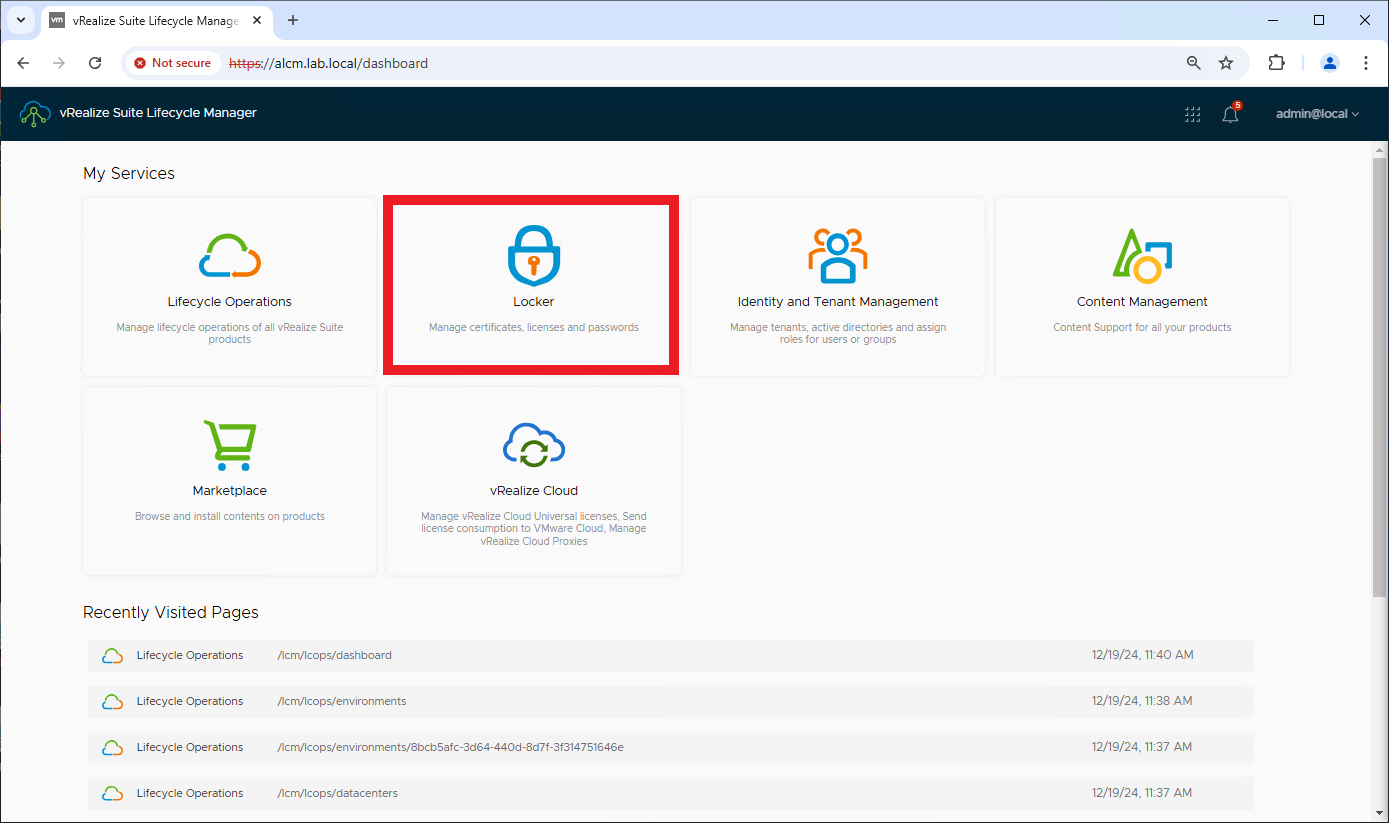
The dashboard of Lifecycle appears, select Locker to upload the certificates that will be used for the deployment of Workspace ONE and vRealize Automation
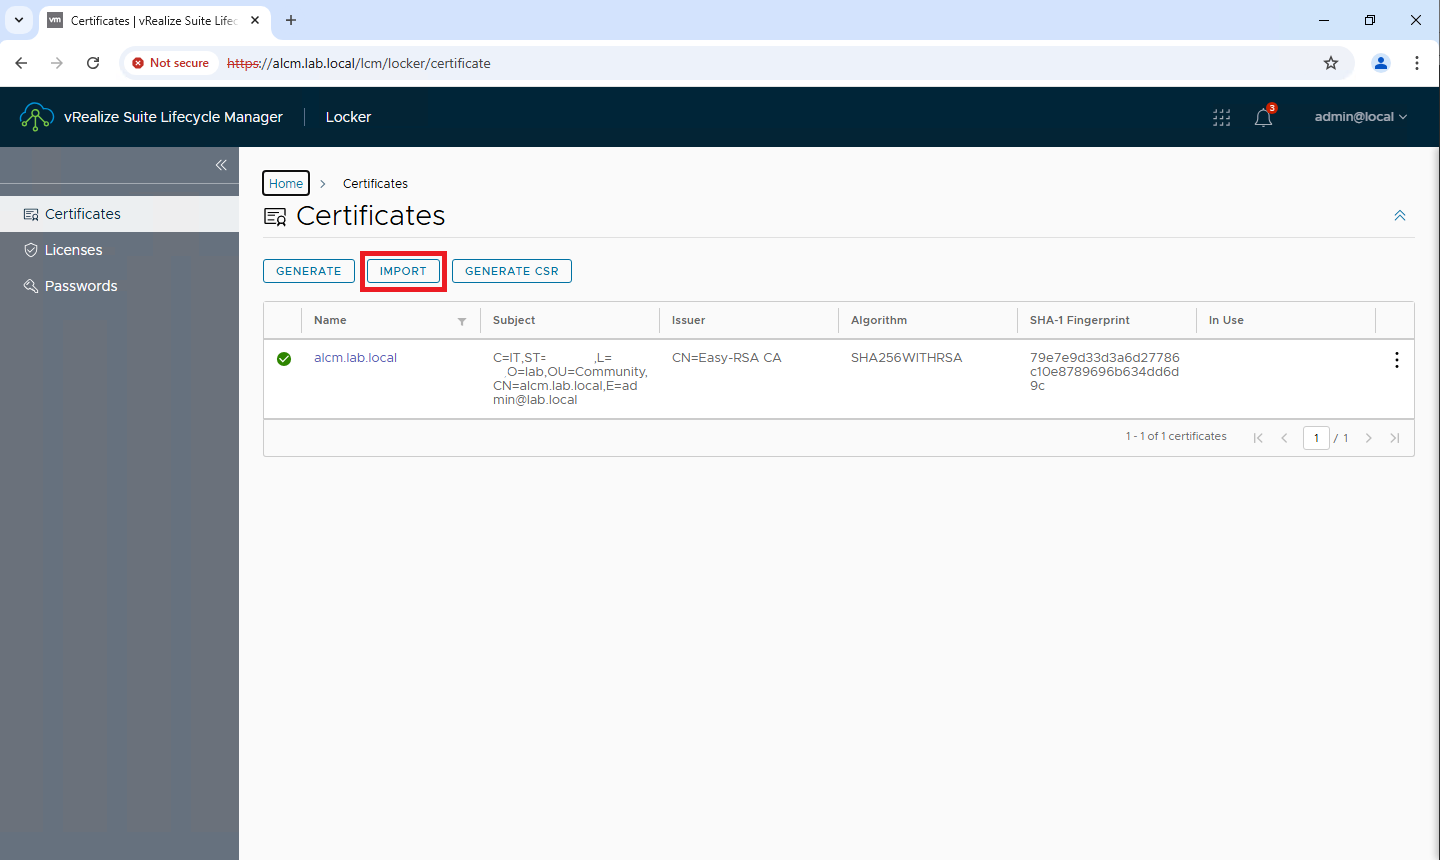
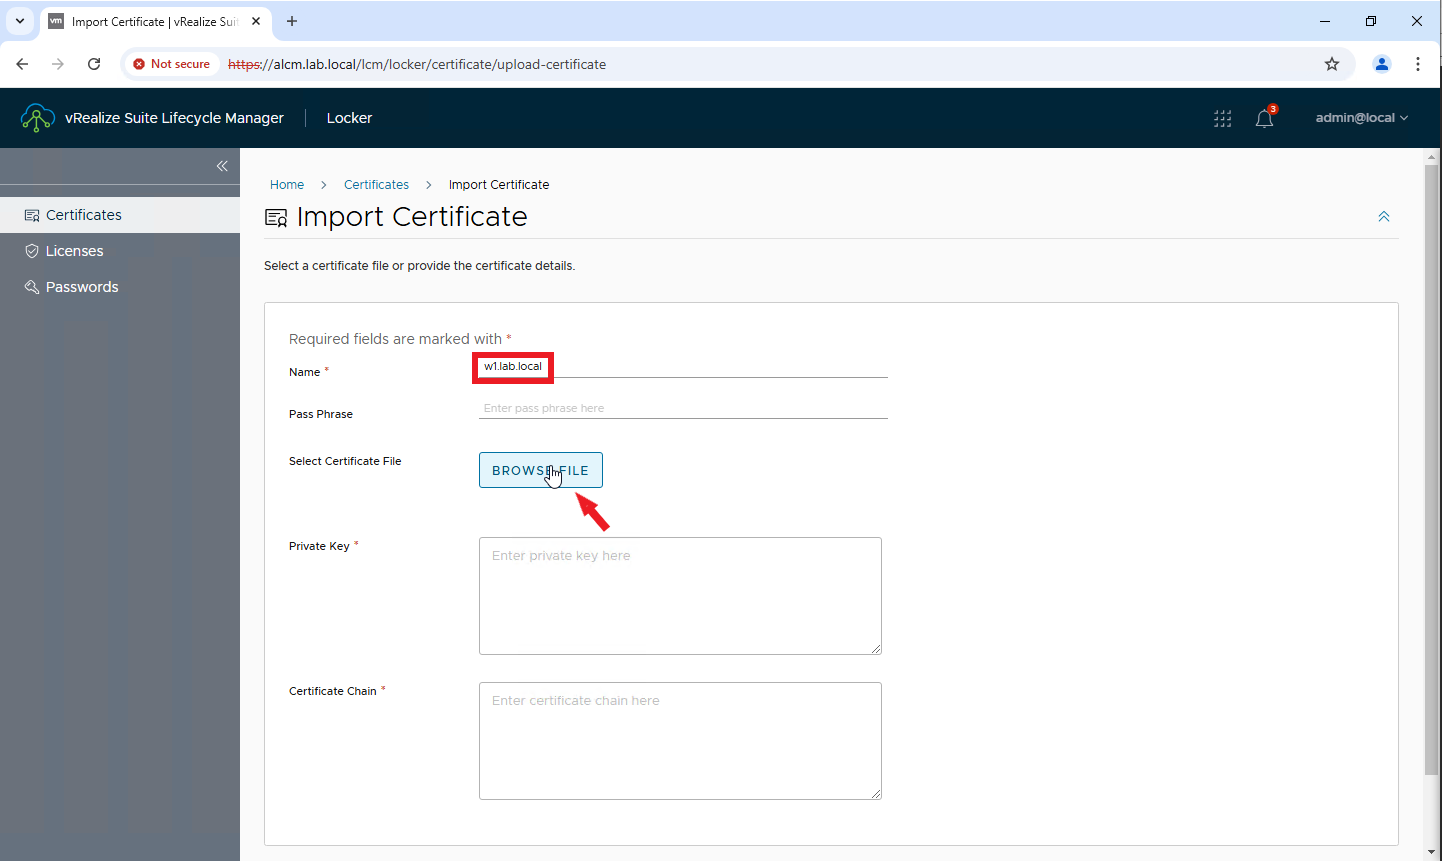
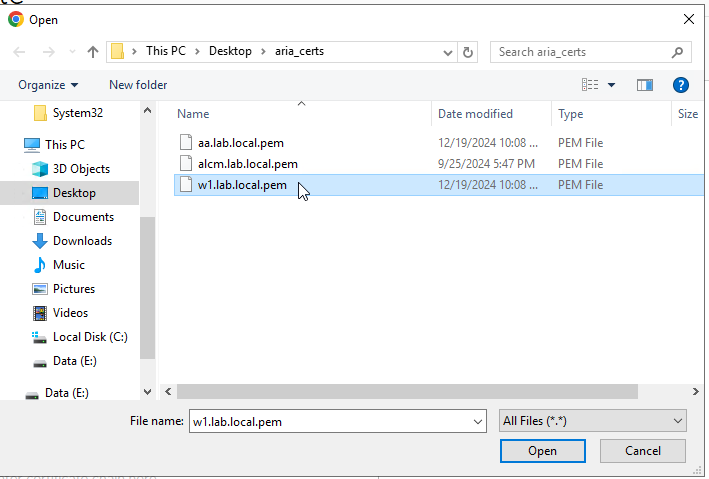
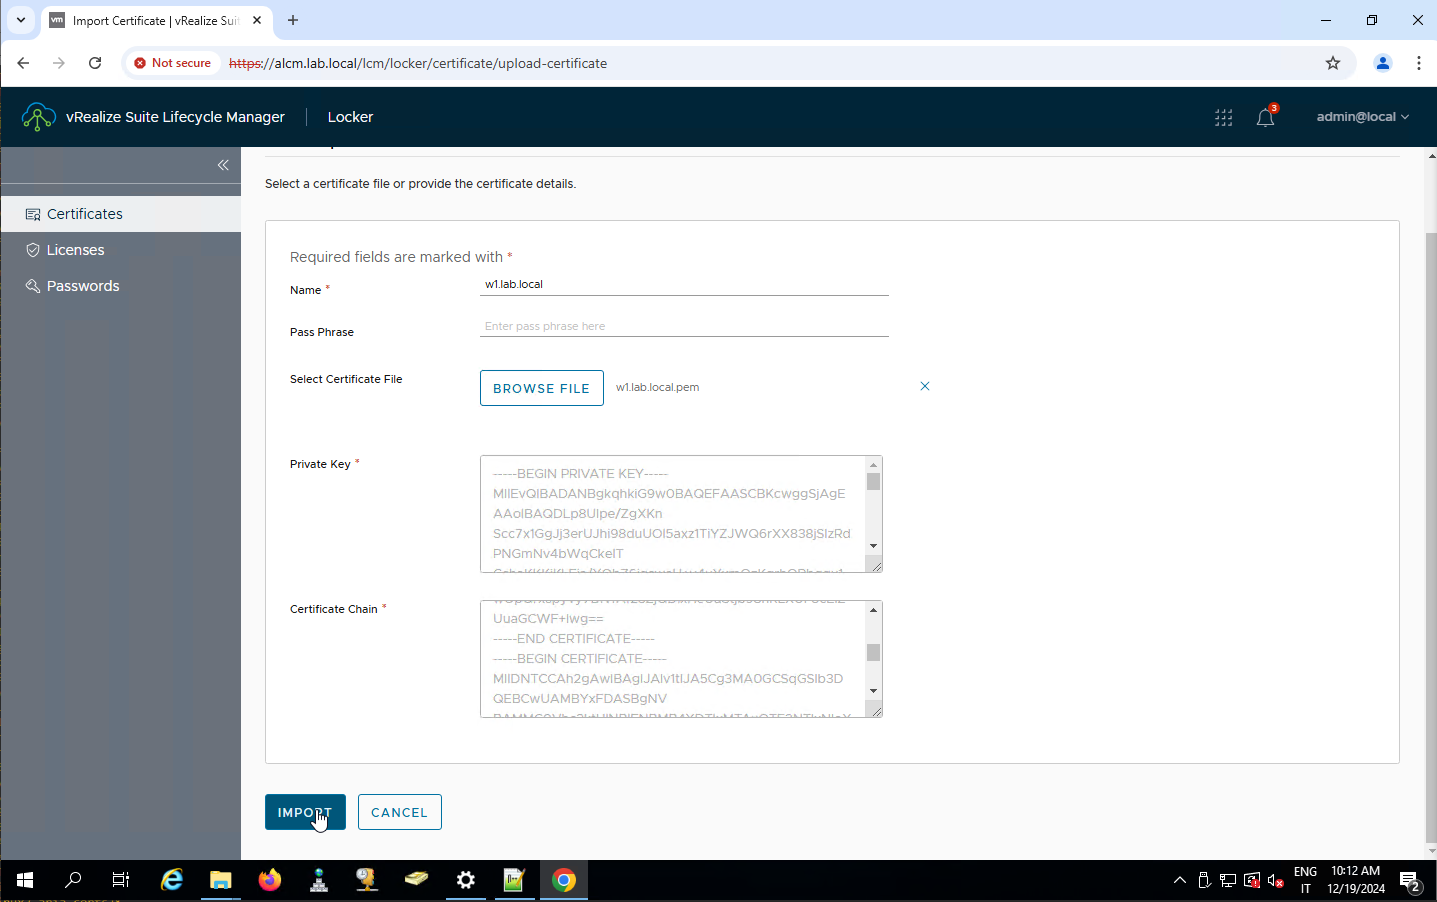
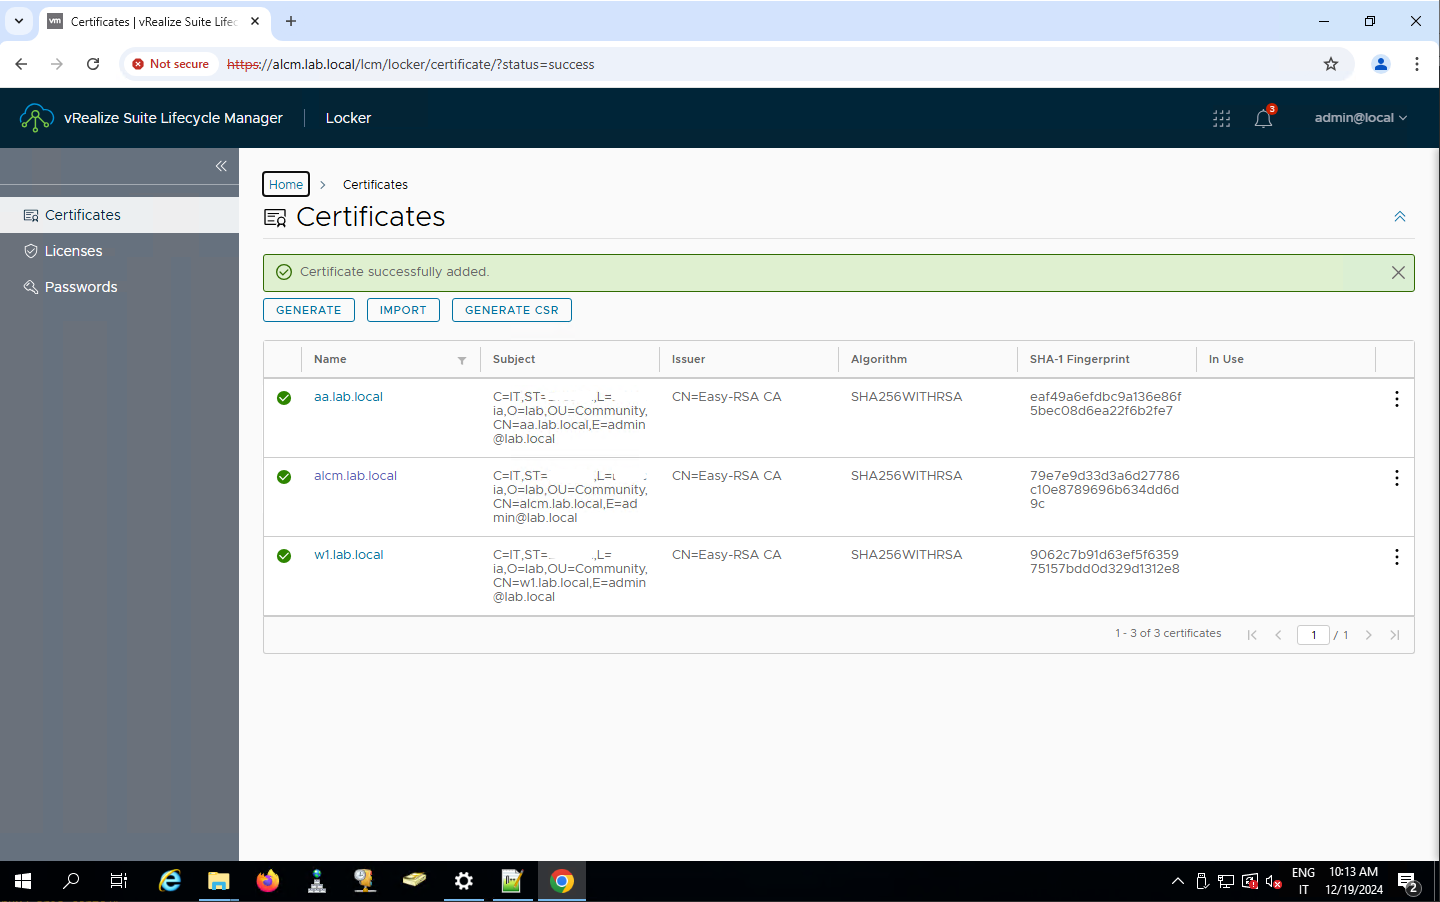
Import the certificates to be used, one for Workspace ONE and one for vRealize Automation. The certificates must be in PEM format and contain, in addition to the certificate itself, also the root CA with which they were signed and the relative public key. The order of the certificates within the PEM must be as follows: certificate + root CA + public key
Repeat the same operations also for the vRealize Automation certificate
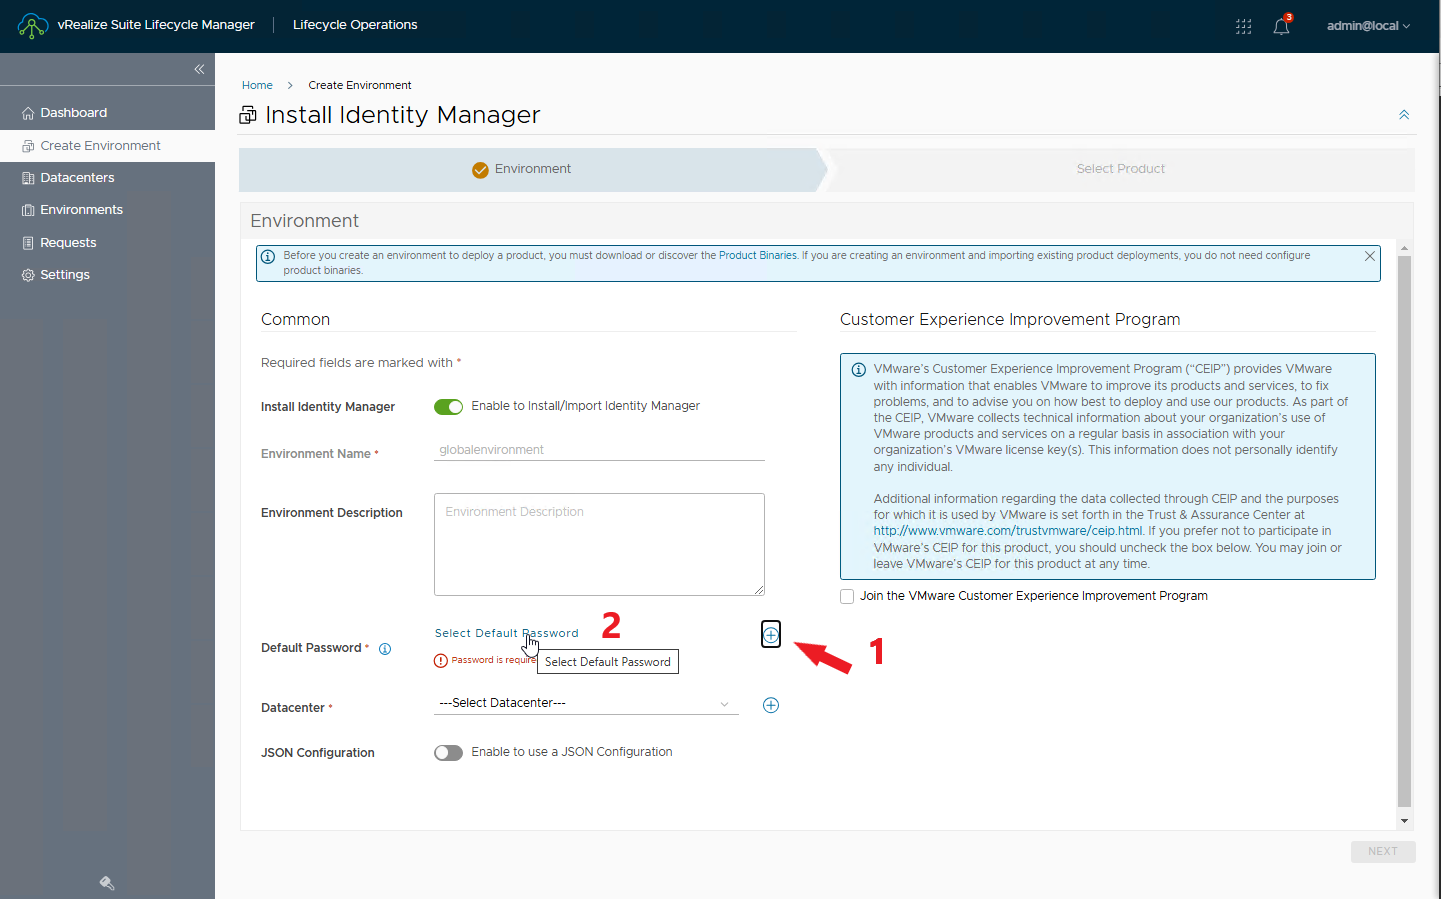
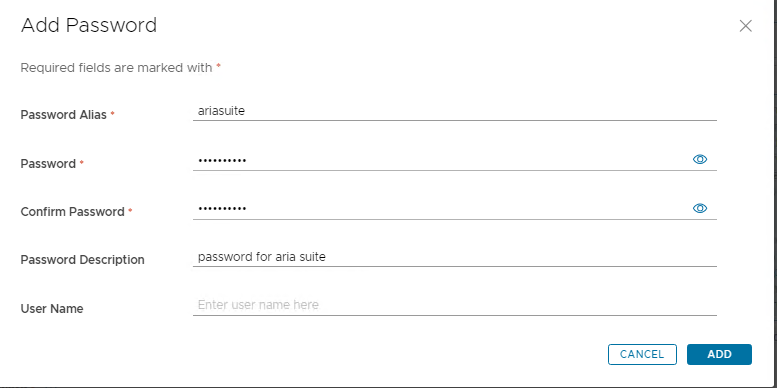
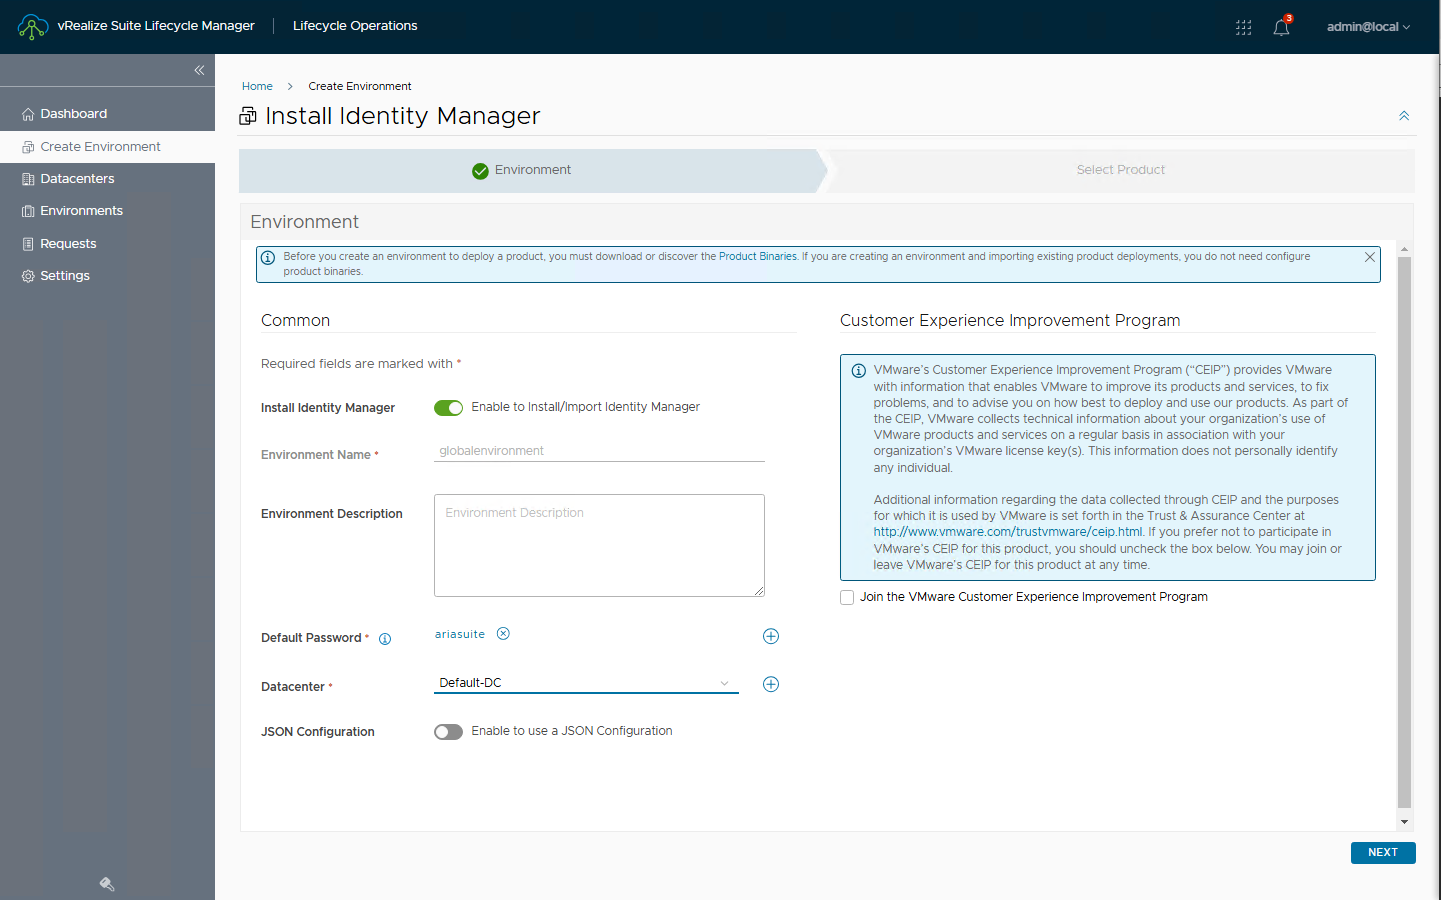
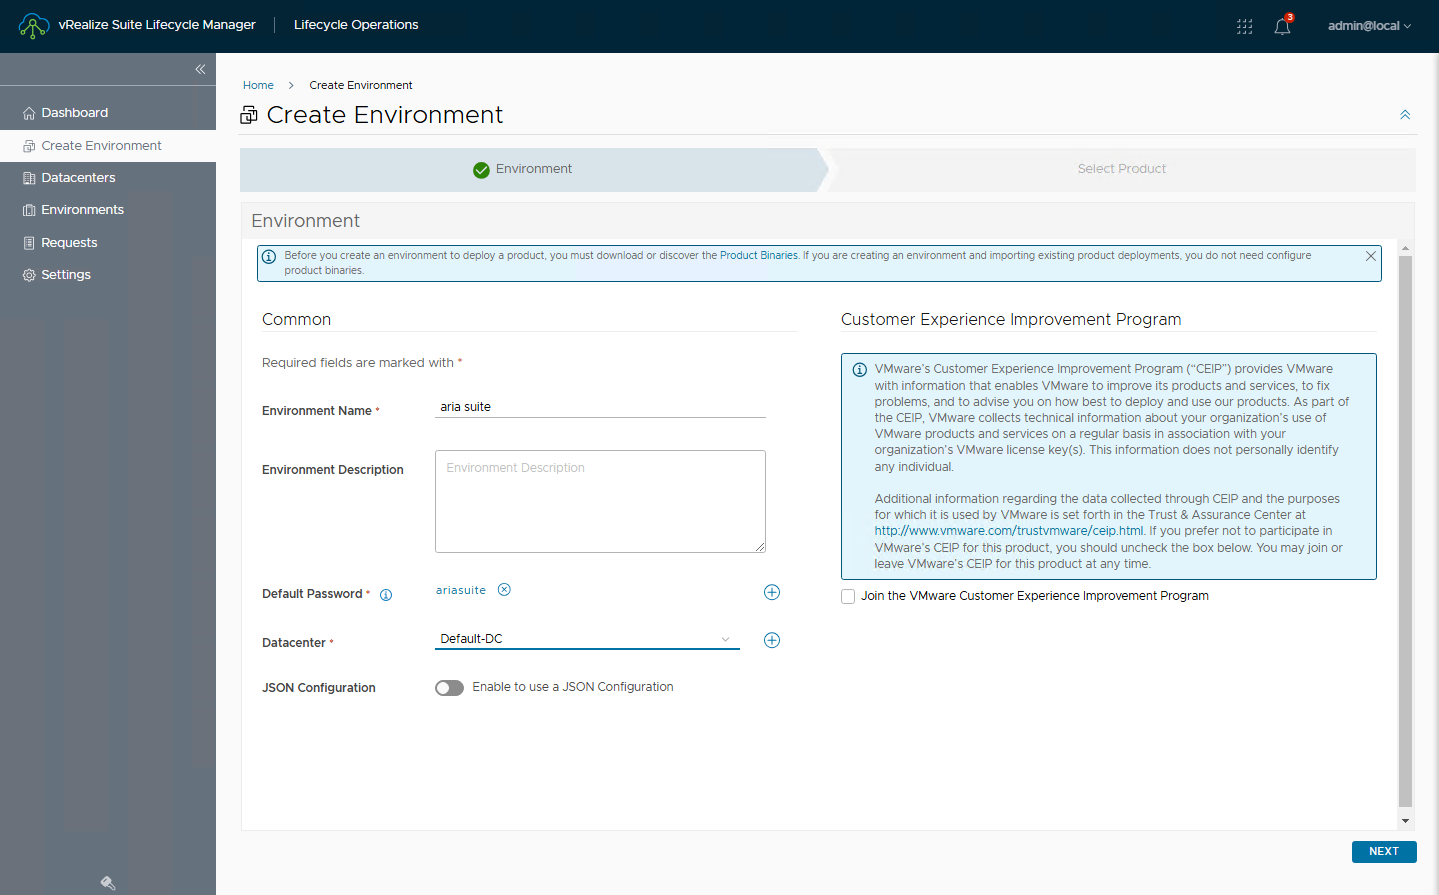
Let’s proceed with the installation of Workspace ONE, it will be necessary to simultaneously create the defaultEnvironment that will host it. Activate the flag for the installation, create the password to use for accessing Workspace ONE and select the destination Datacenter
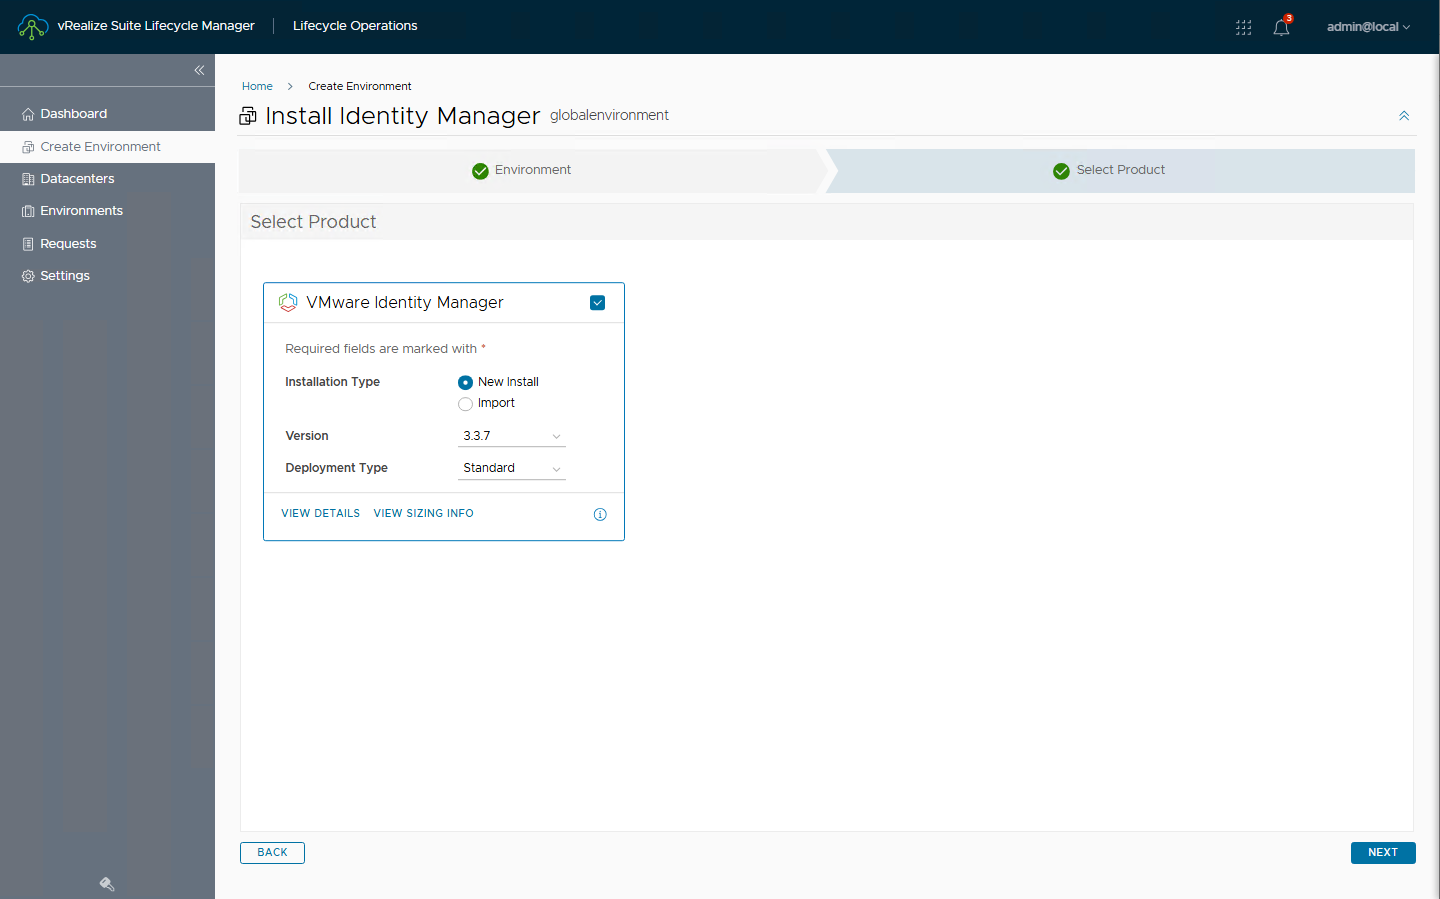
Select Identity Manager, a new installation, the version and the deployment type, for my lab Standard is fine (for production environments obviously select cluster)
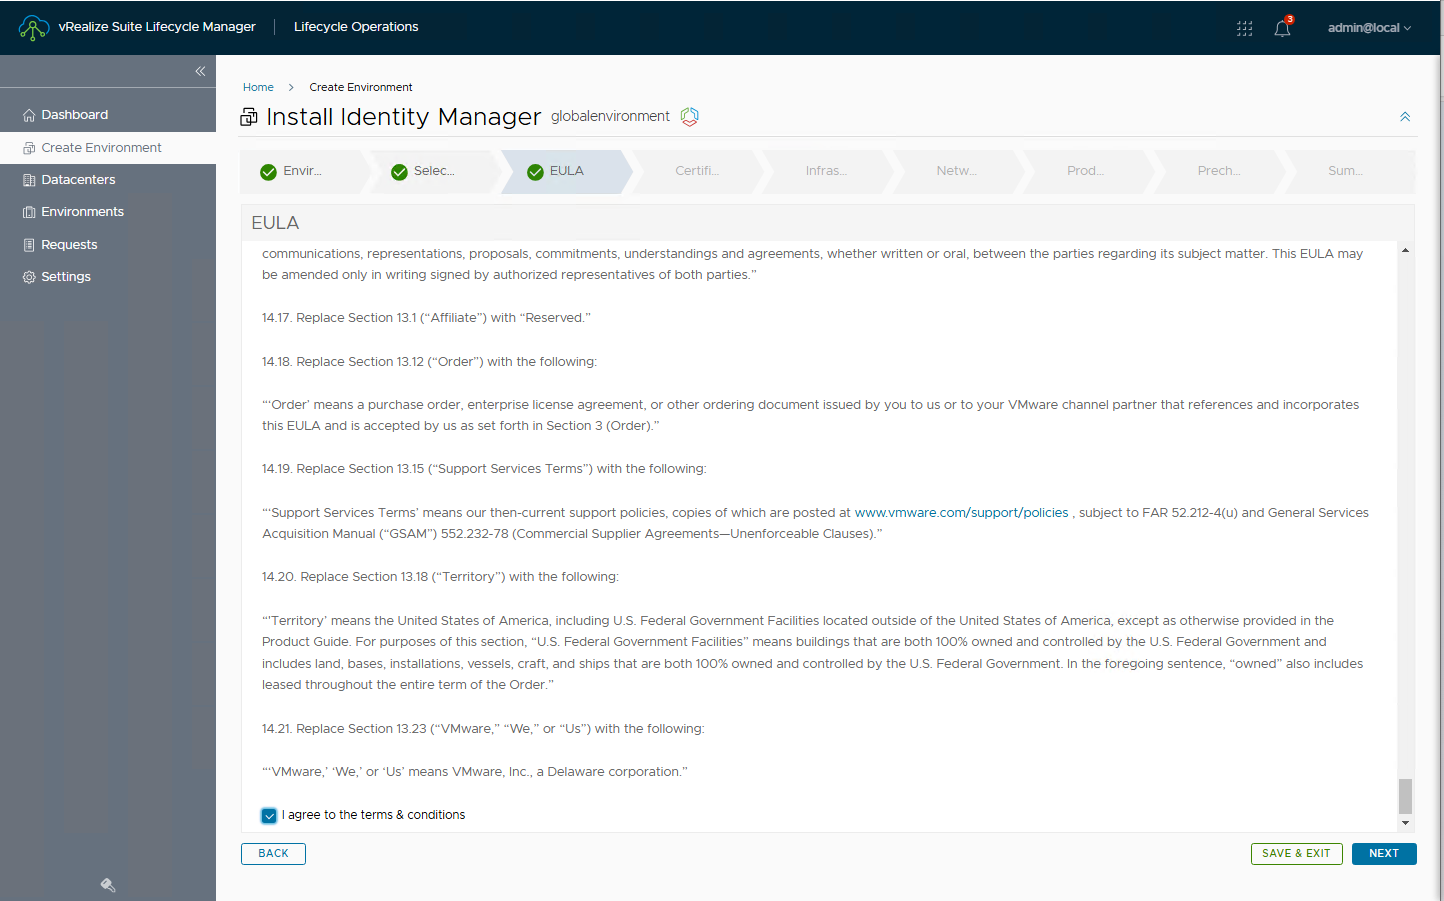
Accept EULA
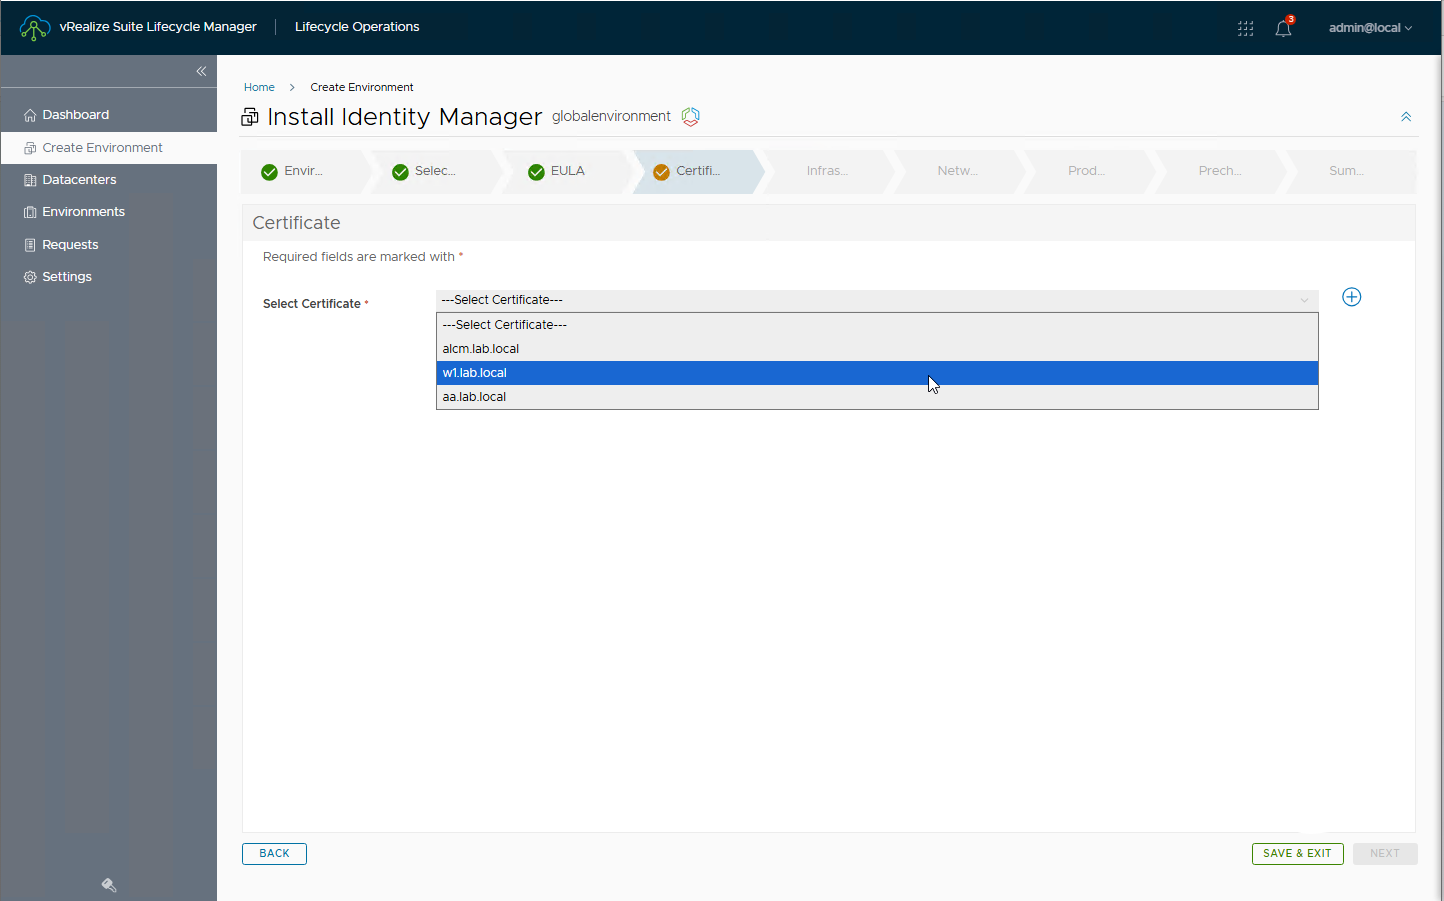
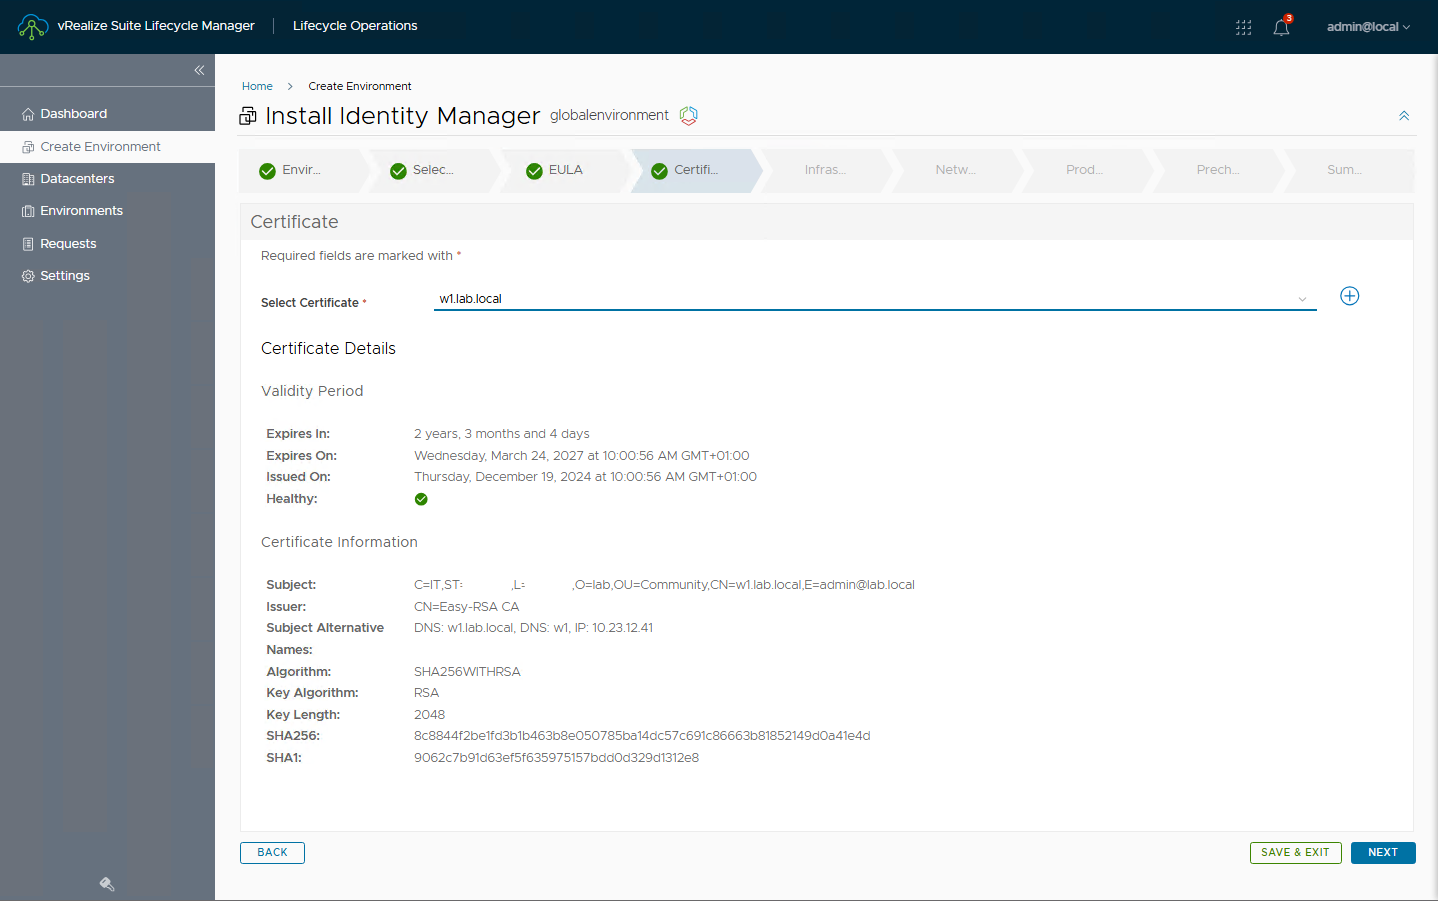
Select the previously imported certificate
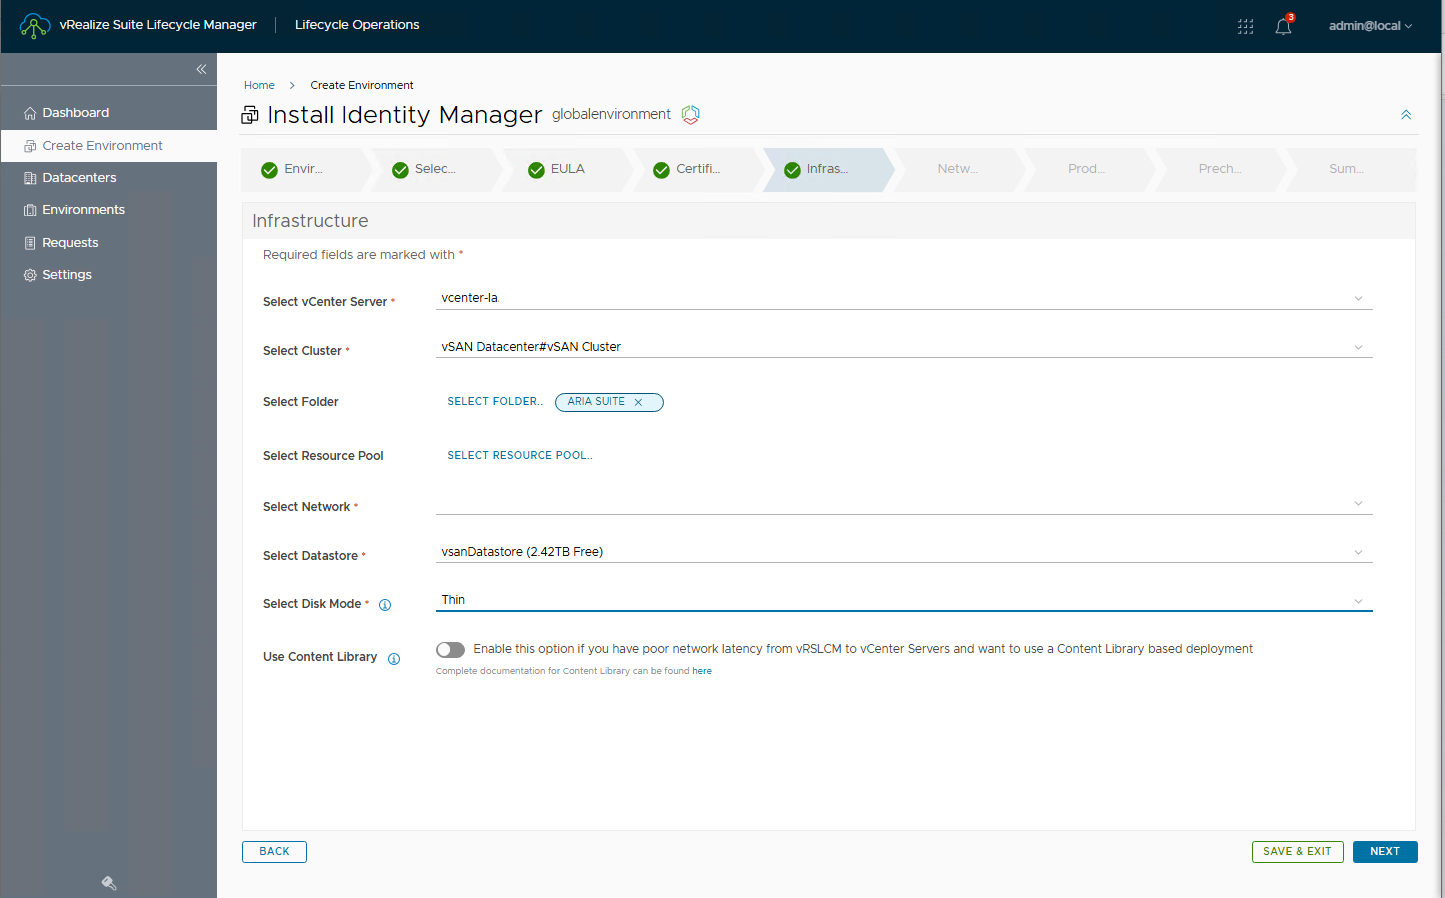
Enter the vcenter, select the target cluster and all other necessary data
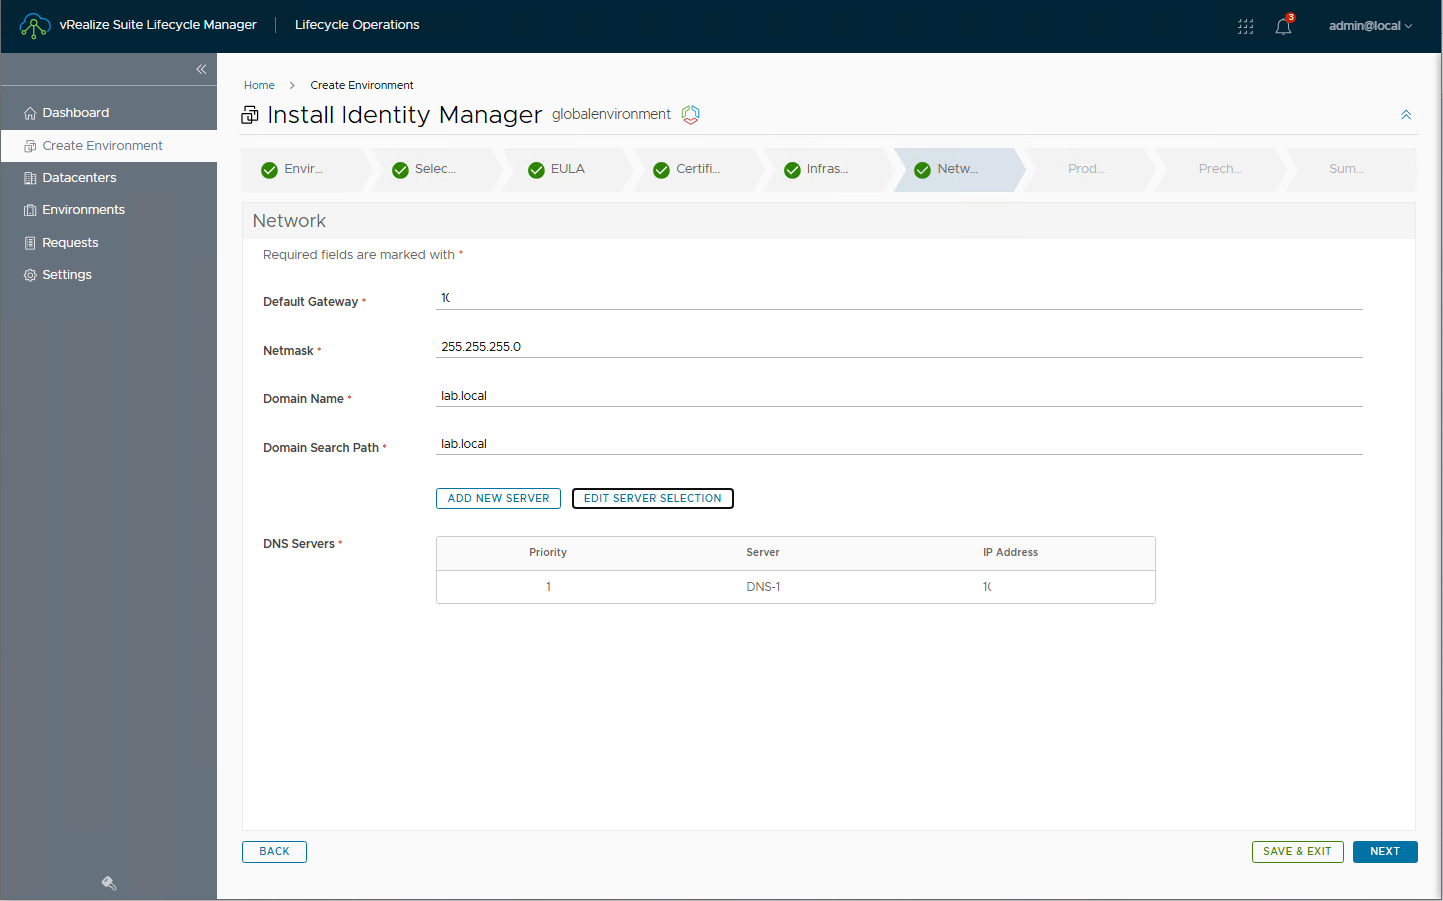
Enter the data relating to the network to which the appliance will be connected
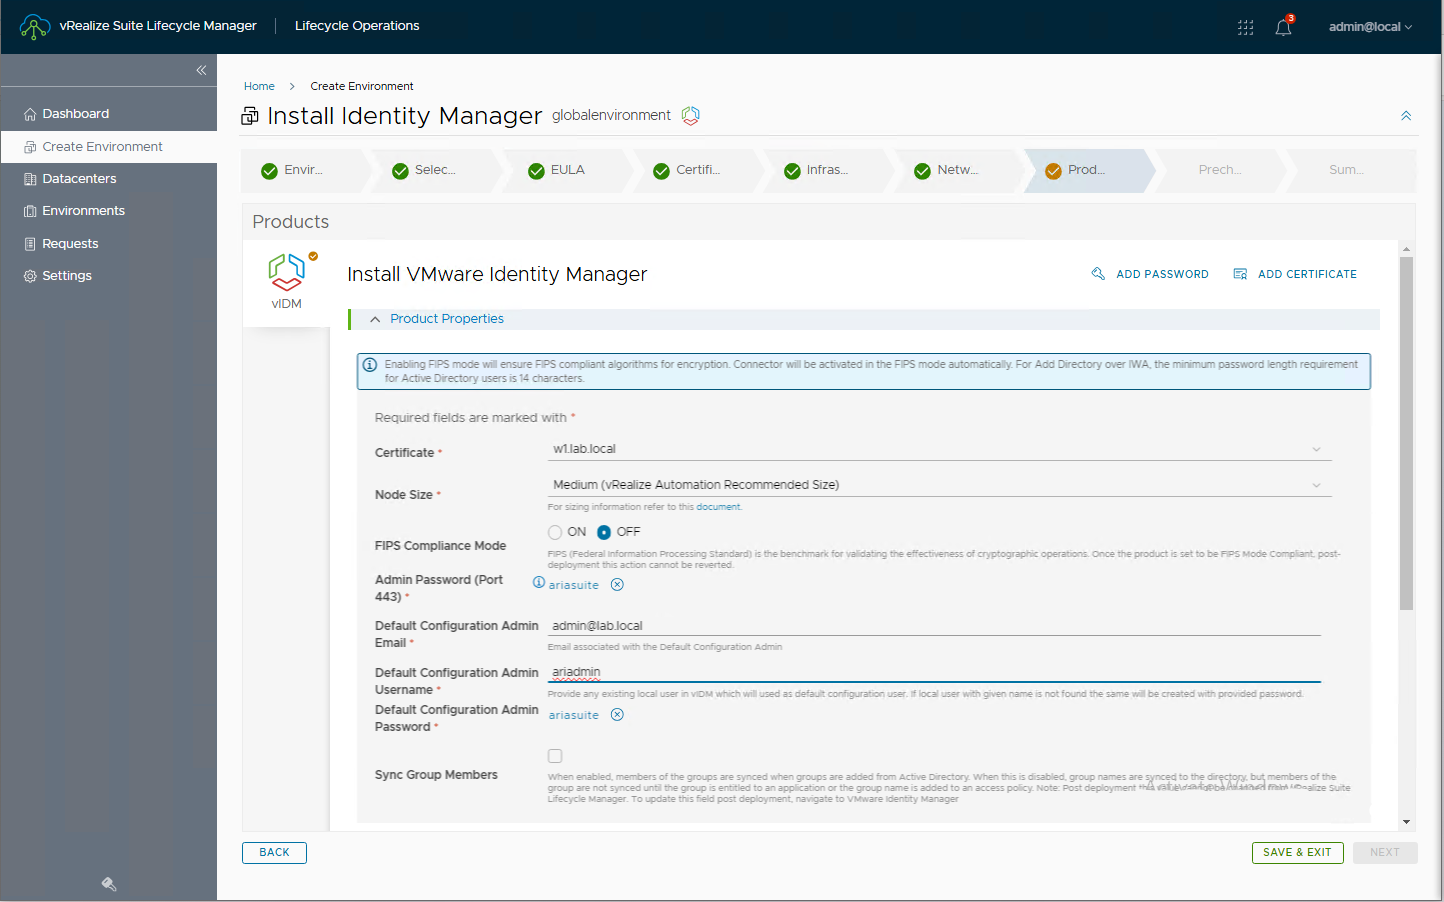
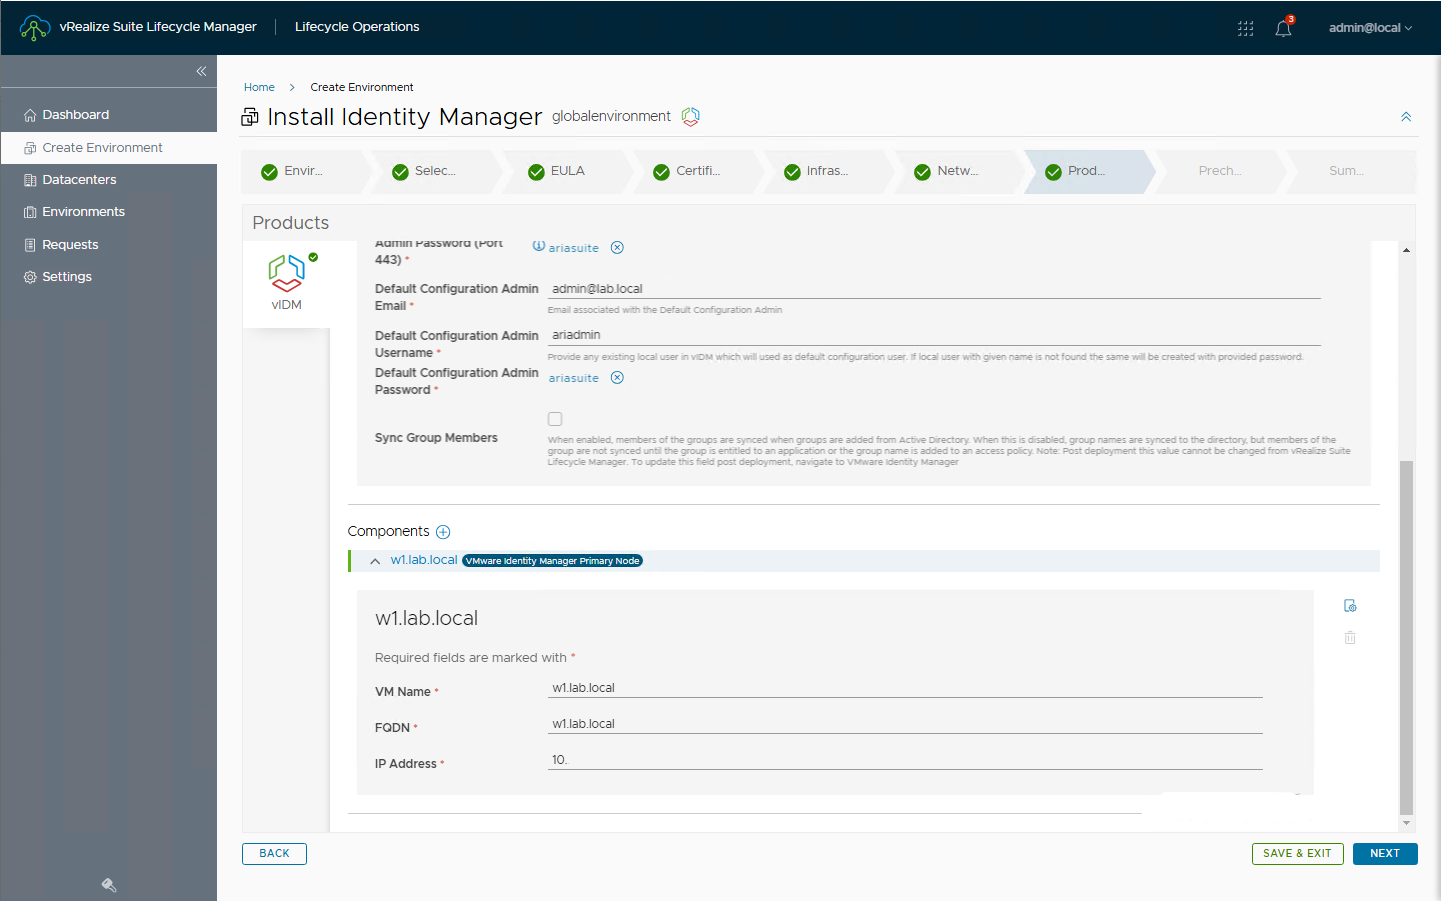
Select the appliance size (in this case Medium) and all other data
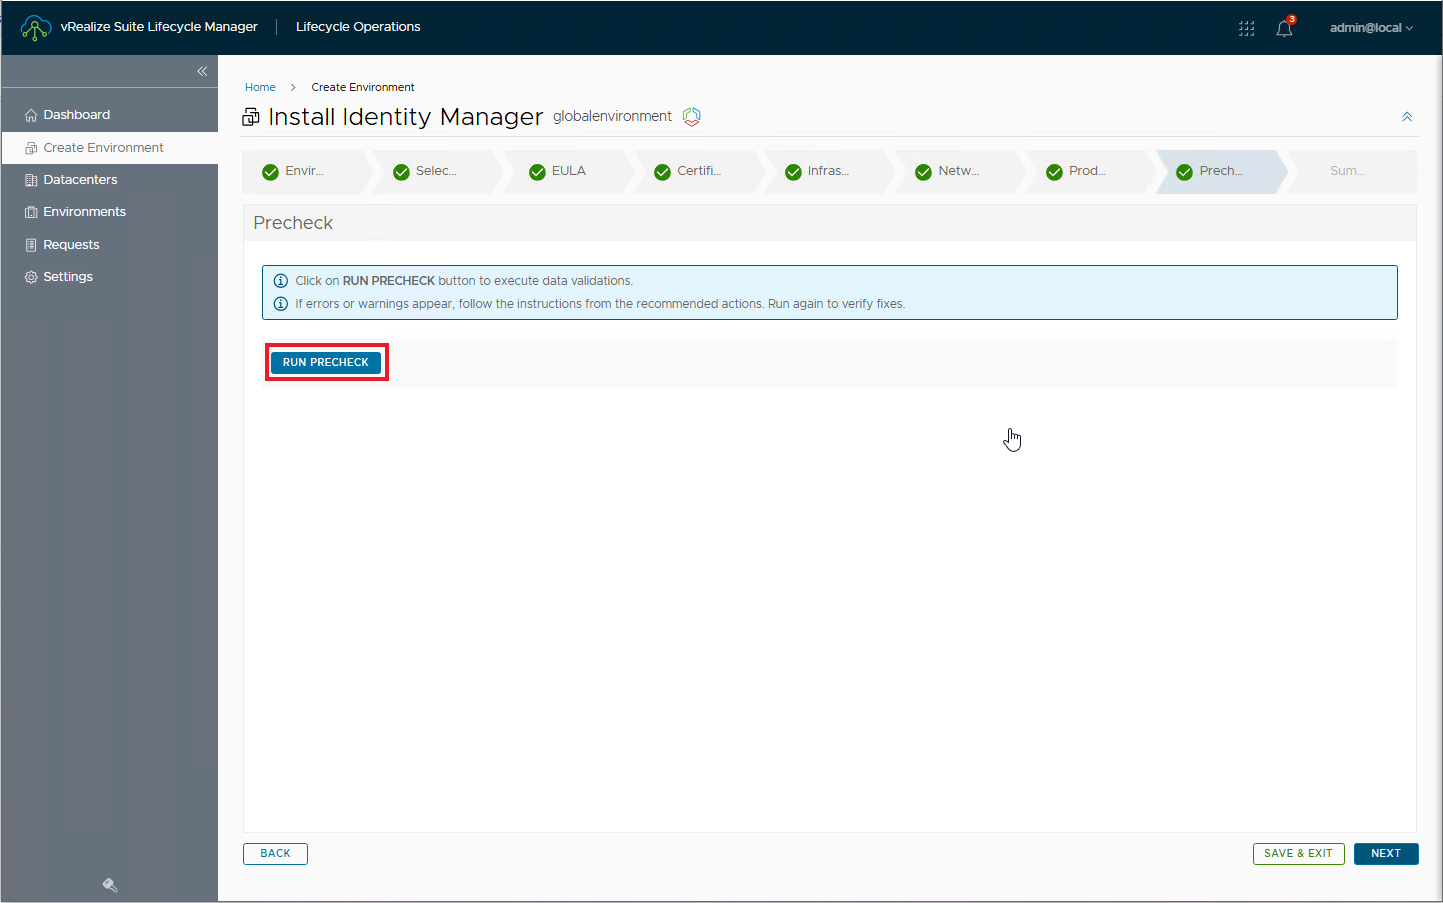
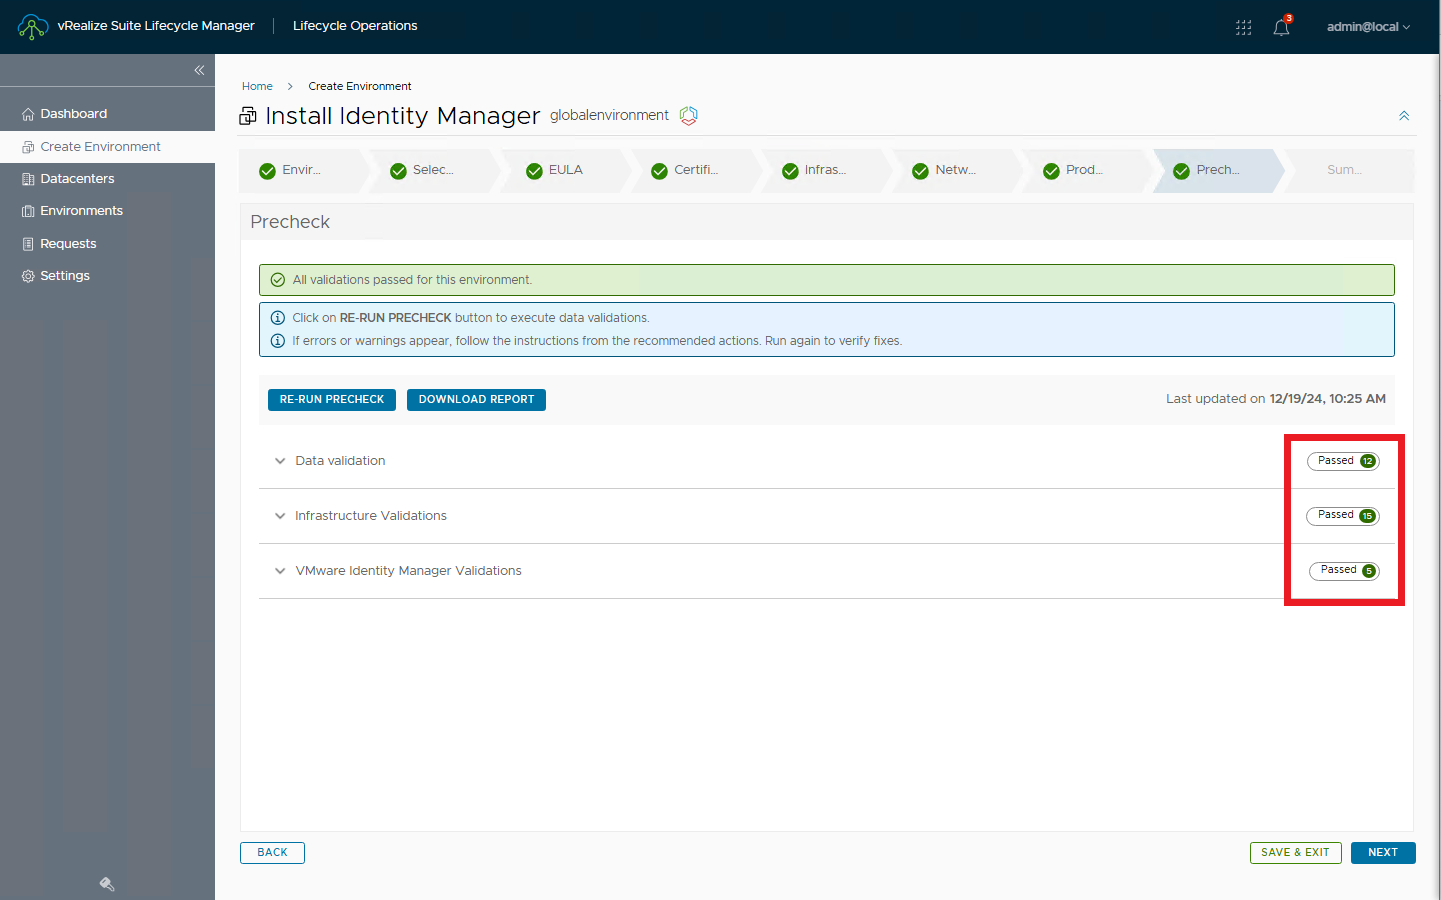
Run Pre-checks to verify that all data is correct
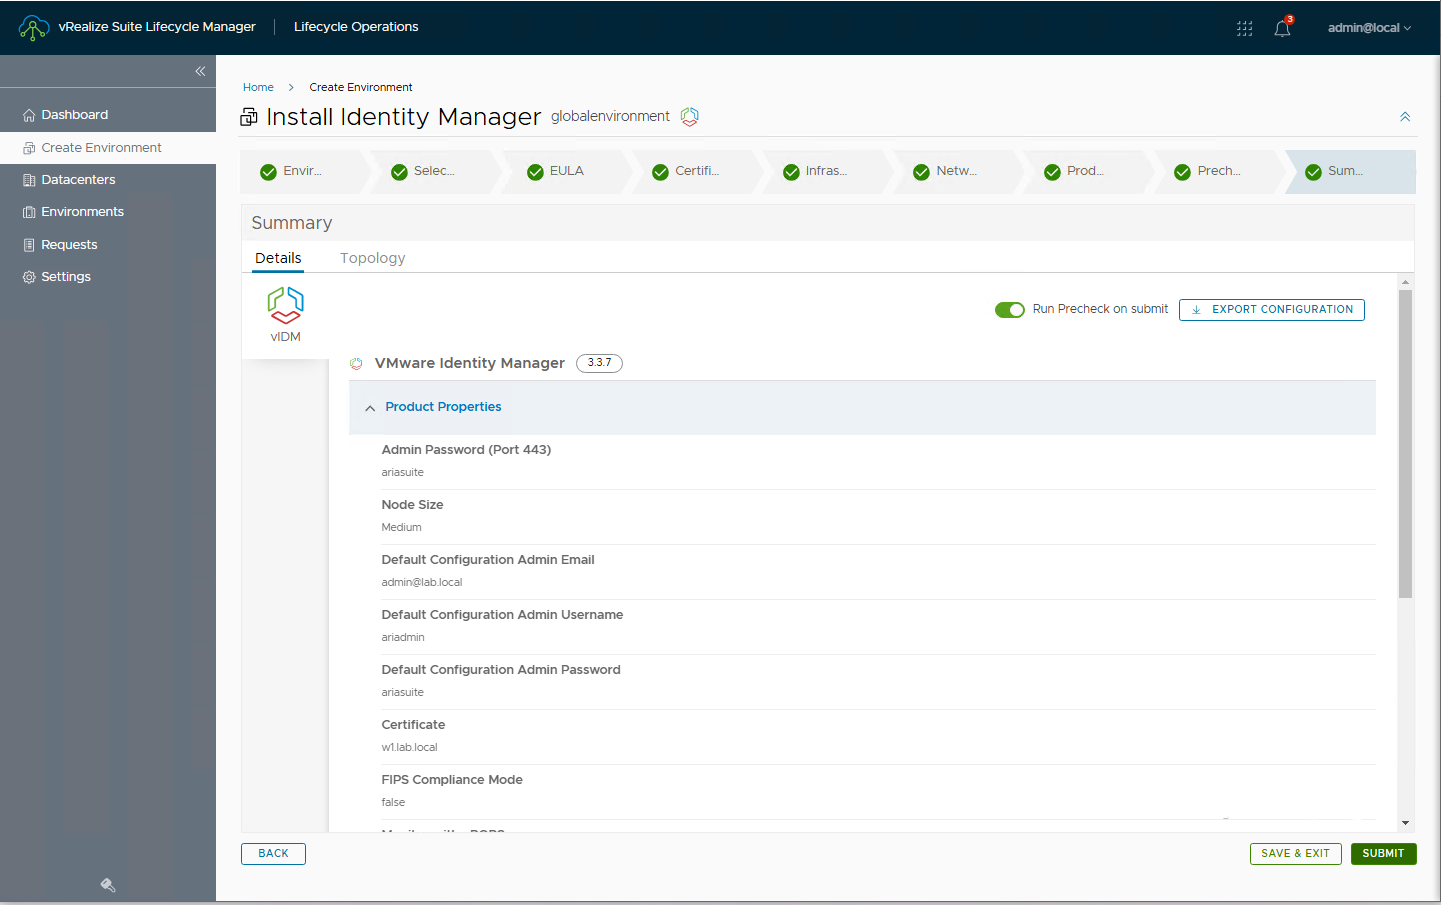
Go to summary and hit submit to start deploying the appliance
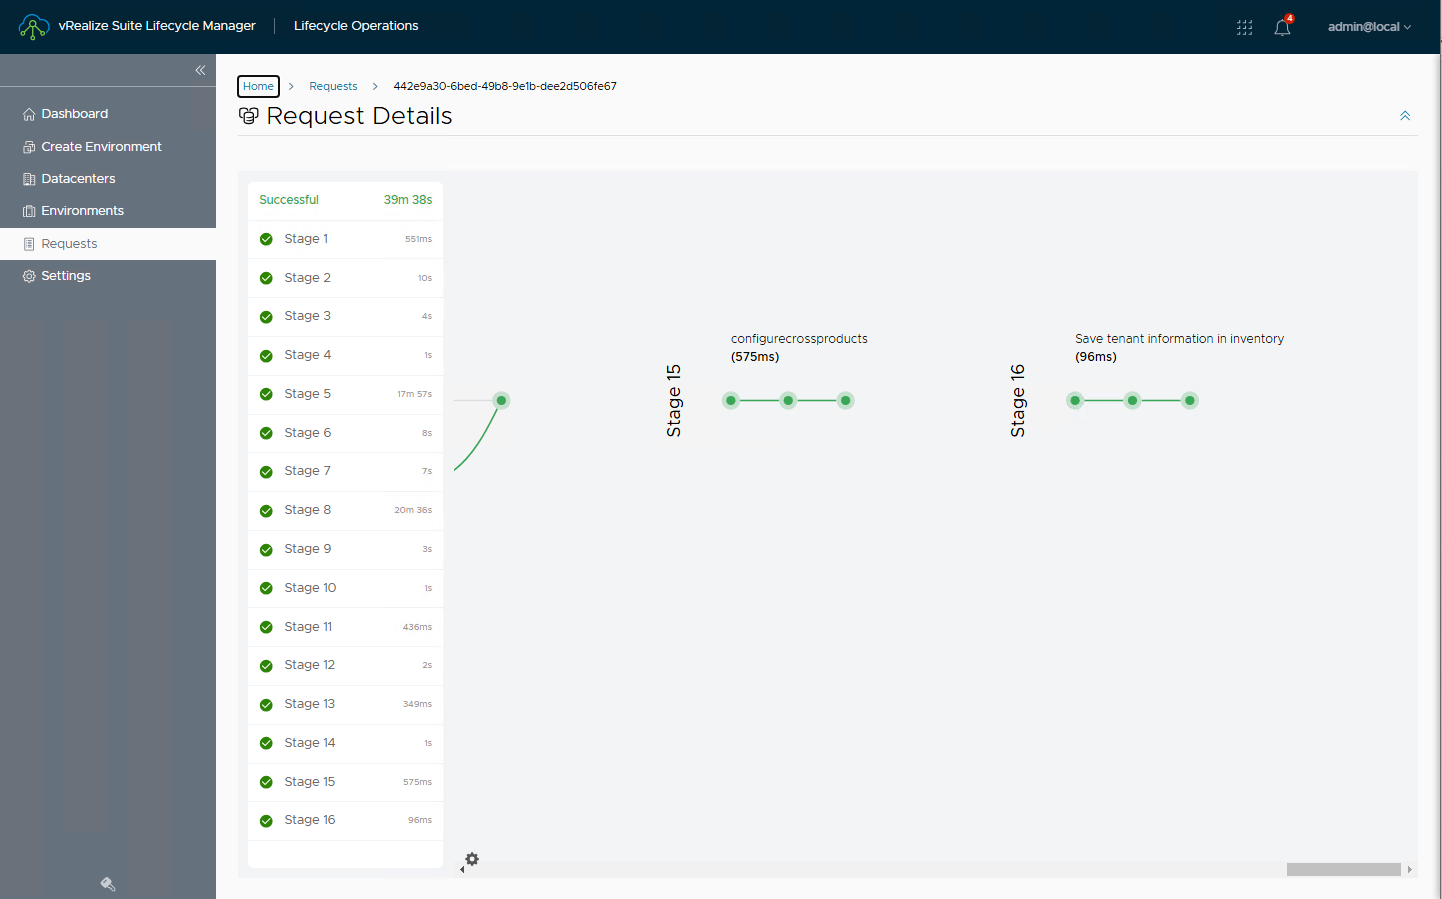
Under Requests you will be able to follow all the installation steps
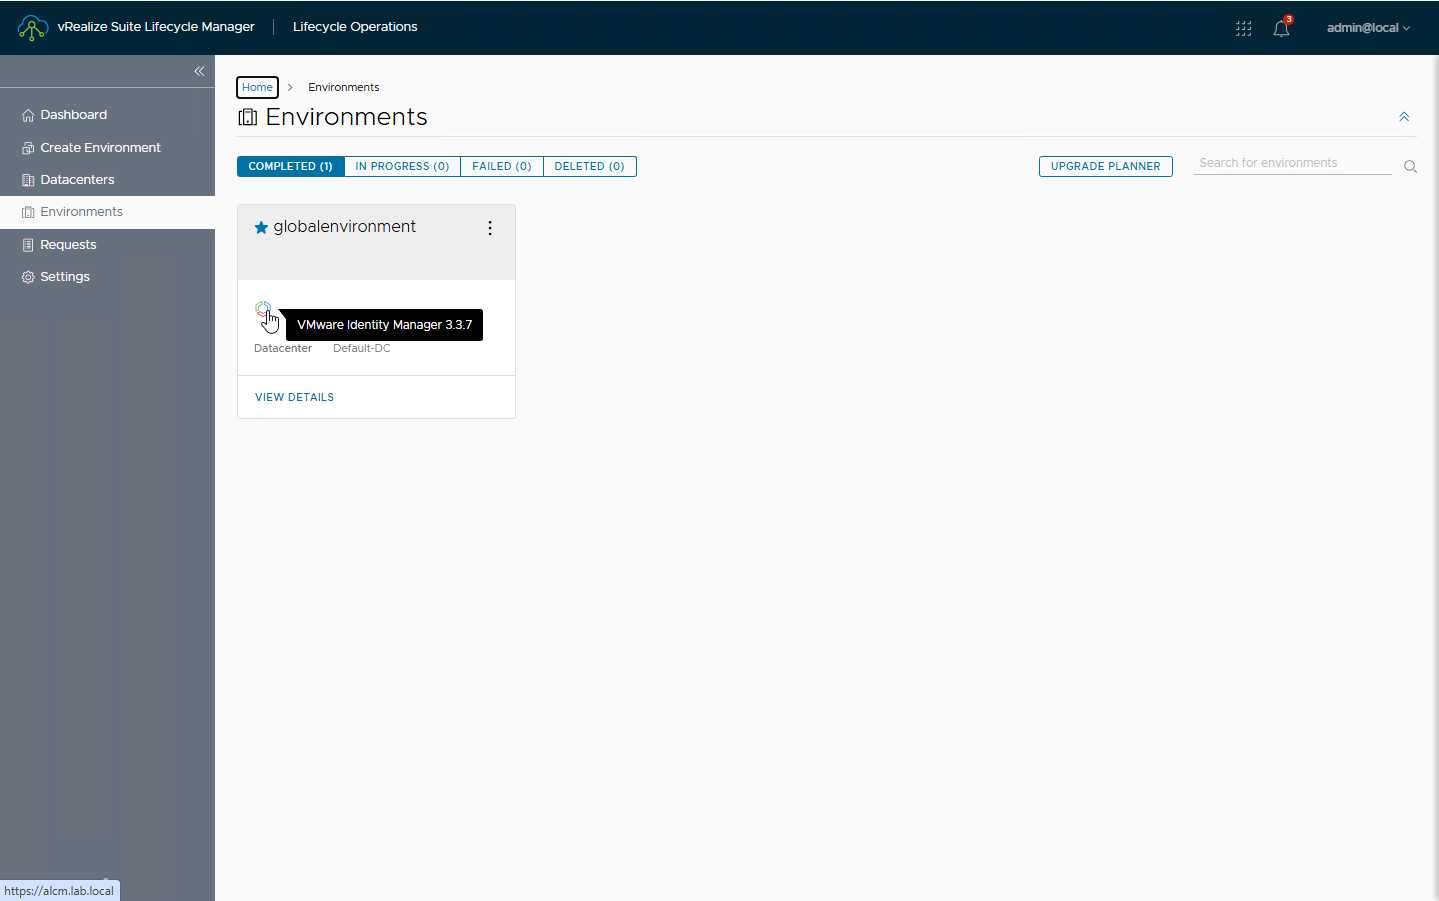
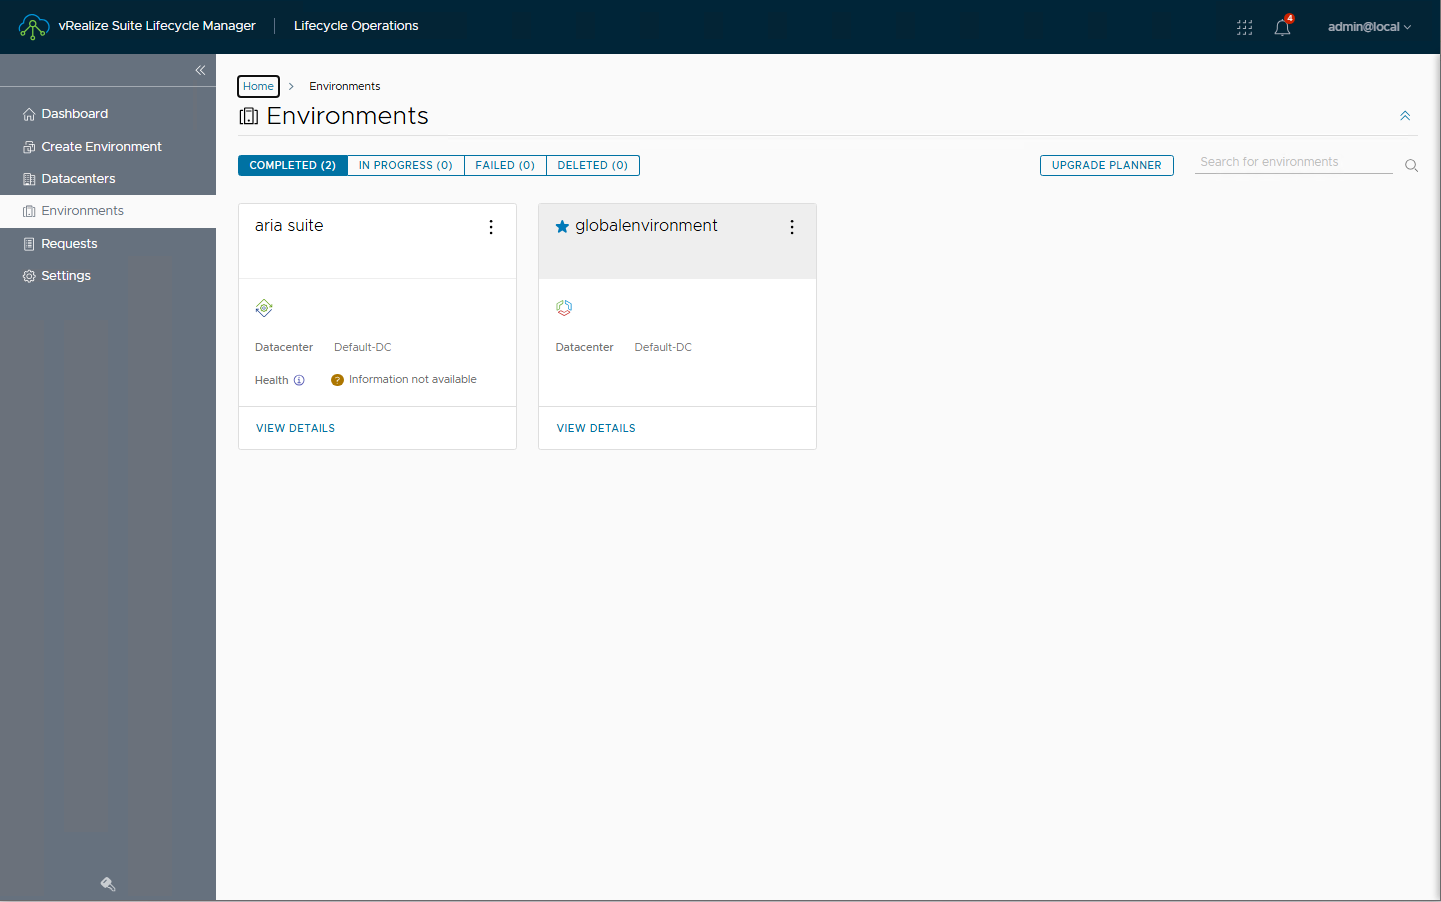
If the installation was successful you will be able to see the identity manager present in the globalEnvironment
Now that the globalEnvironment has been created and Workspace ONE is installed, we can proceed with creating the environment for vRealize Automation and installing it. The procedure is very similar to the previous one.
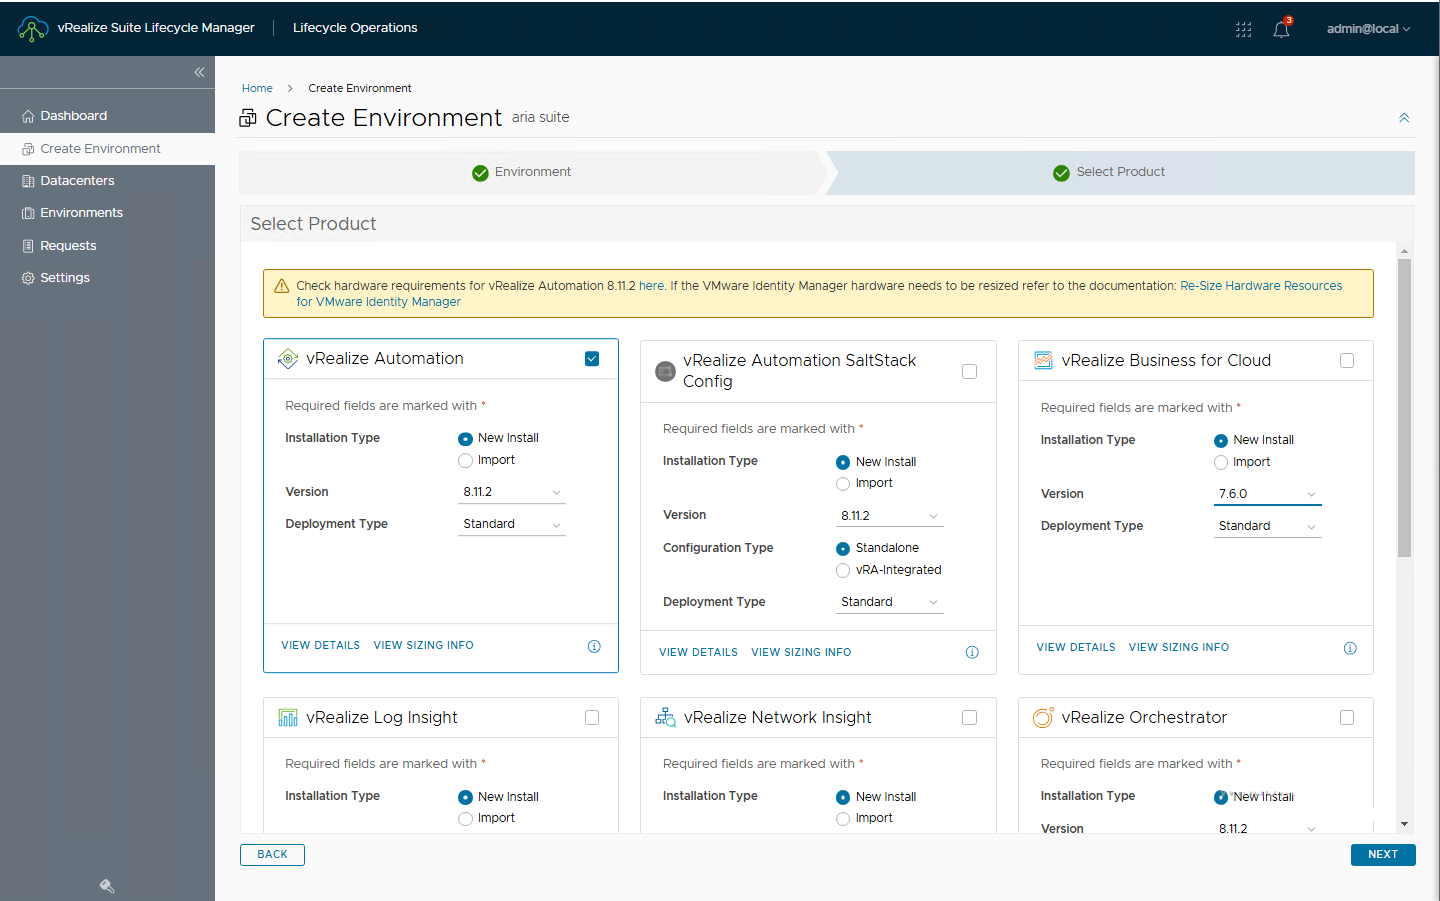
Select the component to install: vRealize Aria Automation
NOTE: the selection also includes all the other products of the vRealize suite, however the Easy Installer includes only the ISO for Automation
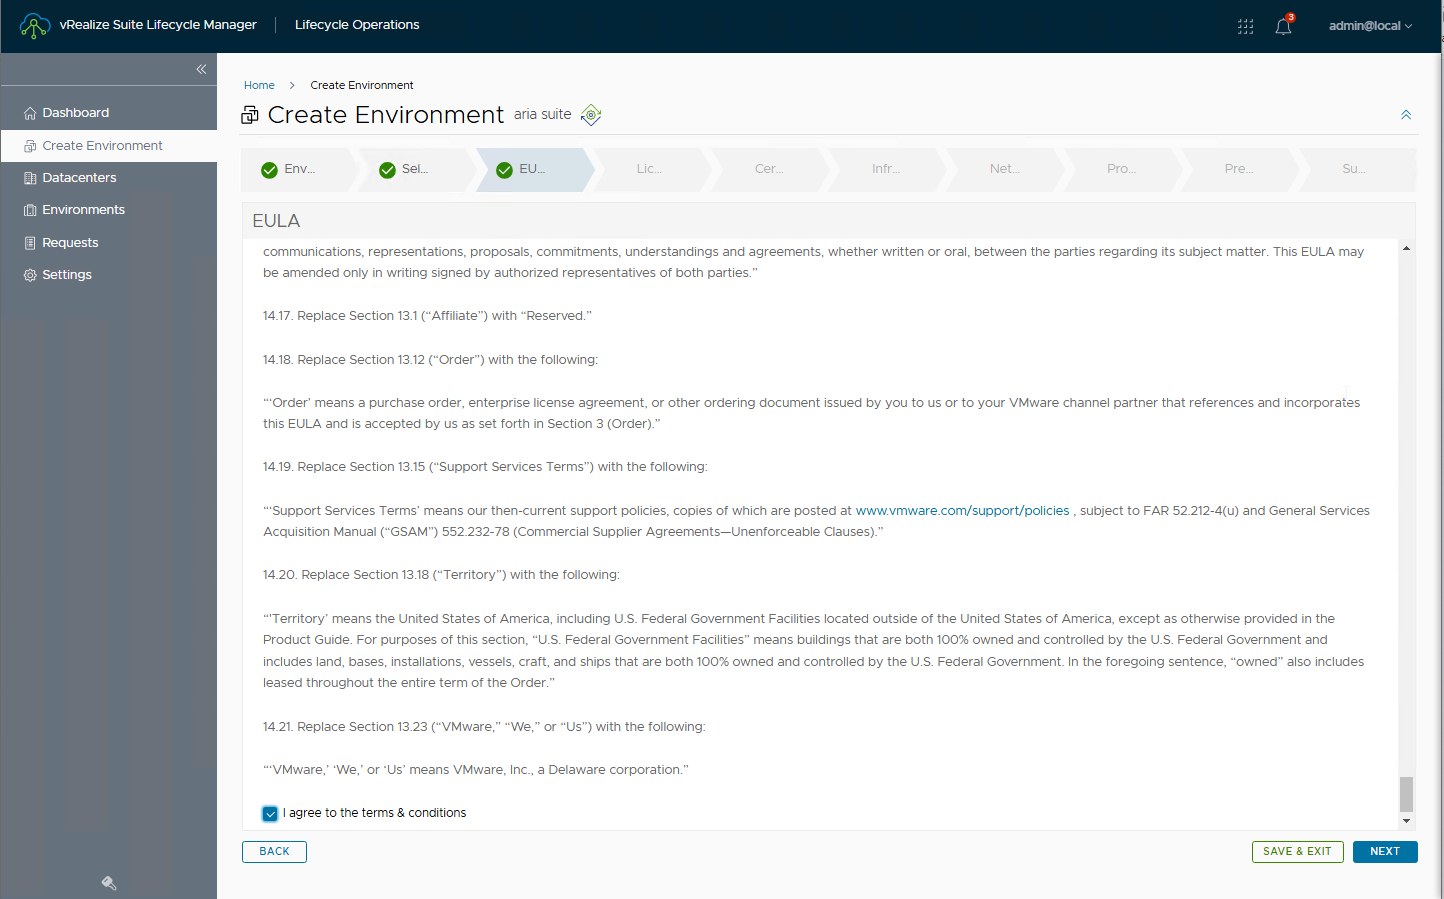
Accept EULA
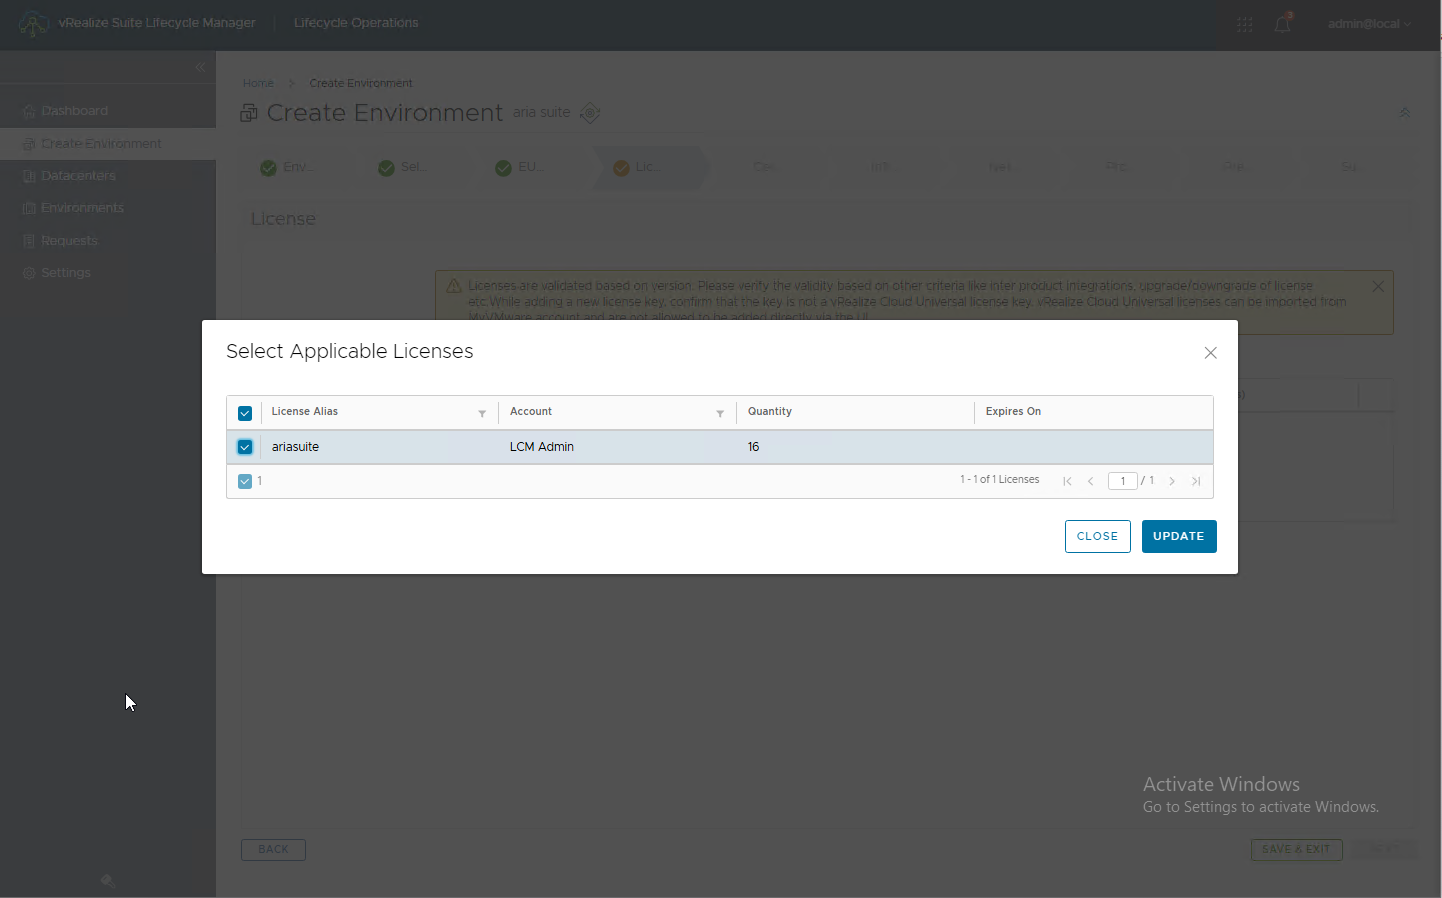
Select the License to use for vRealize Automation
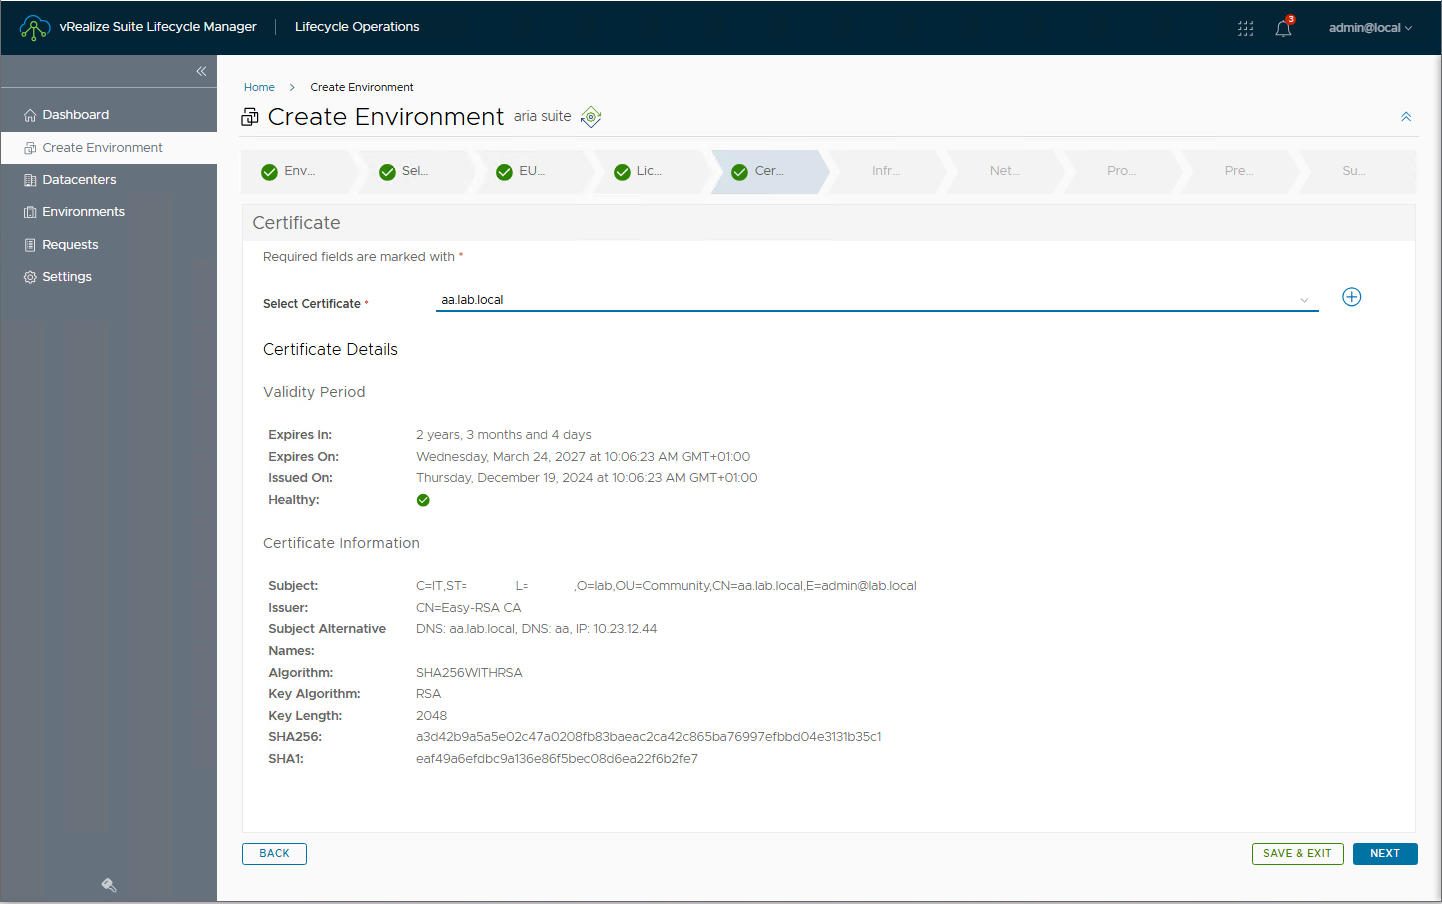
Select the certificate to use
Enter the vcenter, its target cluster and all other information needed for deployment
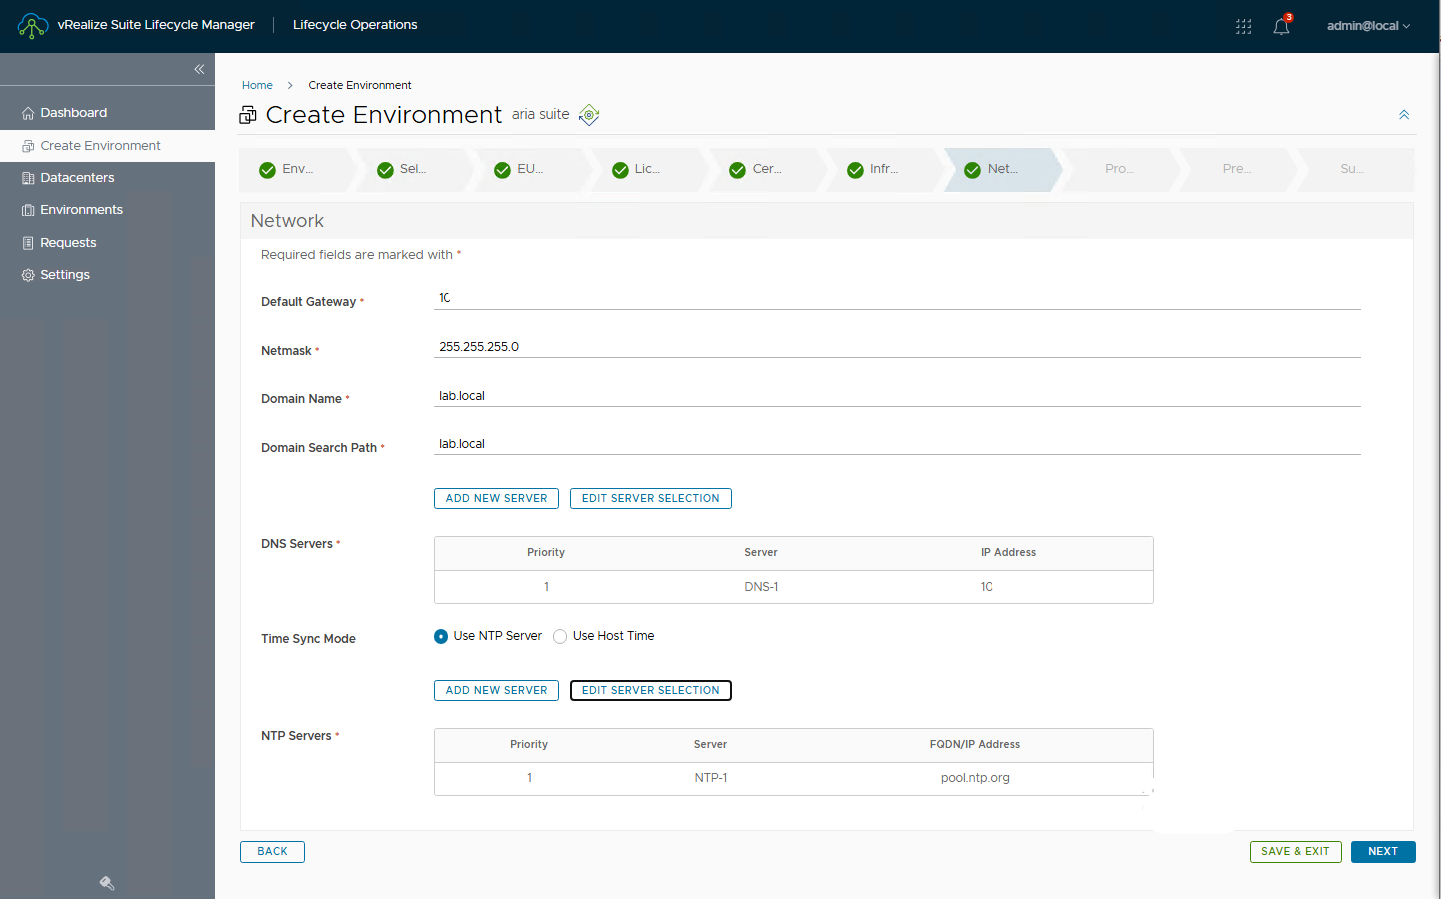
Specify network information
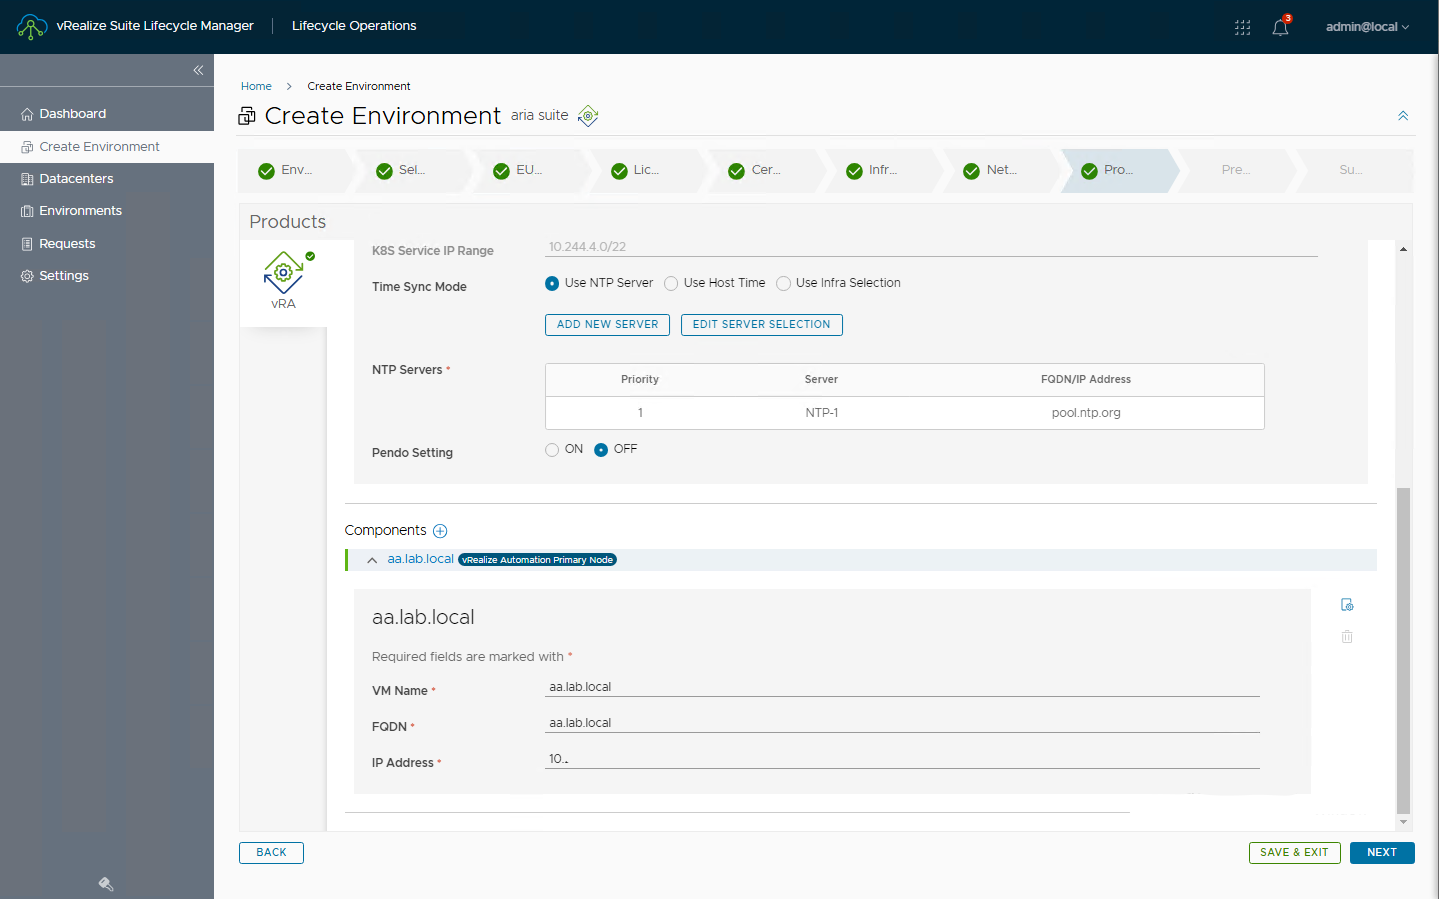
Select the size of the appliance, in this case Medium. Complete with all other information.
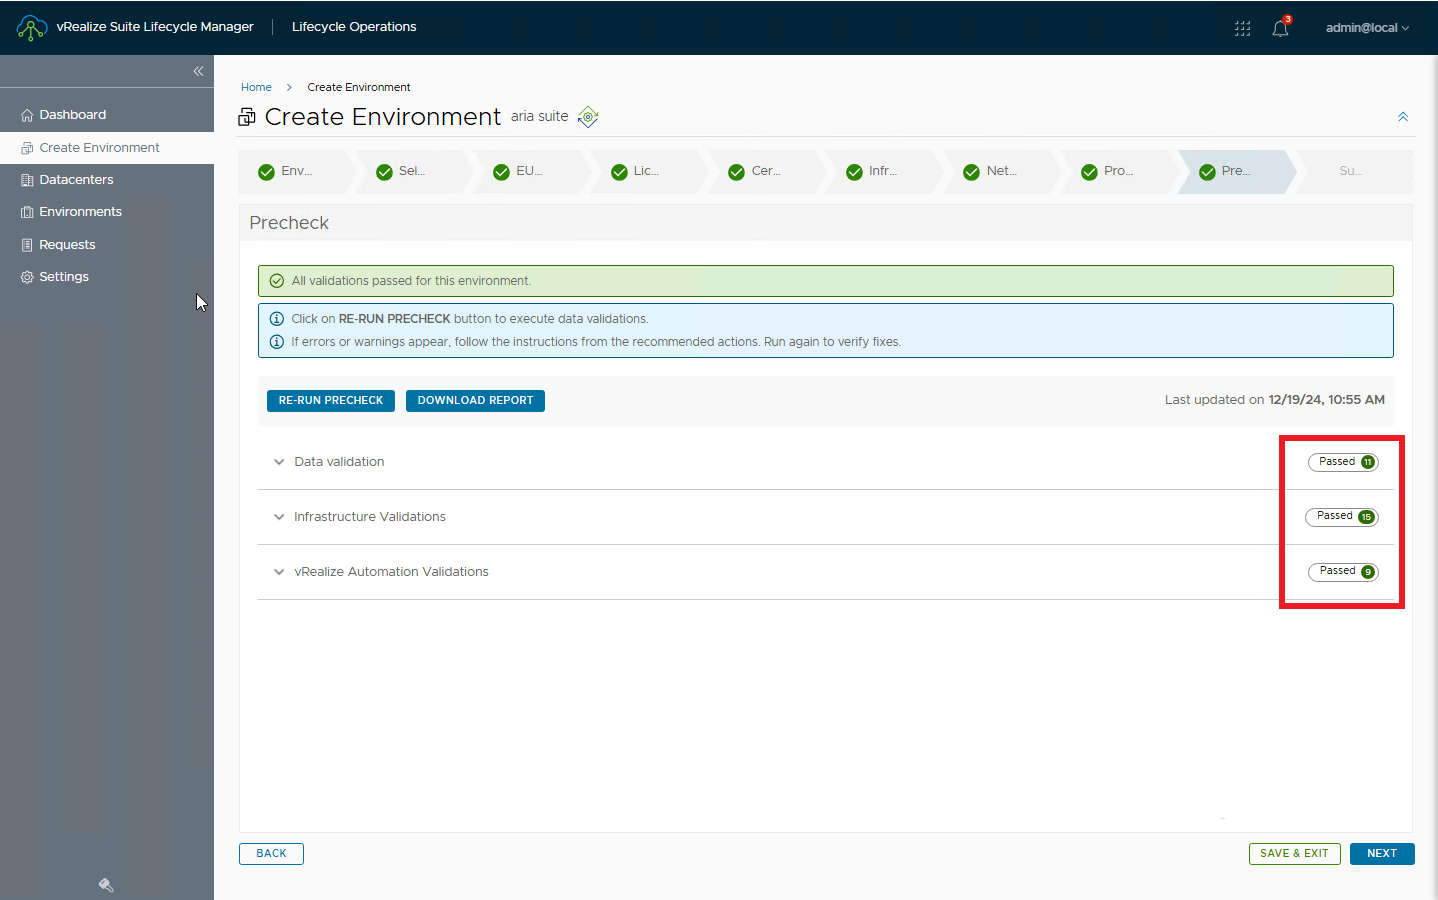
Perform pre-check to verify the information entered is correct
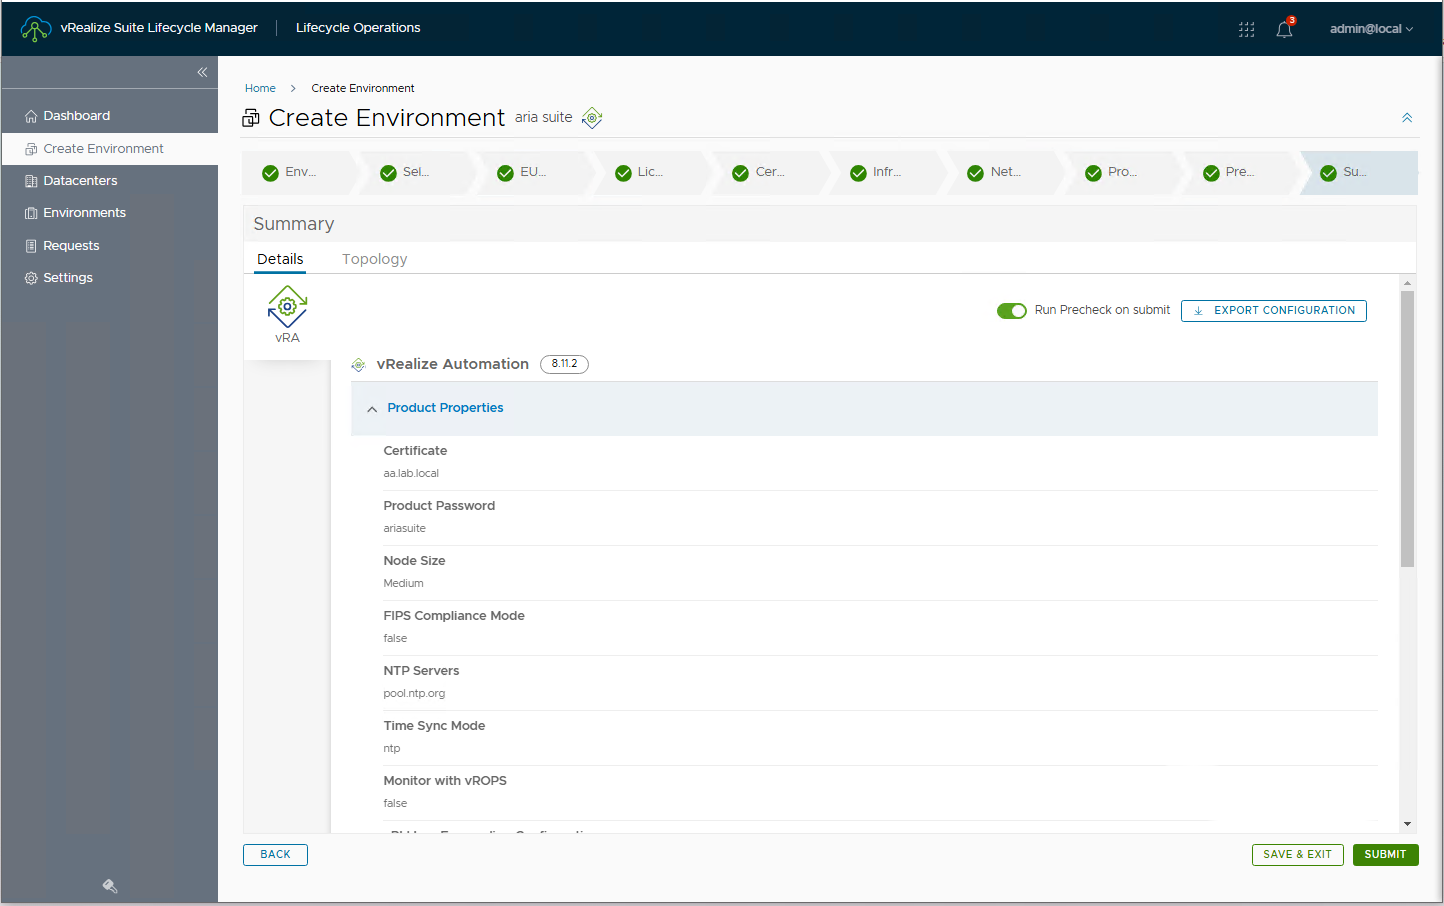
Go to the summary and proceed with the installation by pressing submit
Wait for the installation request to finish successfully
New environment is now available with vRealize Automation
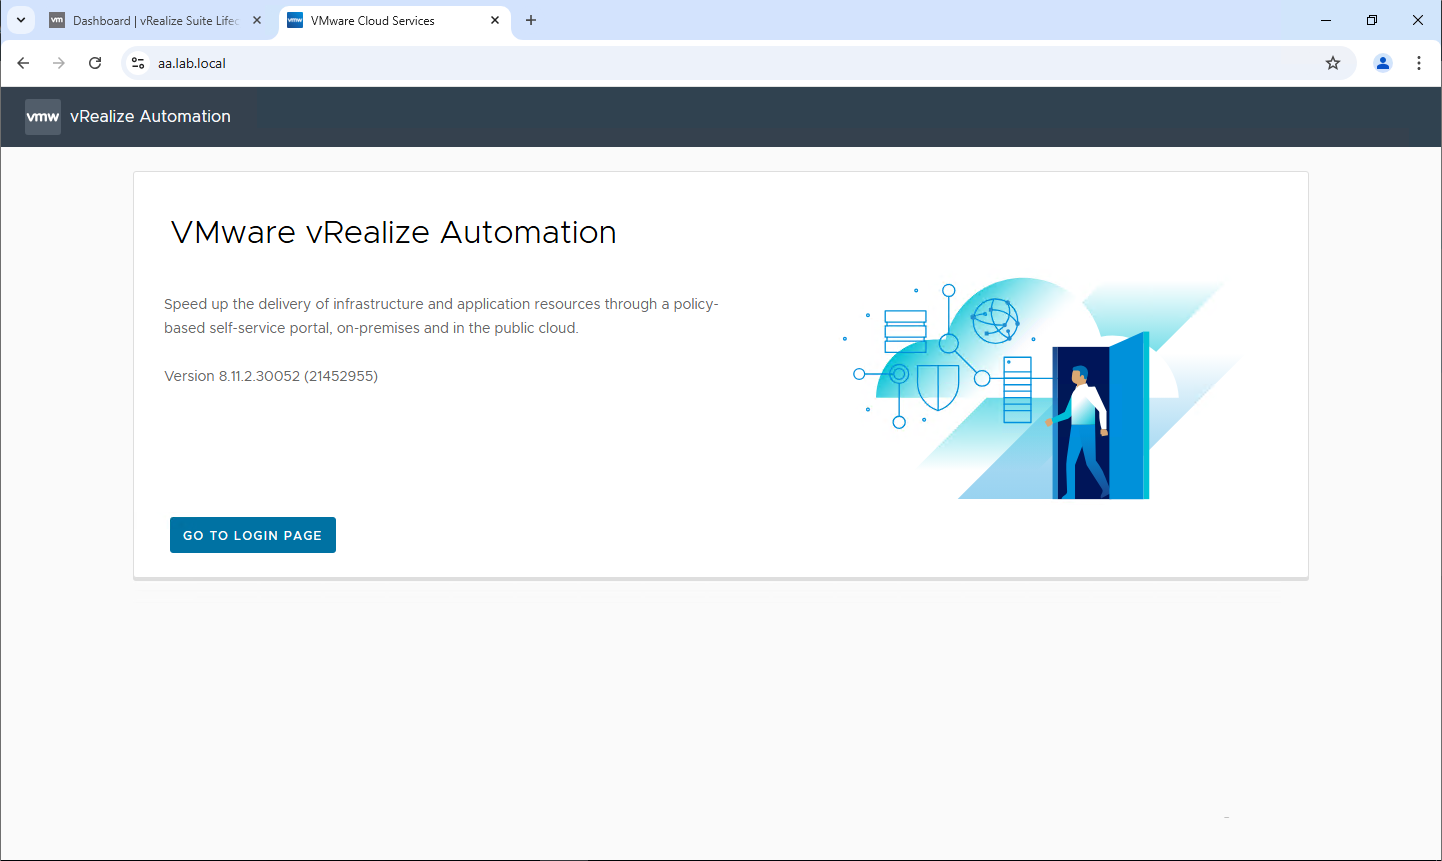
Connect to Automation for the first login
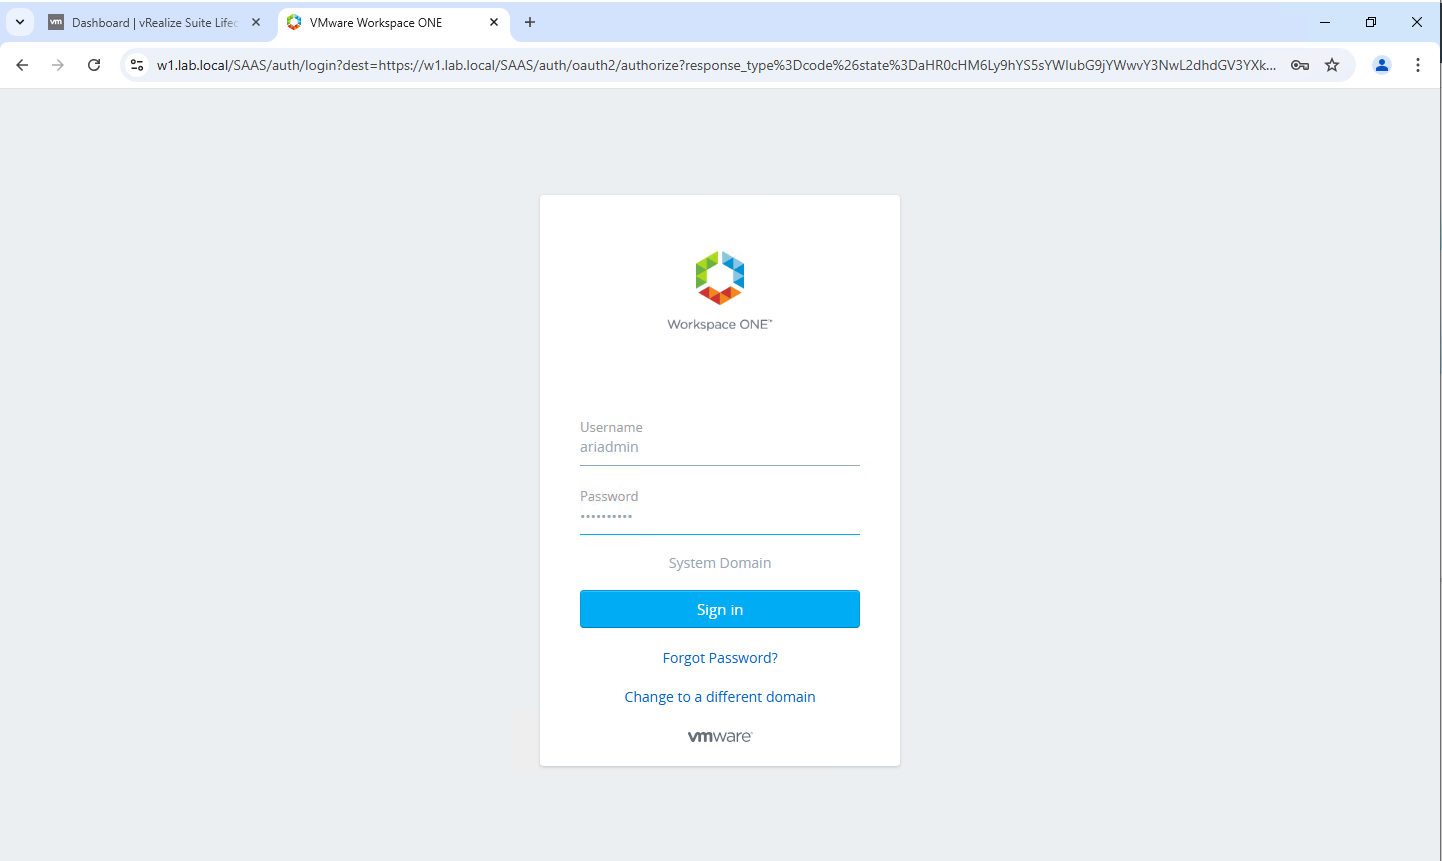
The logon is redirected to Workspace ONE for authentication; the username and password to be used are those specified during the creation wizard
This ends the first article in the series, we will see in the next article how to upgrade vRealize Automation to the latest version of Aria Automation


